Because of the email-based identity verification feature of Git, you can easily fake being someone else to make a Commit. How do you ensure that the Commit is really a developer commit? This is where a special key, the GPG key, is needed for authentication.
About GPG
GNU Privacy Guard (GnuPG or GPG) is a cryptographic software for encrypting and signing communication content and managing keys for asymmetric cryptography.
Asymmetric cryptography is a technique that you should have come across, and it is used in many fields. This algorithm requires two “keys”, a public key that can be made public and a private key that should be kept safe. The content encrypted with the public key can only be decrypted using the private key, and the content encrypted with the private key can only be decrypted using the public key.
At present, it is difficult for computers to decompose prime factors efficiently. For example, we multiply 2147483647 by 998244353 and use the computer to easily get the result 2143713423777595391, but it is difficult to reverse the original two primes by giving you only one result 2143713423777595391.
Using this property, and a suitable process, we get an encryption means.
If we imagine that we are using a decentralized communication platform, each person has a unique account (public key) and password (private key), and I want to chat privately with a friend, the content certainly does not want others to know, but in the decentralized network is difficult to avoid passing through others, then I can take that friend’s account (public key) encryption, so that only that friend can use his own private key to unlock the content In the same way, how can he be sure that the message was sent by me and not by someone else forging my identity? Then I encrypt it with his public key and then encrypt it with my own private key (also called “signature”), and he finds that he can decrypt it with my public key, so it must be from me. (But your private key is leaked on ……)
The GPG authentication we are going to introduce this time is to use private key encryption (signature) to complete such an operation.
Configuring GPG Signature Authentication
I’ve talked about how it works, so let’s see how it works.
It’s not that complicated, all Gits come with a GPG (as far as I remember). If you don’t have it, then go here to find the right version. I won’t go into the installation part.
Generate key
Open a terminal (or Git Bash for Windows users)
The default generation is with gpg --gen-key, and the default key length is 2048 bits, but GitHub requires no less than 4096 bits, so instead use the command:
|
|
Enter the encryption method using the default RSA and DSA.
Next, enter the key length in the range 1024 - 4096, or 4096 if requested by GitHub.
As for the key expiration setting, I usually set it to permanent for personal use, which means it doesn’t matter if it doesn’t expire. So I’ll enter the default here.
After that, you can enter your user information as you see fit. Note that the email address must be one that has been authenticated by GitHub. If you want to keep it private, use the no-reply email address provided by GitHub. Since my GitHub account is bound to multiple mailboxes, the division of labor is clear, so I’ll just take my own dedicated mailbox and use it.
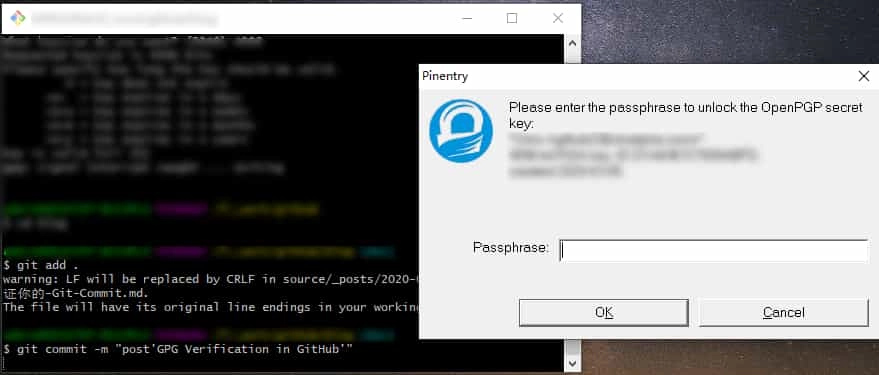
Then you need to set a secure password. As for the complexity of your own grasp it, after a certain time in the same terminal Commit only need to enter the password once.
After that, the key information will be printed out in the terminal, it does not matter if you do not remember, you can also transfer it through some commands later.
Upload GitHub
Enter in the terminal:
|
|
All local keys are displayed. The weirdest-looking 40 bit 16 digit is the key’s ID.
Then enter:
|
|
Print out the specified key:
Copy the message starting with -----BEGIN PGP PUBLIC KEY BLOCK----- and ending with -----END PGP PUBLIC KEY BLOCK-----.
This is your public key, which is how GitHub decodes the Commit that you have encrypted (signed) with your private key to actually identify it as your commit. Paste this information into “Personal - Settings -SSH and GPG key - New GPG keys”, which may require you to enter your GitHub account password.
If you did not use a GitHub authenticated email when generating the key, you will be prompted with an unauthenticated message. Then you’ll have to go through the process again and set the new key to the appropriate email address.
Terminal configuration
With all of the above configured, it’s time to let the terminal know which GPG signature you are using.
|
|
If this is too cumbersome for every repository, add a --global parameter.
Then add -S to Commit to indicate that the commit needs to be encrypted with GPG
|
|
If you don’t want to add this -S manually every time, you can set it to sign every Commit by default, using the command:
|
|
After that, normal submission will require a signature.
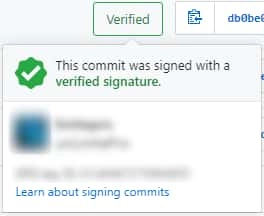
All configurations are now complete, and you can commit to try it out. Your Commit should already have a Verified marker after it
Import and export of keys
If you have multiple devices to use, using the same GPG key will save you a lot of trouble.
Export as a file
As described above when importing GitHub, you can print the public/private key to the terminal, and naturally, you can save it as a file for easy transfer
Enter the command in the terminal:
This gives you two GPG files in your terminal’s boot path, so keep them safe.
Import from GPG file
If you already have a GPG file, importing it is easy.
Enter the command in the terminal:
Note that you change the file name and path to your own.
Trust GitHub key
You can actually use GPG quite flexibly once you’ve done the above steps. However, there are some web-based operations that are signed by GitHub on your behalf, and we can’t be sure of their authenticity.
In this case we need to upload and trust GitHub keys
|
|
Then of course choose to believe him ~ (verify with your own signature)
|
|
This way all the actions you take on the web side are also authenticated. (But your GitHub password is compromised. ……)
Finally
After a bit of work, your Commit finally gets a Verified token, and it becomes less plausible that others are trying to falsify you. But GPG can do much more than that, and there are many more features that we should learn and explore.
Reference https://blog.ichr.me/post/use-gpg-verification-in-github/