Redis 6.0 has been released more than a year ago.
The new features in Redis 6.0 have been identified through step-by-step discussions and optimizations.
Many of these features have already been introduced in previous releases such as RC.
However, there are some new changes in the official GA release:
- SSL
- ACL: better, command support
- RESP3
- Client side caching: redesigned
- Threaded I/O
- Diskless replication on replicas
- Cluster support in Redis-benchmark and improved redis-cli cluster support
- Disque in beta as a module of Redis: starting to invade the message queue space
- Redis Cluster Proxy
- Support for immediate deletion when the RDB is no longer in use, for scenarios where the disk is not dropped
- PSYNC2: Optimized replication protocol
- More friendly timeout setting support
- Faster RDB loading, 20% ~ 30% improvement
- STRALGO, new string command, currently only one implementation of LCS (longest common subsequence)
@antirez mentioned that it was only the largest version update in Redis history, so it was prudent to recommend more testing and evaluation of the product in the application, and promised to release version 6.0.1 as soon as a major bug was encountered. As expected, version 6.0.1 was released a day later, fixing an allocator bug that was introduced for optimization purposes and is now temporarily removed.
I just released Redis 6.0.1. Unfortunately there was a bug in Redis 6.0.0 introduced just a few days before the release, that only happens when using the non-default allocator (libc malloc in this case triggers it). Optimization reverted, 6.0.1 released. Sorry for the issue.
This article focuses on the feature of Client side caching.
smallnest/RESP3 is a parsing library for the Redis RESP3 protocol, which you can use to communicate with the underlying Redis or package to implement a new version of the Redis client library or Redis Server side.
A year ago, when @antirez woke up in a hostel at 5:30 after attending the Redis Conference in New York, facing the beautiful view of the streets of Manhattan and pondering the future of Redis amidst the crowds. This includes client-side caching.
Actually, the client-side caching feature was influenced by Ben Malec at Redis Conf 2018, which immediately opened @antirez’s mind. We know that many companies use Redis as a caching system, and it is very good at improving data access performance, but many companies still cache some of the hot data on the client side of redis in order to further respond to hot data, and use it to respond to hot events. For example, in Weibo we often encounter star cheating, star splitting, breaking events, etc. There are several breaking events every year. Weibo, in addition to using Redis as a cache to avoid direct access to the database, will add more cache layers in front, such as L1 cache, and use products such as memcached as a cache for hot data. Ben provides a very interesting idea.
Standing on the streets of Manhattan, @antirez got deep in thought and later returned to the hotel where he started implementing the first version of client-side caching. Of course, the final Redis 6.0 implementation was very different from this initial implementation, but it is clear that we can see the trade-offs @antirez made in the evolution of the client side. We won’t go too much into the history of this article, as we are more interested in what this feature will eventually look like.
What Redis implements is a server-assisted client-side cache called tracking. The command for client-side caching is :
|
|
When tracking is turned on, Redis “remembers” the key requested by each client and sends an invalidation message to the client when the value of the key is found to have changed. The invalidation message can be sent to the requesting client via the RESP3 protocol, or forwarded to a different connection (RESP2+ Pub/Sub is supported).
When broadcasting mode is enabled, a client participating in tracking will receive notifications about the key it subscribed to by prefix, even if it did not request the corresponding key. Also provides OPTIN, OPTOUT and other modes.
Failure message: When a key’s data is modified, it needs to tell the client that its previously cached data has failed, and then redis will actively send a failure message
- REDIRECT : Forwards the failure message to another client. When we don’t use RESP3 but use the old RESP2 to communicate with Redis, the client itself doesn’t support handling failure messages, so you can enable a Pub/Sub client to handle failure messages. Of course, if the client supports RESP3, it can also forward the failure messages to another client. This cace we put at the end to demonstrate.
- BCAST : Start
trackingusing broadcast mode. In this mode the client needs to set the prefix of the keys that will be tracked, and the failure messages for these keys will be broadcast to all participating clients, regardless of whether they requested/cached the keys or not. - PREFIX : Only broadcast mode is applied, registering a key prefix. All keys starting with this prefix will send a failure message when there is a modification. Multiple prefixes can be registered. If no prefix is set, then broadcast mode will track every key.
- OPTIN : When broadcast mode is not active, normal will not track keys for read-only commands unless they are called after
CLIENT CACHING yes. - OPTOUT : When broadcast mode is not active, normal will track the keys of read-only commands unless they are invoked after
CLIENT CACHING off. - NOLOOP : Does not send keys modified by the client itself.
Let us introduce each option one by one.
Test environment construction
First let’s introduce the options related to the RESP3 protocol, REDIRECT <id> is presented at the end.
Before trying this, you first need to install a version of redis 6.x, in this case 6.0.1. The source code is available for download on the official website, and compiling and installing it is as simple as
Perhaps there is a compiled binary package available for download now.
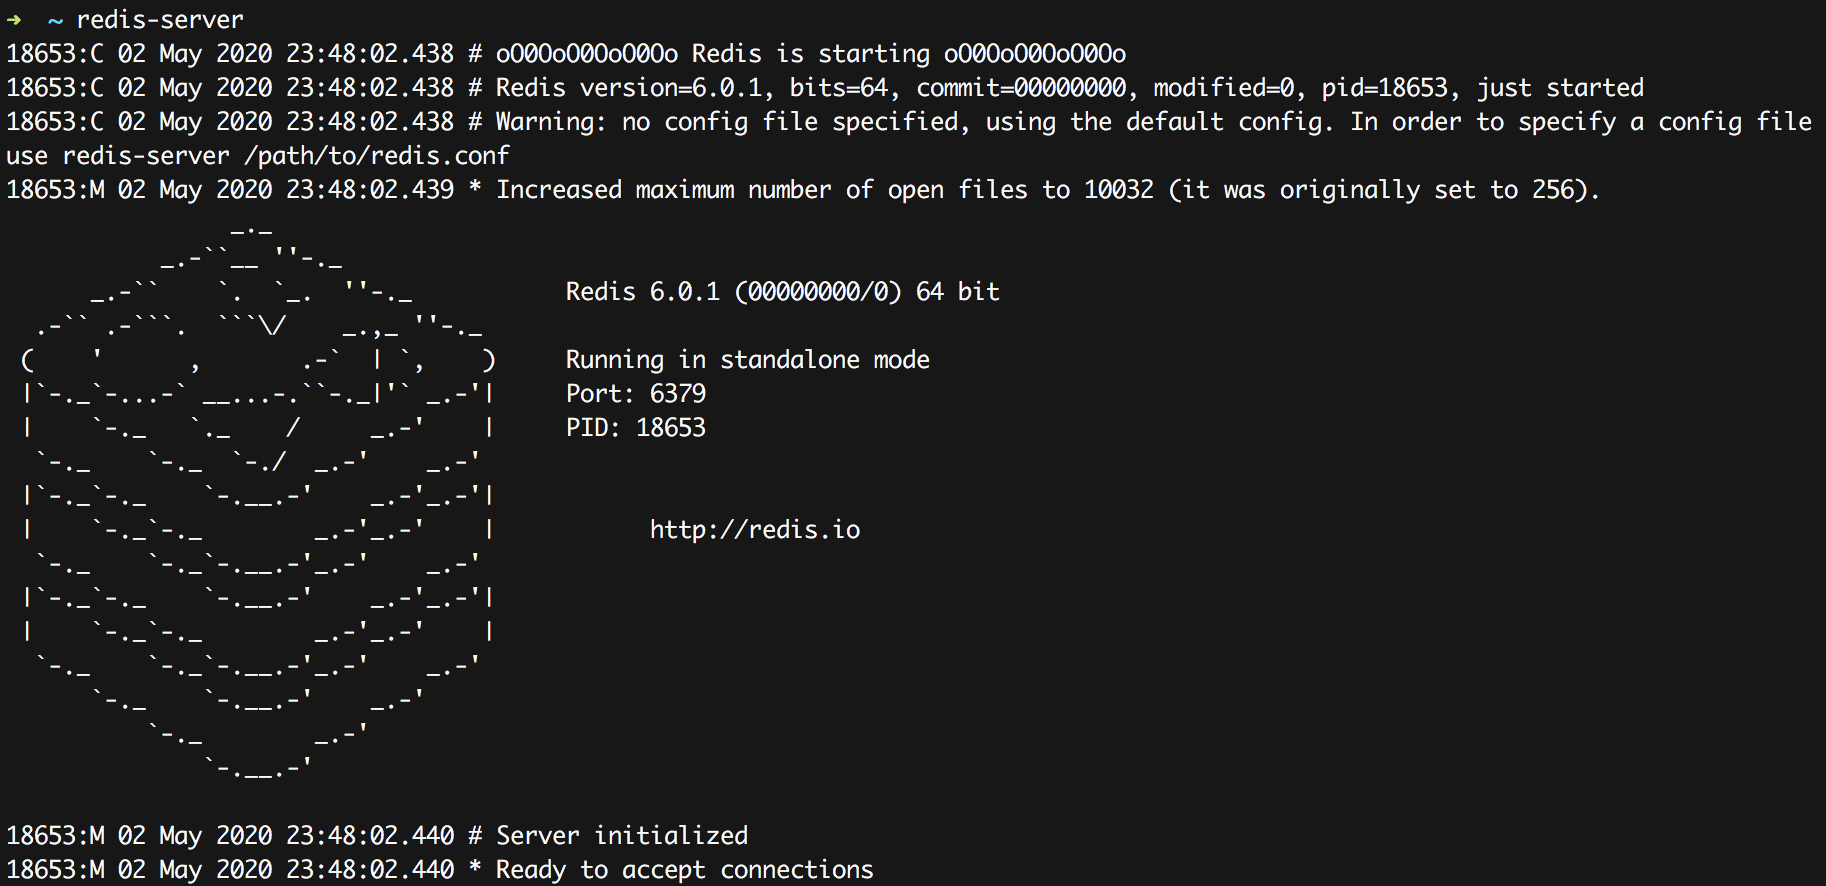
Start server, it will start a service on port 6379
|
|
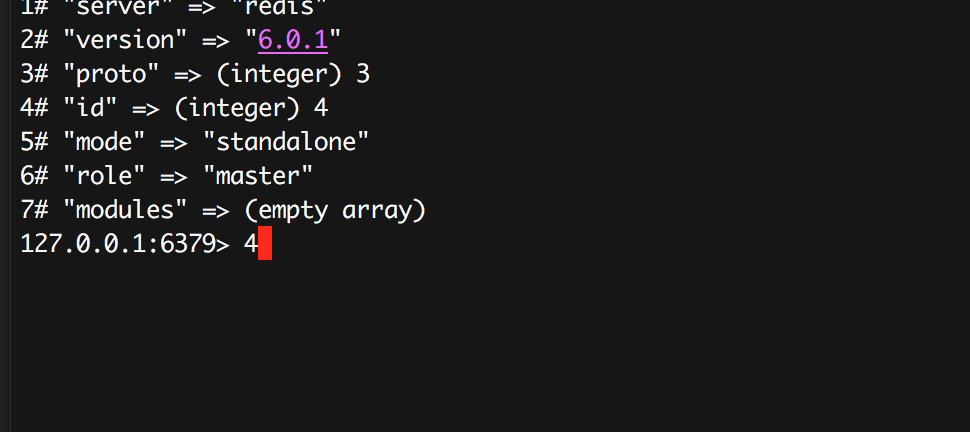
Use redis-cli to access, by default, the local 6379 instance:
|
|
Of course you can view additional parameter configurations via -h, such as using other ports, etc. Here we use the simplest example and focus on understanding the characteristics of client-side caching.
Sometimes we use telnet instead of redis-cli as client to connect to redis in order to better observe the results returned by redis, because redis-cli does processing of the results, especially the failure messages, which you may not be able to observe.
BCAST Broadcast mode (client tracking on)
Start the redis server:
Start redis-cli:
Of course, we use telnet to test, it is convenient to observe the return results of redis, just now redis-cli is used to update the key value, to assist in testing.
After connecting, send hello 3 to open the RESP3 protocol.
Then try to turn on tracking and read the value of a:
At this point, if you use redis-cli as another client to update the value of a, telnet this client and you should get a notification:
Observing telnet, it receives a failure message.
Note that it uses the PUSH type (>) in RESP3.
If this uses you to update the value of a again using redis-cli, telnet will not receive the failure message again. Unless the telnet client gets a again and retracks the value of a.
You can untracking at any time:
|
|
tracking prefix-specific key (client tracking on)
The above way will track all keys, but if you want to track only specific keys, redis currently provides a way to match prefixes. You can track only the keys with a specific prefix. It applies broadcast mode to the value.
To set the prefix and enable tracking using the telnet client.
We are tracking two prefixes, all the keys starting with a and all the keys starting with user, all the keys starting with a and all the keys starting with user (including a and user) should receive messages when their keys change.
Then we use redis-cli to update three keys: abc, user:32432723213 and feed:6532343243432:
telnet client receives expiration messages for abc and user:32432723213, but not for feed:6532343243432.
You can stop client caching with client tracking off. Currently it seems that you can’t stop tracking only for individual prefixes. Even if you use client tracking off prefix user it is still canceling tracking for all keys.
Opt-in
If you use OPTIN, you can selectively enable tracking. Only the key of the next read-only command after you send client caching yes will track, otherwise the key of other read-only commands will not track.
First we start optin, read the a finger, at this time use redis-cli client to change the value of a to 1000, we do not receive the a failure message.
Next we send client caching yes, followed by getting the value of a. At this time, if you modify the value of a again, you can receive a message of a failure
Does it have to be immediately followed by client caching yes? Yes, for example, if you send the following command, it will only be tracking b, not a:
Opt out
If you use OPTOUT, you can also opt out of tracking. Only the key of the next read-only command after you send client caching off will stop tracking, otherwise the keys of all other read-only commands will be tracked.
You can see that it is the opposite of OPTIN, so you can choose according to your scenario.
For example, in the following example, with OPTOUT on, changes to any key will receive a failure message.
At this time, if we want to exclude the key b, we can set it only for it:
Subsequent changes to b do not receive an expiration message for b.
NOTE : OPTIN and OPTOUT are for non-BCAST scenarios, i.e. only if you send a read-only command for a key, the corresponding key will be tracked, while broadcast mode sends a failure message for the corresponding key (or a key with matching prefix) whenever redis modifies the key, regardless of whether you have sent a read-only command for the key.
NOLOOP
When set normally, the expiration message is sent to all participating clients, but if NOLOOP is set, it will not be sent to the client who updated this key.
Note that to cancel tracking, simply call client tracking off.
REDIRECT
Finally, let’s look at the handling of forwarded messages. This is to be compatible with the RESP2 protocol a way to handle the forwarding of failure messages to another client.
First we look at the client id of redis-cli:
Use telnet to connect to redis and check the client id:
The telnet client opens a subscription to failure messages.
Then we can forward the redis-cli failure message to the telnet client:
The telnet client can be seen to have received the failure message.
If the destination client you are forwarding to has the RESP3 protocol enabled, you don’t need RESP3 Pub/Sub, because RESP3 natively supports Push messages.
The code to implement the tracking feature of redis is in :tracking.c.
Reference Documents
- https://www.youtube.com/watch?v=kliQLwSikO4
- http://antirez.com/news/130
- https://groups.google.com/d/msg/redis-db/xfcnYkbutDw/kTwCozpBBwAJ
Reference https://colobu.com/2020/05/02/redis-client-side-caching/