In Local Development, sometimes we often need to emulate an https environment, for example, PWA applications that require https access. In the traditional solution, we need to use self-signed certificate, and then use self-signed certificate in http server. Since self-signed certificates are not trusted by browsers, to solve the browser trust problem we need to add the CA certificate used by self-signed certificates to the trusted CA certificate of the system or browser to circumvent this problem.
Previously these steps required a series of tedious openssl commands to generate, although there are scripted solutions to help us simplify entering these commands. But it still feels less friendly for local development and a bit cumbersome. In this article, we will introduce a simpler and more friendly way to generate local https certificates and trust self-signed CAs - mkcert.
mkcert Introduction
mkcert is a small program written in go language to generate local self-signed books, with cross-platform, easy to use, support for multiple domains, automatic trust CA and a series of convenient features for local development when quickly create https environment to use.
Installation is also very simple, due to the static compilation of go language and cross-platform features, the official platform to provide pre-compiled version, directly downloaded to the local, give executable permissions (Linux/Unix need) can be. Download at: https://github.com/FiloSottile/mkcert/releases/latest
In addition, mkcert has been pushed to Homebrew, MacPorts, Linuxbrew, Chocolatey, Scoop and other package management platforms, or you can install them directly with the corresponding package management platform. For example:
After successful installation, you should be able to use the mkcert command:
|
|
mkcert Basic Usage
From the help output above, mkcert already gives a basic workflow that circumvents the complicated openssl command, and a few simple parameters can generate a local trusted https certificate. For more detailed usage, just look at the official documentation.
Add CA certificate to local trusted CA
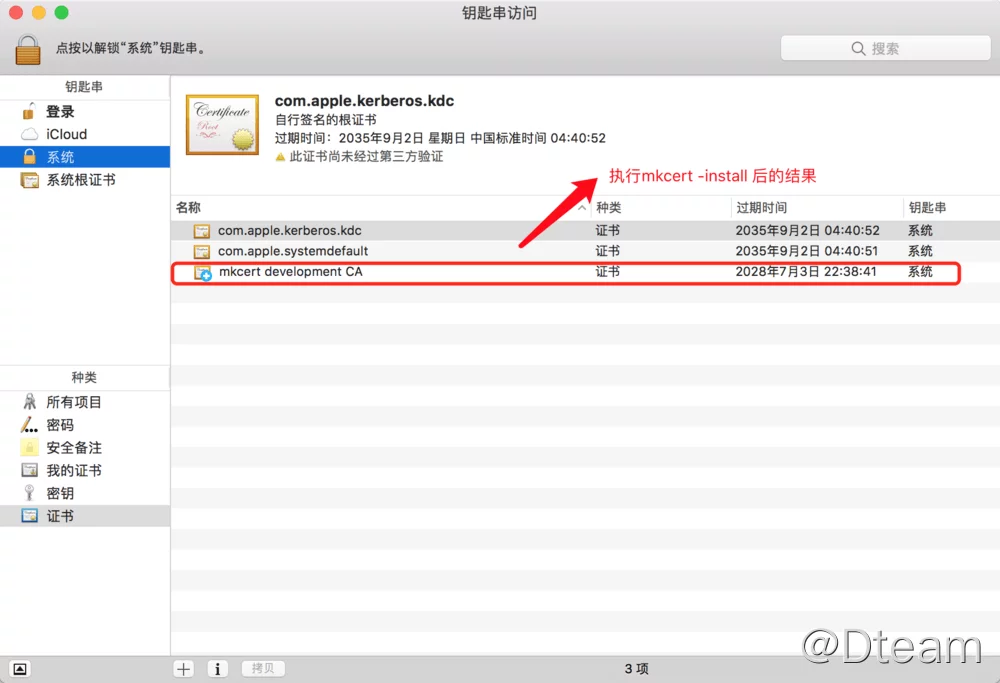
This simple command helps us to add the root certificate used by mkcert to the local trusted CA, so that certificates issued by this CA will be trusted in local.
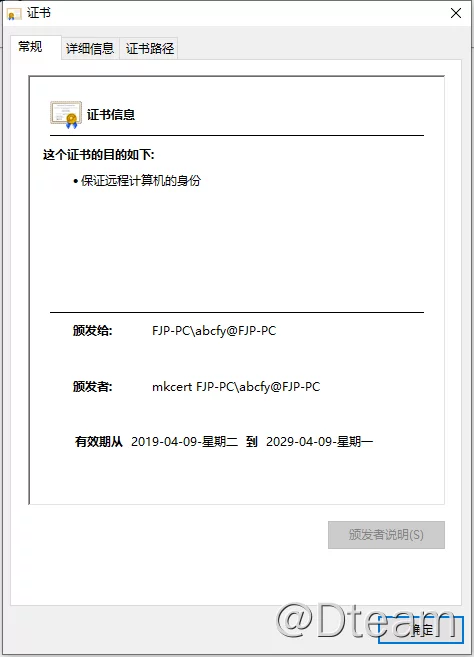
You can find this certificate in the list of trusted CAs in Windows:

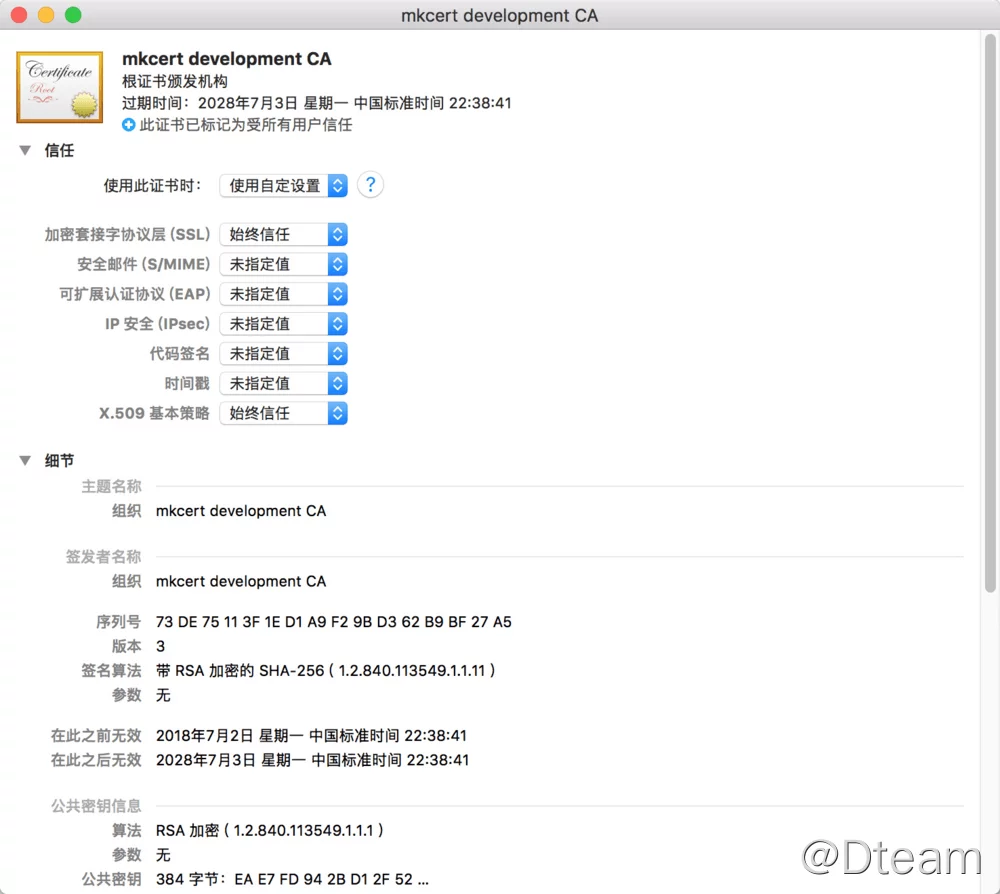
The same can be found in the list of certificates for MacOS:
Similarly, the effect is similar on Linux systems, so we won’t demonstrate it here.
Generate self-signed certificate
The command to generate a self-signed certificate is very simple:
|
|
Directly follow multiple domains or ip’s to be issued, e.g. issue a certificate for local access only (accessible via 127.0.0.1 and localhost, and ipv6 address::1)
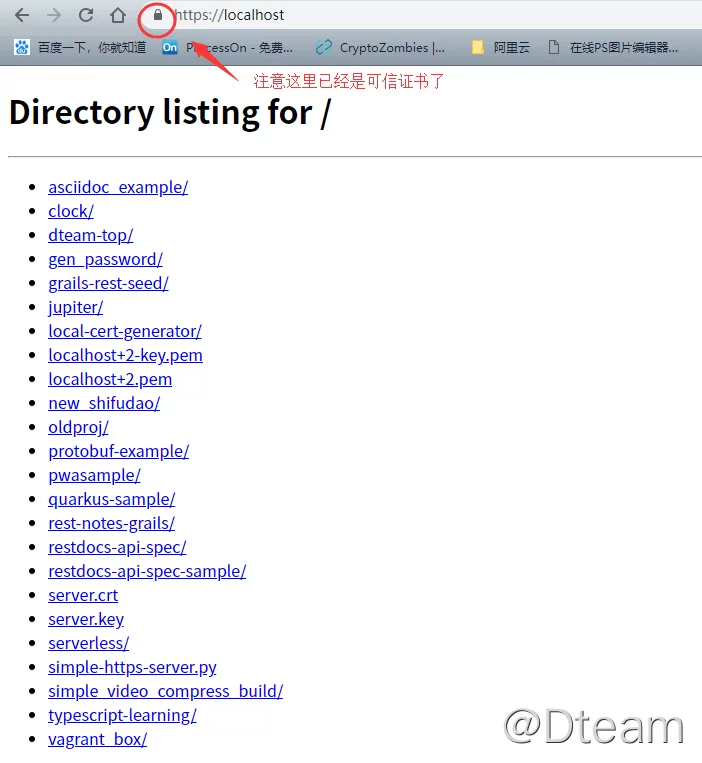
Through the output, we can see that the localhost+2.pem certificate file and localhost+2-key.pem private key file are successfully generated, just use these two files on the web server.
Using the generated certificate file
The default generated certificate format is PEM (Privacy Enhanced Mail) format, which can be used by any program that supports PEM format certificates. For example, the common Apache or Nginx, etc. Here we use python comes with SimpleHttpServer to demonstrate the effect of this certificate (code reference from: https://gist.github.com/RichardBronosky/644cdfea681518403f5409fa16823c1f):
python2 version (the version that comes with MacOS):
|
|
python3 version:
|
|
Just run it with python simple-https-server.py (note that binding to port 443 on Linux/Unix requires root privileges, you may need to use sudo to raise privileges)
For use within a local area network
Sometimes we need to test https applications on the LAN, and this environment may not be external, so we cannot use a free certificate solution like Let's encrypt to issue a trusted certificate to the LAN, and Let's encrypt itself does not support authentication Ip.
First, let’s recall the three elements of a trusted certificate:
- Issued by a trusted CA
- The access address matches the certificate authentication address
- The certificate is valid
If we expect our self-signed certificate to be used on the LAN, all three of these conditions need to be met. Obviously the self-signed certificate must meet the certificate within the validity period, then the last two need to be ensured. The certificate we issue must match the address bar of the browser, such as the IP or domain name of the LAN, and we also need to trust the CA.
Let’s reissue the certificate and add the local LAN ip authentication:
|
|
Verify again and find that local access using https://192.168.31.170 is also trusted. Then we need to issue the CA certificate to other users in the LAN.
Use mkcert -CAROOT command to list the storage path of CA certificate
You can see there are two files rootCA-key.pem and rootCA.pem under CA path, users need to trust the file rootCA.pem. Make a copy of rootCA.pem and name it rootCA.crt (because windows does not recognize the pem extension and Ubuntu does not treat the pem extension as CA certificate file), distribute the rootCA.crt file to other users and import it manually.
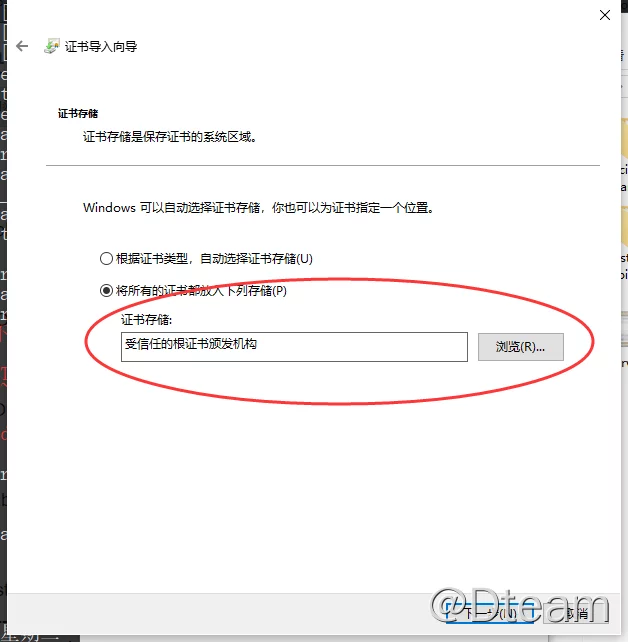
To import a certificate into windows, double-click the file and import the certificate into a trusted root certificate authority in the Certificate Import Wizard:
MacOS does the same thing, again choosing to import the CA certificate to a trusted root certificate authority.
For Ubuntu, you can put the certificate file (must have crt suffix) into /usr/local/share/ca-certificates/ and then execute sudo update-ca-certificates.
For Android and IOS trust CA certificates, refer to the official documentation.
Other computers on the LAN will be able to access https without alarm. I tested the results on another virtual machine Ubuntu using curl:
No warning, plus the -v parameter output will also tell that the certificate is trusted.
Some other advanced uses
The above demonstrates some of the most basic uses of mkcert, which are very simple. If we open mkcert --help and read the help, we can find many more advanced uses.
For example, -cert-file FILE, -key-file FILE, -p12-file FILE can define the output certificate file name.
-client can generate client-side authentication certificates for two-way SSL authentication.
The -pkcs12 command can generate certificates in PKCS12 format. java programs usually do not support certificates in PEM format, but they do support certificates in PKCS12 format. With this program, we can easily generate PKCS12 format certificates for Java programs directly, so we will not demonstrate it here.
Other advanced usage will not be introduced, you can discover it according to your actual needs and scenarios if you are interested.
Summary
This article we introduced a good little tool mkcert, simplify the complexity of our local build https environment, no need to operate the complicated openssl to achieve self-signed certificates, this small program can help us self-signed certificates, in local use It will also automatically trust the CA, very convenient.
Reference https://blog.dteam.top/posts/2019-04/%E6%9C%AC%E5%9C%B0https%E5%BF%AB%E9%80%9F%E8%A7%A3%E5%86%B3%E6%96%B9%E6%A1%88mkcert.html