A Dockerfile is the starting point for creating a Docker image, which provides a well-defined set of instructions that allow us to copy files or folders, run commands, set environment variables, and perform other tasks needed to create a container image. It is important to write Dockerfile to ensure that the generated images are safe, small, fast to build and fast to update.
In this article we’ll see how to write good Dockerfiles to speed up the development process, ensure build reusability, and generate images that are safe to deploy to production.
Development Process
As developers, we want to match our development environment as closely as possible to our production environment to ensure that the content we build will work when deployed.
We also want to be able to develop quickly, which means we want builds to be fast and we also want to be able to use development tools like debuggers. Containers are a great way to organize our development environment, but we need to define our Dockerfile properly to be able to interact with our containers quickly.
Incremental builds
A Dockerfile is a declarative manifest for building container images. While the Docker builder caches the results of each step as an image layer, the cache may be invalidated, resulting in the step that invalidated the cache and all subsequent steps needing to be rerun and the corresponding layer regenerated.
The cache is invalidated when the COPY or ADD reference to a file in the build context changes. So the order of the build steps may have a very significant impact on the performance of the build.
Let’s look at an example of building a NodeJs project in Dockerfile. In this project, a number of dependencies are specified in the package.json file, which are fetched when the npm ci command is run.
The simplest Dockerfile file looks like this.
Whenever a file in the build context changes, building the Dockerfile as described above will cause the cache to be invalidated on the COPY line. This means that any changes to any file other than the package.json file, which will take a long time, will be re-fetched and placed in the node_modules directory.
To avoid this and only re-fetching dependencies when they change (i.e., when package.json or package-lock.json changes), we should consider separating the dependency installation from the build and run of the application.
The optimized Dockerfile looks like this.
Using this separation, if the package.json or package-lock.json file is not changed, the cache will be used for the layer generated by the RUN npm ci command. This means that when we edit the application source code and rebuild it, we won’t have to re-download the dependencies, saving a lot of time 🎉.
Keep live loading between host and container
This tip is not directly related to Dockerfile, but we often hear the question: How to keep the code hot updated when running the application in the container and modifying the source code from the IDE on the host?
In our example here, we need to mount our project directory to the container and pass an environment variable to enable Chokidar, which encapsulates the NodeJS file change events. Run the command as shown below.
|
|
Here we mount the code directory on top of the host to the container via -v, and any changes to the code on the host will be loaded and updated in the container in real time.
Build consistency
One of the most important things about Dockerfile is to build identical images from the same build context (sources, dependencies, …).
Here we will continue to improve the Dockerfile defined in the previous section.
Consistent builds from source
As described in the previous section, we can build applications by adding source files and dependencies to the Dockerfile description and running commands on them.
But in the previous example, we can’t actually confirm that the generated image is the same every time we run docker build, why? Because every time NodeJS is released, the lts tag points to the latest LTS version of the NodeJS image, which changes over time and can bring about significant changes. So we can easily solve this problem by using a deterministic tag for the base image. As follows.
In the following we will also see that there are other advantages to using label-specific base images.
Multi-phase and matching the right environment
We are consistent for development builds, but how do we do this for production environments?
Starting with Docker 17.05, we can use multi-stage builds to define the steps to generate the final image. Using this mechanism in Dockerfile, we can separate the images used for the development process from those used for the production environment, as follows.
|
|
When we see a directive like FROM ...... AS we can know it is a multi-build phase. We now have 3 phases: development, build and production. By using the --target tag to build the image for a specific development phase, we can continue to use the container for our development process.
|
|
The same can also be run like this.
|
|
A docker build without the -target flag will build the final stage, which in our case is the production image. Our production image is just an nginx image, where the files built in the previous steps are placed in the corresponding locations.
Preparing for production
It is important to keep the production image as lean and secure as possible. Here are a few things to check before running containers in production.
No more recent image versions
As we said earlier, the build step using a specific tag helps to make the generation of mirrors unique. There are also at least two very good reasons to use specific tags for mirrors.
- It is easy to find all containers running with a mirrored version in a container orchestration system (Swarm, Kubernetes…).
|
|
- For CVE (Common Vulnerabilities and Disclosures), we can quickly know if we need to patch containers and images. In our example here, we can specify that our development and production images use the alpine version.
|
|
Using Official Mirrors
You can use Docker Hub to search for base mirrors to use in Dockerfile, some of which are officially supported mirrors. We strongly recommend using these mirrors.
- Their content has been verified
- They will be updated quickly after fixing CVEs
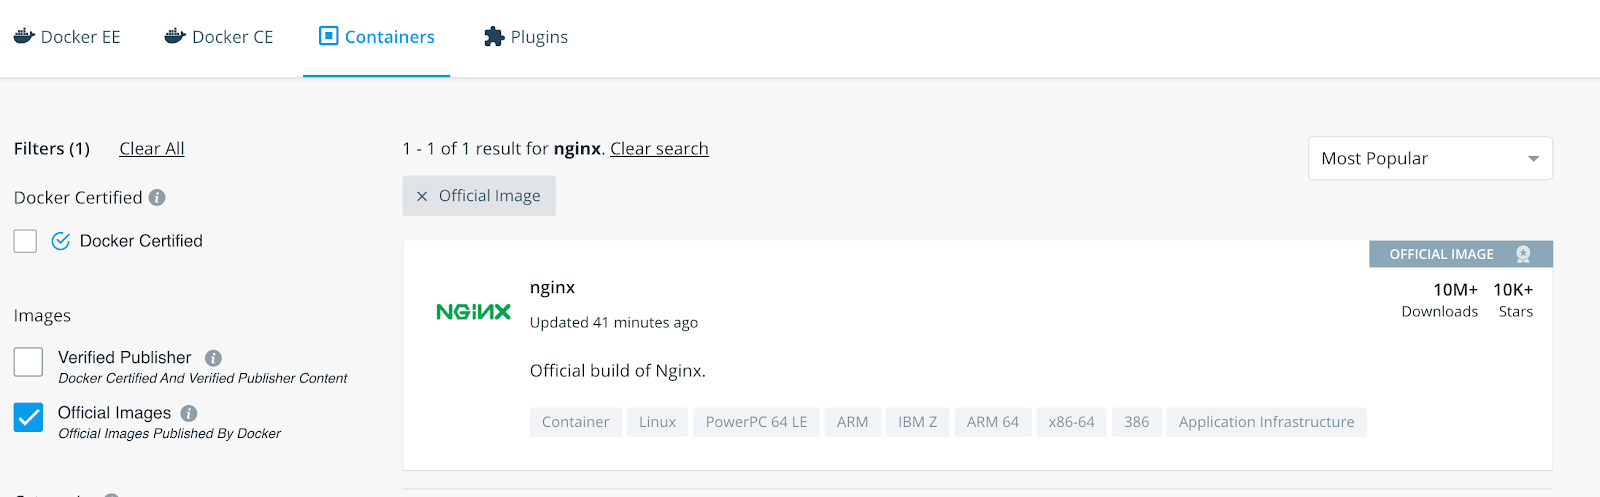
You can add the image_filter request query parameter to get the official version of the image.
|
|
The examples we used above use the official images of NodeJS and NGINX.
Enough privileges!
All applications, whether running in containers or not, should adhere to the principle of least privilege, which means that applications should only access the resources they need.
Processes running with too many privileges may have unintended consequences for the entire system at runtime if malicious behavior or errors occur.
Configuring the image itself with an unprivileged user identity is also very simple:
|
|
Simply create a new group, add a user to it, and then use the USER command and we can run the container with a non-root user.
Conclusion
In this article we have shown just some of the many ways to optimize and protect Docker images by making a Dockerfile. If you want to learn more about how to do this, you can check out some of the following sources.