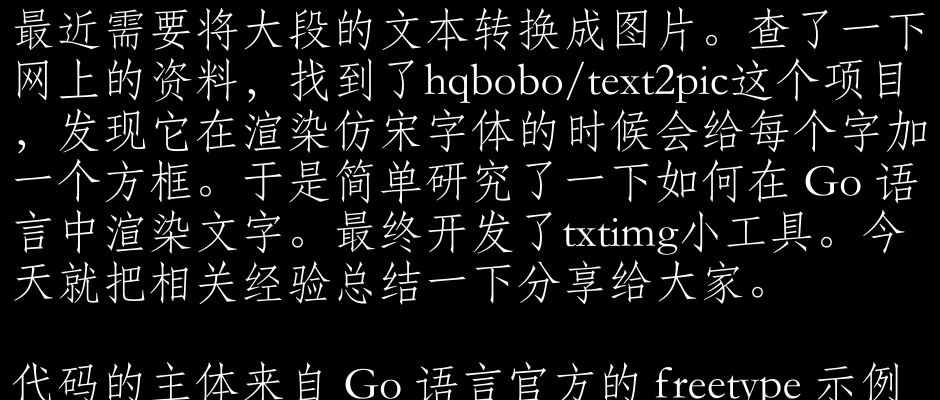
I recently needed to convert a large section of text into a picture. After checking the web, I found the project hqbobo/text2pic and found that it adds a box to each character when rendering the Song-like font. So I simply researched how to render text in Go. Finally developed the txtimg widget. Today I’ll share the relevant experience in summary.
The body of the code is taken from the official freetype example in Go language, which can be downloaded from here.
The main flow is divided into three parts: prepare, draw and save.
The preparation phase has three parts: loading the font, preparing the canvas, and initializing the freetype engine.
Loading fonts is relatively simple, and the core code is as follows.
Finally get a font object f .
Then comes the preparation of the canvas, with the following core code.
The main thing is to specify the font and background color, initialize a rgba canvas and specify the width and height, and then paint the canvas with the background color.
The result is a canvas object rgba.
Then it’s time to initialize the freetype engine, see the comments.
The two key parameters here are dpi and size, which together affect how many words are displayed on each line. We’ll discuss this in more detail later.
Here the preparation is complete and we start rendering the text.
The core method is c.DrawString(). To draw text, you need to specify a freetype.Pt object, which is a coordinate point. The horizontal axis of the coordinate system is x and the vertical axis is y. The coordinate values use what is called a 26-6 fixed-point number, which is a 32-bit integer, where the high 26 bits represent the integer part and the low 6 bits represent the decimal part. The call to c.DrawString() needs to specify the lower left corner coordinate position of the text. But we can’t use numbers like 10 or 20 directly, because the coordinates need to be adjusted according to font size and dpi. freetype provides us with the c.PointToFixed function to calculate the actual coordinates. pt := freetype.Pt(10, 10+int(c.PointToFixed(*size)>>6)) in the official example means that the coordinates are (0, font_size), both with a 10 added to keep 10 pixels of space above and to the left.
c.DrawString() will return the right position after drawing for the next drawing.
The last thing is to save the image.
The above is the whole process of drawing text. But there are two problems with the sample code.
- does not support line feeds, the text is too long to be displayed
- Can not specify the number of text to be displayed in each line
- No display logic to handle special characters
Let’s start with the line break problem. Generally text to image conversion is to bypass some platforms (such as microblogging) restrictions on the number of text words, and the content will be very long. We naturally want to support automatic line breaks when converting to images.
So how do we achieve this automatic line break? The easiest way is to calculate the rightmost coordinate of the drawing result area before drawing the text, and if it exceeds the width of the canvas, you need to start a new line to draw.
How can we estimate the width of the result area? That’s where freetypeFace.
First we need to initialize the Face object.
Note that here, again, the font size and dpi need to be specified.
Then, we can draw the image character by character:
Before drawing. We use face.GlyphAdvance(x) to calculate the width to be occupied, then add the value to the X-coordinate of the current position, and start a new line if it exceeds the width of the canvas.
The logic for starting a new line is also simple.
Both X and Y values should be determined here: X is the padding; Y is the line spacing (which is actually the number of bits in the font size) multiplied by the height of the font. Both need to be converted to 26-6 fixed point decimals.
The second problem is how to specify the number of words per line. This problem is very confusing. I finally found this article, and the key thing is pixel_size = point_size * resolution / 72. Where point_size is what we call the font size, resolution is dpi, and the result of the calculation is the pixel size of the font. The number of words that can be displayed on each line is width / pixel_size, and the formula to find point_size based on the number of words chars is
|
|
With this formula, we don’t need to rack our brains to calculate the font size.
The last problem is how to list special characters. There are two kinds of special characters, one is like Emoji, which is not in the font file, and the other is blank characters. Let’s start with Emoji.
Emoji needs a special font to display. I simply tried to specify the font as Emoji font and it doesn’t support displaying emoticons, so I can’t help but give up first. So the question is, how can I make sure a character is not supported by the current font file? In theory, the second parameter returned by face.GlyphAdvance(x) should tell us whether the corresponding character is supported or not. But this method always returns true, which is probably a bug, but there is another way, using the f.Index() method of the font object. If the font does not support a character, f.Index() will return zero.
The handling of blank characters is also relatively simple. I found that the font file did not render \t properly, and my final solution was to replace \t with a space. So the overall drawing logic became something like this.
Well, this is the end of the analysis of the whole process. If you want to try it out, you can install txtimg directly
txtimg basically meets my own needs. It is still quite difficult to develop a generic text-to-image tool. So I share my experience with you, and hope you can develop or customize your own tool according to your actual needs. Later, if I have time, I will study how to support Emoji expressions. I may also look into how to implement the punctuation squeeze function (to solve the problem of line breaks caused by having space at the end of each line but occupying a little less space than the actual characters). If more features are added, txtimg will become a typography tool 🐶 Of course, this is beyond my power. If students are interested, they are also welcome to mention MR.