nodejs makes it easy for us front-end developers to do some server-side operations seamlessly. Other back-end languages like php, golang, java, etc. require a certain amount of learning cost, while nodejs is customized for front-end developers.
In nodejs, a native http module is provided, and we can use the http module to make a few common widgets that can greatly facilitate our work.
1. A simple HTTP service
Building an http service with nodejs is very simple, just import the http module.
 1
 2
 3
 4
 5
 6
 7
 8
 9
10
11
12
|
// server.js
const http = require('http');

const ip = '127.0.0.1';
const port = 3000;

http
  .createServer((req, res) => {
    res.end('heelo world!');
  })
  .listen(port, ip);
console.log(`server has started at ${ip}:${port}`);
|
Then execute the server.js file.
The following log will be output in the console.
1
|
server has started at 127.0.0.1:3000
|
Then visit http://127.0.0.1:3000 on your browser and you will see the output of hello world!.
If you want to specify the IP or port by parameter at startup. Then we can use process.env to get the parameters specified in the command line.
1
2
3
4
|
// 通过process.env来获取指定的参数
// 并设置兜底的数据
const ip = process.env.IP || '127.0.0.1';
const port = process.env.PORT || 3000;
|
When executing sever.js, the IP and port can be specified by parameters.
1
|
$ PORT=3030 node app.js
|
2. A request with a delay
When doing development and debugging, it is often necessary to consider what to do when a request or an image, etc. loads very slowly.
For example, there is feedback from users that some images load very slowly and the page does not look normal. Then I should do some processing for slow loading images, but how to simulate this slow loading images?
Many existing interfaces are unable to simulate this special delay, here we can use the http module to achieve this.
Let’s improve on the first http server.
The res.end() method will tell the server that the current response is over, and if it is not called, it will stay in the waiting state.
We want to implement a delayed response, we can just use setTimeout to delay the call to the end() method. Here we first implement an interface with a delay.
 1
 2
 3
 4
 5
 6
 7
 8
 9
10
11
12
13
14
15
16
17
18
19
20
21
22
23
24
|
http
  .createServer((req, res) => {
    const index = req.url.indexOf('?');
    if (index >= 0) {
      const query = req.url.slice(index);
      const ss = new URLSearchParams(query);
      const timeout = ss.get('timeout');
      const type = ss.get('type');
      if (timeout && Number(timeout)) {
        return setTimeout(() => {
          if (type === 'json') {
            res.writeHead(200, { 'Content-Type': 'application/json' });
            res.end(JSON.stringify({ code: 0, msg: 'hello world' }));
          } else if (type === 'image') {
            // 输出本地一个图片
          } else {
            res.end(`delay ${timeout}ms response`);
          }
        }, Number(timeout));
      }
    }
    res.end('hello world!');
  })
  .listen(port, ip);
|
When you want to delay the output of images, you need to read the local images by means of data stream and then output them to the front-end.
 1
 2
 3
 4
 5
 6
 7
 8
 9
10
11
12
13
14
|
const stream = fs.createReadStream('./img/s.jpg');
const responseData = []; //存储文件流
if (stream) {
  //判断状态
  stream.on('data', function (chunk) {
    responseData.push(chunk);
  });
  stream.on('end', function () {
    const finalData = Buffer.concat(responseData);
    // response.write();
    res.writeHead(200, { 'Content-Type': 'image/jpg' });
    res.end(finalData);
  });
}
|
3. implement the interface transit proxy
We sometimes encounter the problem that the interface we need has cross-domain, or intranet interface, then we need to pass an intermediate layer to transit proxy for the interface in order to access the interface normally.
3.1 Native http module to implement
Highlights to note when implementing an interface proxy.
- pass-through, all data received, as much as needed, to the proxy interface, such as cookies, parameters, etc..
- setting cross-domain headers, in order to facilitate front-end access, we need to add 3 fields to the return header that can be cross-domain.
There are many ways to cross-domain, such as jsonp is also one of them, but cors cross-domain is a better one, the front-end can effectively control the request time and cancel the request.
In setting the cross-domain header Access-Control-Allow-Origin, here is not recommended to set directly to *. On the one hand, it is not safe, all domains can be accessed; then there is the front-end will not transmit cookies, can not be some login state verification, etc..
Before setting Access-Control-Allow-Origin, we have to check the referer in the headers first, if it is empty or does not meet the requirements of the whitelist, it can directly return 403.
 1
 2
 3
 4
 5
 6
 7
 8
 9
10
11
12
|
const allowList = ['joke.qq.com', 'www.qq.com'];
if (!req.headers || !req.headers.referer) {
  res.writeHead(403, 'forbidden');
  res.end('403 forbidden');
  return;
}
const { hostname } = new URL(req.headers.referer);
if (!allowList.includes(hostname)) {
  res.writeHead(403, 'forbidden');
  res.end('403 forbidden');
  return;
}
|
Once the requirements are met, you need to remove the slash / at the end of the referer, otherwise it will not be set successfully. A sample of the completed code is shown below.
 1
 2
 3
 4
 5
 6
 7
 8
 9
10
11
12
13
14
15
16
17
18
19
20
21
22
23
24
25
26
27
28
29
30
31
32
33
34
35
|
const http = require('http');
const https = require('https');

const ip = process.env.IP || '127.0.0.1';
const port = process.env.PORT || 3001;

http
  .createServer((req, res) => {
    const allowList = ['joke.qq.com', 'www.qq.com'];
    if (!req.headers || !req.headers.referer || allow) {
      res.writeHead(403, 'forbidden');
      res.end('403 forbidden');
      return;
    }
    console.log('发起请求', req.headers);
    https
      .get('https://www.v2ex.com/api/topics/latest.json', (response) => {
        let data = '';
        response.on('data', (chunk) => {
          data += chunk;
        });
        response.on('end', () => {
          res.setHeader('Access-Control-Allow-Origin', (req.headers.referer || '').replace(/\/$/, ''));
          res.setHeader('Access-Control-Allow-Methods', 'GET, POST');
          res.setHeader('Access-Control-Allow-Headers', 'X-Requested-With,content-type');
          res.end(data);
        });
      })
      .on('error', (e) => {
        console.error(`请求遇到问题: ${e.message}`, e);
        res.end('error');
      });
  })
  .listen(port, ip);
console.log(`server has started at ${ip}:${port}`);
|
3.2 Proxy components
If we need to proxy more interfaces, or if the path is passed from the front-end, we can do it ourselves, but there is a more convenient proxy component.
Here we use the http-proxy component to implement it.
 1
 2
 3
 4
 5
 6
 7
 8
 9
10
11
12
13
14
15
16
17
18
19
20
21
22
|
const http = require('http');
const httpProxy = require('http-proxy');

const ip = process.env.IP || '127.0.0.1';
const port = process.env.PORT || 3000;

const proxy = httpProxy.createProxyServer({
  target: 'https://www.v2ex.com', // 代理的接口地址
  changeOrigin: true,
});

http
  .createServer((req, res) => {
    // 设置跨域头
    res.setHeader('Access-Control-Allow-Origin', (req.headers.referer || '').replace(/\/$/, ''));
    res.setHeader('Access-Control-Allow-Methods', 'GET, POST');
    res.setHeader('Access-Control-Allow-Headers', 'X-Requested-With,content-type');

    // 将请求和响应的对象传给proxy
    proxy.web(req, res);
  })
  .listen(port, ip);
|
The front-end then just follows the path and initiates the request directly.
1
|
axios('http://localhost:3000/api/topics/latest.json').then(console.log).catch(console.error);
|
4. Simulating data
When writing page logic on the front end, it is often necessary to take into account various situations of data, such as when there is no data, long lists, nicknames of various lengths, etc.
Neither reading the configured json file, nor generating the data with code is random.
Now, we can use mockjs to implement various data simulations.
 1
 2
 3
 4
 5
 6
 7
 8
 9
10
11
12
13
14
15
16
17
18
19
20
21
22
23
24
25
26
27
28
29
30
31
32
|
const http = require('http');
const Mock = require('mockjs');

const ip = process.env.IP || '127.0.0.1';
const port = process.env.PORT || 3000;

http
  .createServer((req, res) => {
    const result = Mock.mock({
      code: 0,
      msg: 'success',
      'x-from': 'mock',
      data: Mock.mock({
        'rank|20': [
          {
            'no|+1': 1, // no 字段从 1 开始自增
            uin: () => Mock.Random.string(32), // 32 长度的随机字符串
            nick: () => Mock.Random.string(1, 20), // 长度在 1-20 之间的随机字符串
            face: () => Mock.Random.image('120x120'), // 120*120 的图片
            score: () => Mock.Random.integer(1, 2000), // 分数
          },
        ],
      }),
    });

    res.setHeader('Access-Control-Allow-Origin', (req.headers.referer || '').replace(/\/$/, ''));
    res.setHeader('Access-Control-Allow-Methods', 'GET, POST');
    res.setHeader('Access-Control-Allow-Headers', 'X-Requested-With,content-type');
    res.writeHead(200, { 'Content-Type': 'application/json' });
    res.end(JSON.stringify(result, null, 2));
  })
  .listen(port, ip);
|
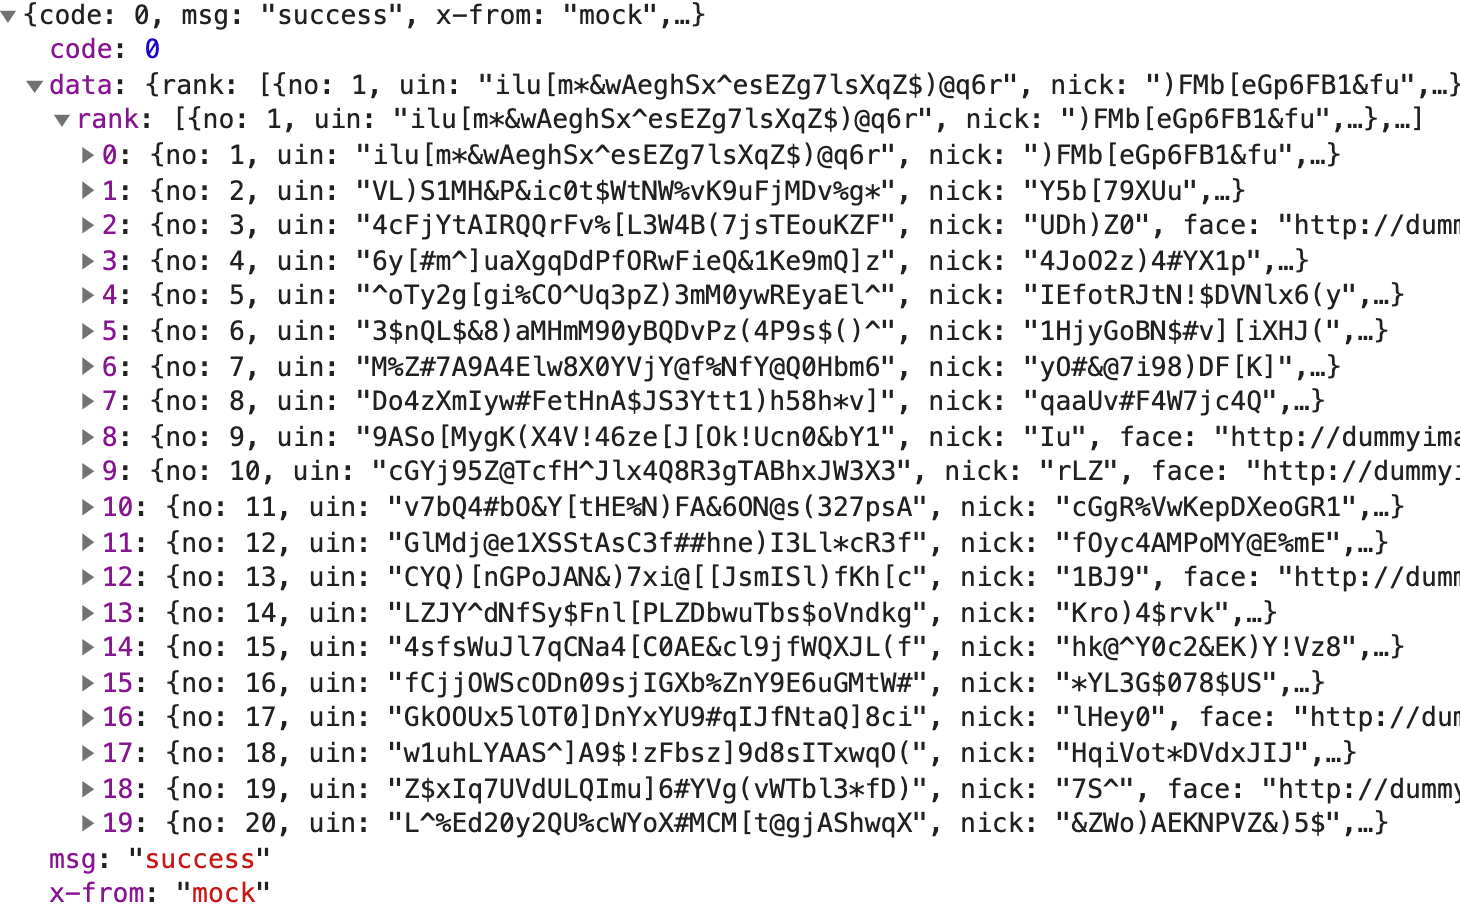
Generated data.
For more syntax rules of Mockjs, you can visit https://github.com/nuysoft/Mock/wiki/Getting-Started.
5. Summary
There are many more features that can be implemented with nodejs, and we have only implemented a few of them here. Based on our front-end knowledge and business needs, we can implement many more widgets.