Since WSL2 is implemented as a virtual machine, the network is no longer shared with Windows like WSL1, but has become a new network segment, so it is more difficult to use the proxy of the host.

Get the host IP in WSL
WSL will have a different IP address every time it starts up, so you can’t set the proxy in a static way directly.
WSL2 will write the IP in /etc/resolv.conf, so you can get the host IP with the command cat /etc/resolv.conf | grep nameserver | awk '{ print $2 }'.
WSL2’s own IP can be obtained with hostname -I | awk '{print $1}'.
Setting up a proxy
Once you have the host IP, you can set up the proxy by setting the environment variables. Here you need to fill in the port yourself, and don’t forget to set the Proxy software to allow connections from the LAN.
This way you have to set the terminal again every time you restart it, and you have to enter the IP manually, which is still quite troublesome, so you have to rely on scripts!
Line 4 <PORT> Remember to replace it with your host agent’s port !!!!!!
|
|
If you want git to also pass proxies, you can add the following commands to the set_proxy and unset_proxy functions respectively.
Then run . . /proxy.sh set to set the proxy automatically. unset can cancel the proxy, test can check the proxy status and can be used to check if the environment variables have been changed correctly.
Don’t forget the previous
., or usesource . /proxy.sh set, which is the only way to change the environment variables.Run directly e.g.
. /proxy.sh setorsh proxy.sh set, which will run in a sub-shell and will have no effect on the current shell.
Alternatively, you can optionally add the following two lines to ~/.bashrc, remembering to change the path inside to the path you put the script in.
The first sentence can set the alias proxy for this script, so that you can use this script in any path with the proxy command, and then you can temporarily cancel the proxy at any time in any path by typing proxy unset.
The second sentence is to run this script every time the shell starts to automatically set the proxy, so that the proxy will be set by default without any additional operation~
Firewall settings
If the previous is working, then you can leave the following alone. If you have set up the proxy correctly, especially if you have allowed access from the LAN, but still can’t access it properly, and the proxy software did not receive the request, then it is probably blocked by the Windows firewall.
You can try pinging the host ip and telnet proxy port first to check if it is connected. If it doesn’t work, the firewall is most likely the problem.
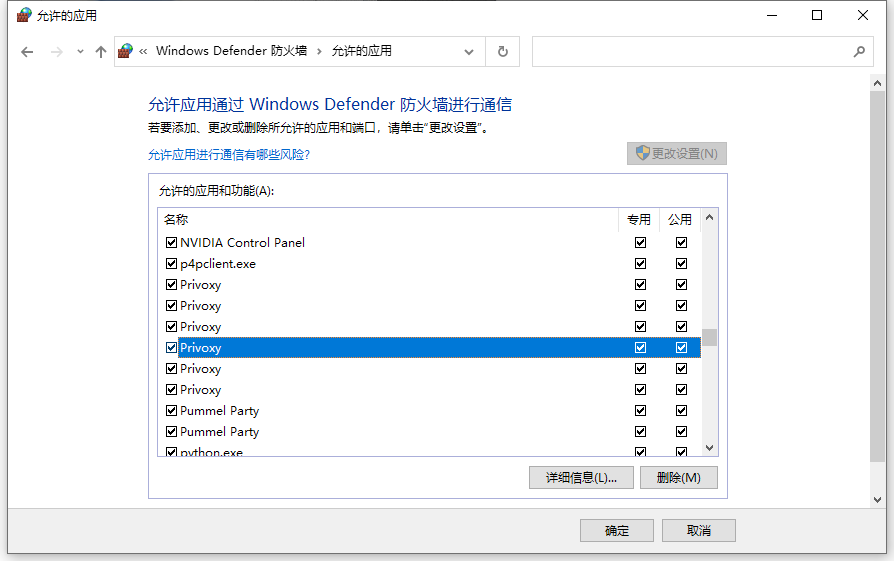
You can try to allow the proxy software to pass through the firewall by ticking the box in the firewall panel on the left side of the control panel, i.e. in the above screen.
Or you can try to create a new rule in the advanced settings, inbound rules, if you do not know very well, you can allow inbound requests from any program of any protocol with remote IP 172.16.0.0/12 and 192.168.0.0/16.