1. Background and pre-requisites
The Btrfs file system is a younger file system than Ext4, with more playable features such as support for snapshots, subvolumes, checksums and self-tests, soft RAID and even transparent compression.
However, it is recommended not to use Btrfs file system without O&M capability. This article documents the process of reading data after removing the disk from the Btrfs file system under a Synology DSM system.
In my DSM system, there are two hard disks forming a RAID1 array, using the Btrfs file system. I removed one of the hard disks and inserted it into another Apple machine.
Also, the requirements here are that the DSM version is no less than 6.2, and that the MacOS system has Parallels Desktop with Ubuntu version no less than 18.04 installed.
If you have a Windows machine, then you can also try to use the WinBtrfs drive for file reading.
2. Mount the drive on MacOS
- View the newly inserted hard disk
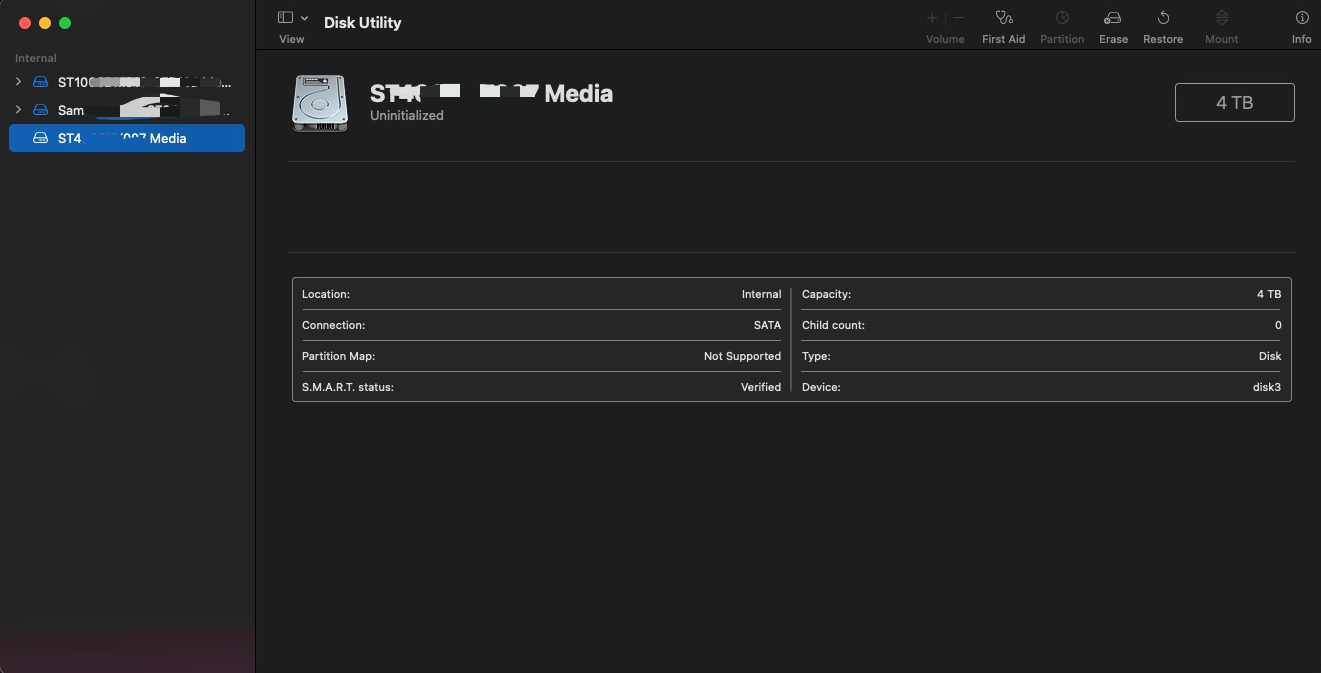
You can see that MacOS does not recognize the Btrfs file system directly. Ignore the image showing disk3, this is a complementary image, which was initially disk2.
- View disk information on MacOS
- Use the PD command tool to mount the drive to a local file
Go to the Home directory
|
|
Create a new hard disk to point to a physical disk
|
|
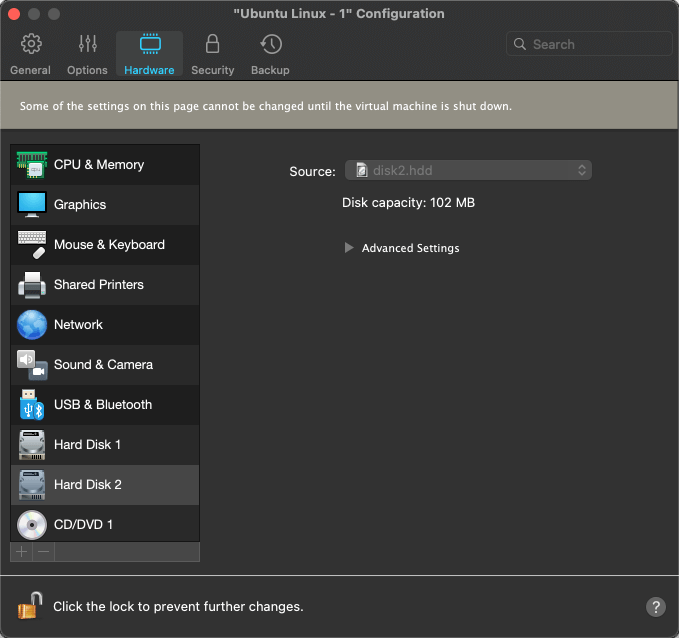
3. Mount the hard disk to the Ubuntu virtual machine in PD
Go to Ubuntu and shut down the host, then edit the virtual machine, add a hard drive, select an existing hard drive, and select the HDD format file in disk2.hdd created above.
4. Reading Btrfs partitions on Ubuntu
- Switch to the root user
|
|
- Install the base software
|
|
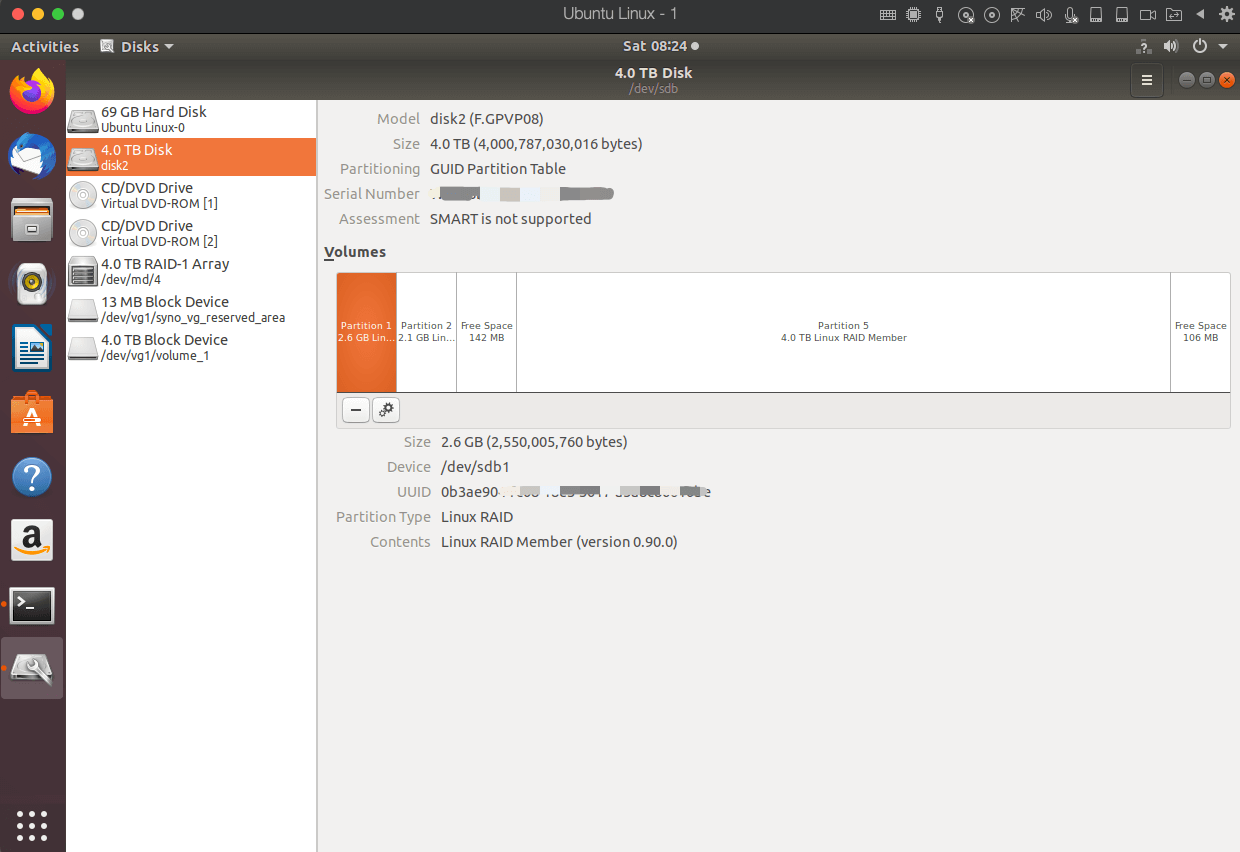
- Identify the file system
In the Disks utility, you can see the disk
Automatically mount partitions
|
|

Check the /dev/md4 partition, if it is inactive, you can uninstall it and try again.
|
|
- mount
|
|
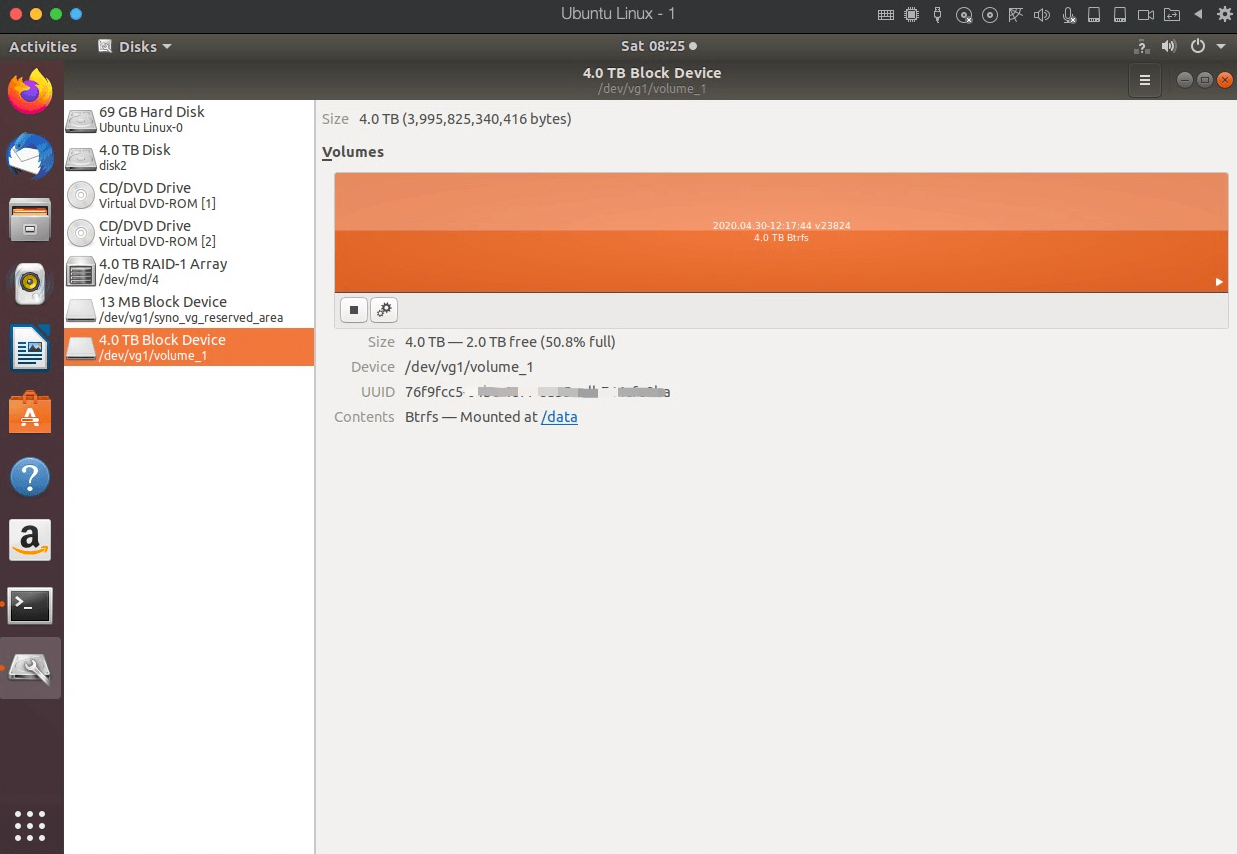
At this point, the data of the Btrfs disk partition is already accessible in the /data directory on the Ubuntu system.
5. Mount Ubuntu directory on MacOS to access files
Since it is not convenient to access the data of Btrfs disk partition in Ubuntu, we mount the directory in PD Ubuntu to MacOS system.
- Install sshfs and dependencies
|
|
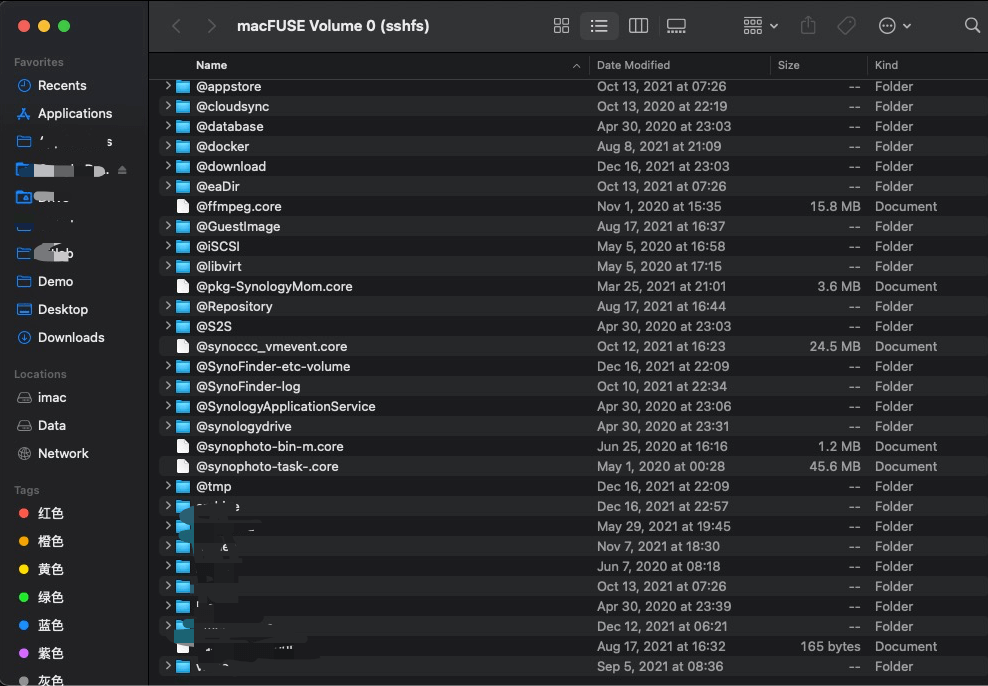
- Mount the Ubuntu system’s data directory to MacOS
|
|
- View data from Btrfs disk partitions on MacOS