Recently, Docker founder Solomon Hykes announced the launch of a new product Dagger, a new DevOps platform designed to solve some of the problems in the DevOps process for developers. Dagger has raised $20 million in Series A funding led by Redpoint Ventures, with participation from Nat Fireman, former CEO of GitHub, Brian Stevens, former CTO of Red Hat, and Ellan Pao, former CEO of Reddit.

dagger

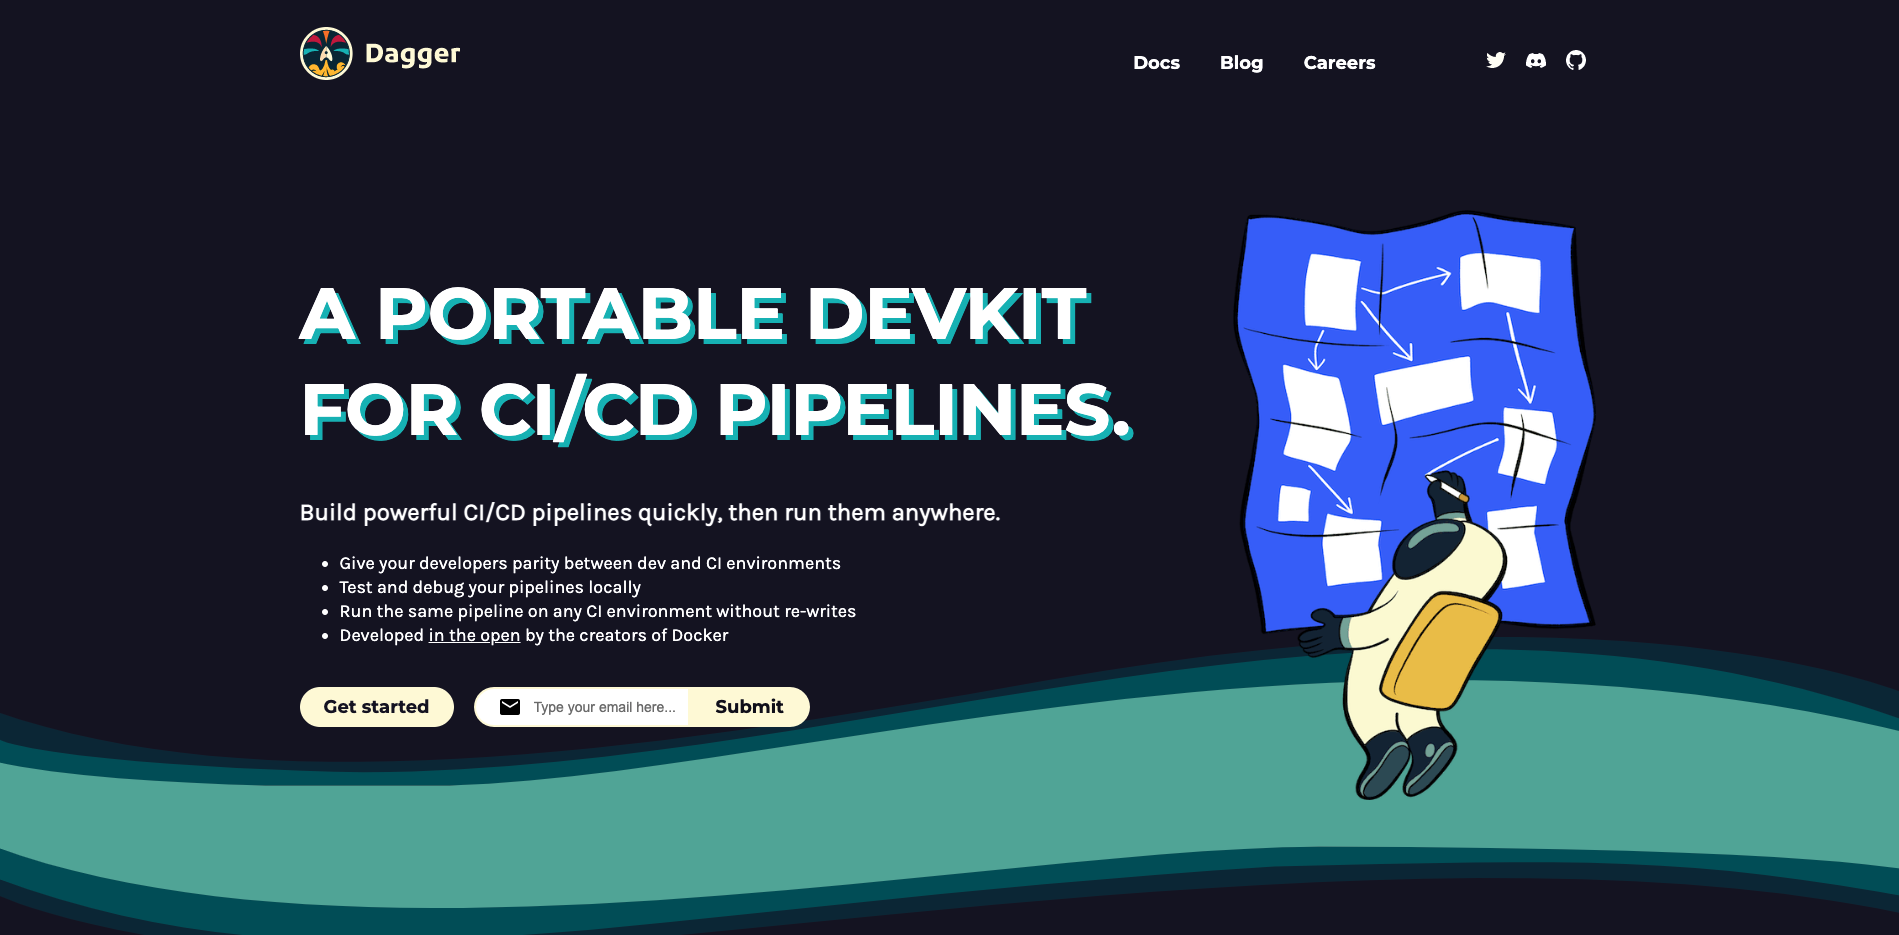
Dagger wants to help DevOps developers write CI/CD pipelines as declarative models in CUE, so that they can describe their own pipelines and interface the various parts of them, all in pure code.

Install

If you are on macOS and have Homebrew installed, you can use the following command to install dagger with one click.

1
☸ ➜ brew install dagger/tap/dagger

The above command will install dagger into the /opt/homebrew/bin directory.

1
2
☸ ➜ type dagger
dagger is /opt/homebrew/bin/dagger

If you do not have Homebrew or another system installed, or if you want to install a specific version of dagger, you can use the following command to do so.

1
2
3
4
☸ ➜ curl -L https://dl.dagger.io/dagger/install.sh | DAGGER_VERSION=0.2.4 sh

☸ ➜ ./bin/dagger version
dagger 0.2.4 (GIT_SHA) darwin/arm64

Since dagger uses Docker to perform tasks, you need to install and run the Docker Engine before you can use it officially.

Example

Now let’s use the official todo sample application to demonstrate how to use dagger to run its CI/CD pipeline.

First get the sample application code.

1
2
3
☸ ➜ git clone https://github.com/dagger/dagger
☸ ➜ cd dagger
☸ ➜ git checkout v0.2.4

Go to the root of the sample application code and execute the dagger do build command to execute the CI/CD pipeline.

1
2
☸ ➜ cd pkg/universe.dagger.io/examples/todoapp
☸ ➜ dagger do build

The first time the task is executed, the test build for the sample application takes a while to complete because there is no cache and all dependencies need to be installed.

1
2
3
4
5
6
7
8
[] client.filesystem."./".read                                                                   0.4s
[] actions.deps                                                                                170.8s
[] actions.test.script                                                                           0.2s
[] actions.build.run.script                                                                      0.2s
[] actions.test                                                                                  4.4s
[] actions.build.run                                                                            49.6s
[] actions.build.contents                                                                        0.1s
[] client.filesystem."./_build".write                                                            0.4s

The above result shows the execution of our build command above, which takes place in a local container named dagger-buildkitd throughout the execution process.

dagger-buildkitd

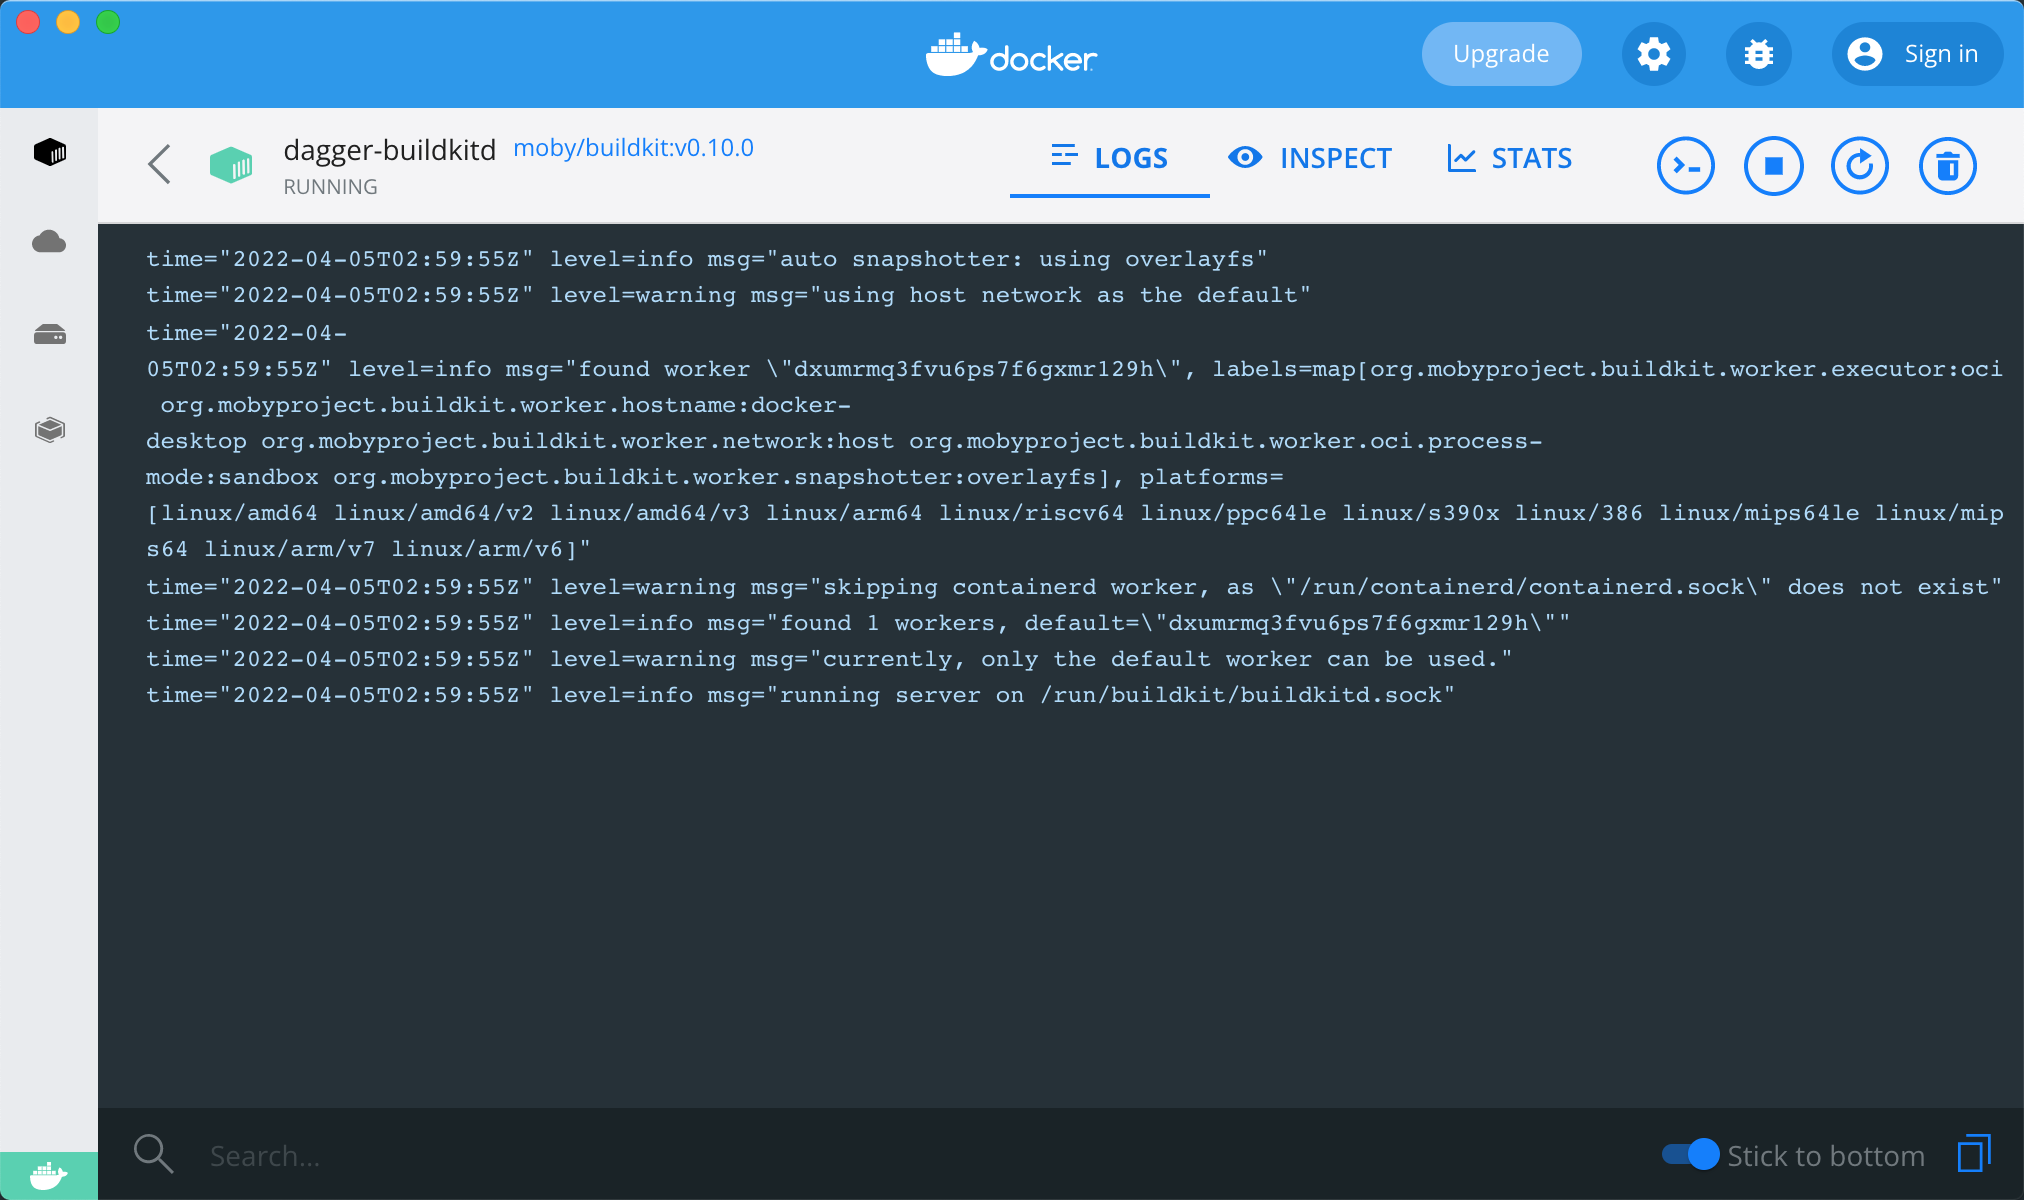
This proves that dagger is going to execute the task in Docker’s execution engine BuildKit.

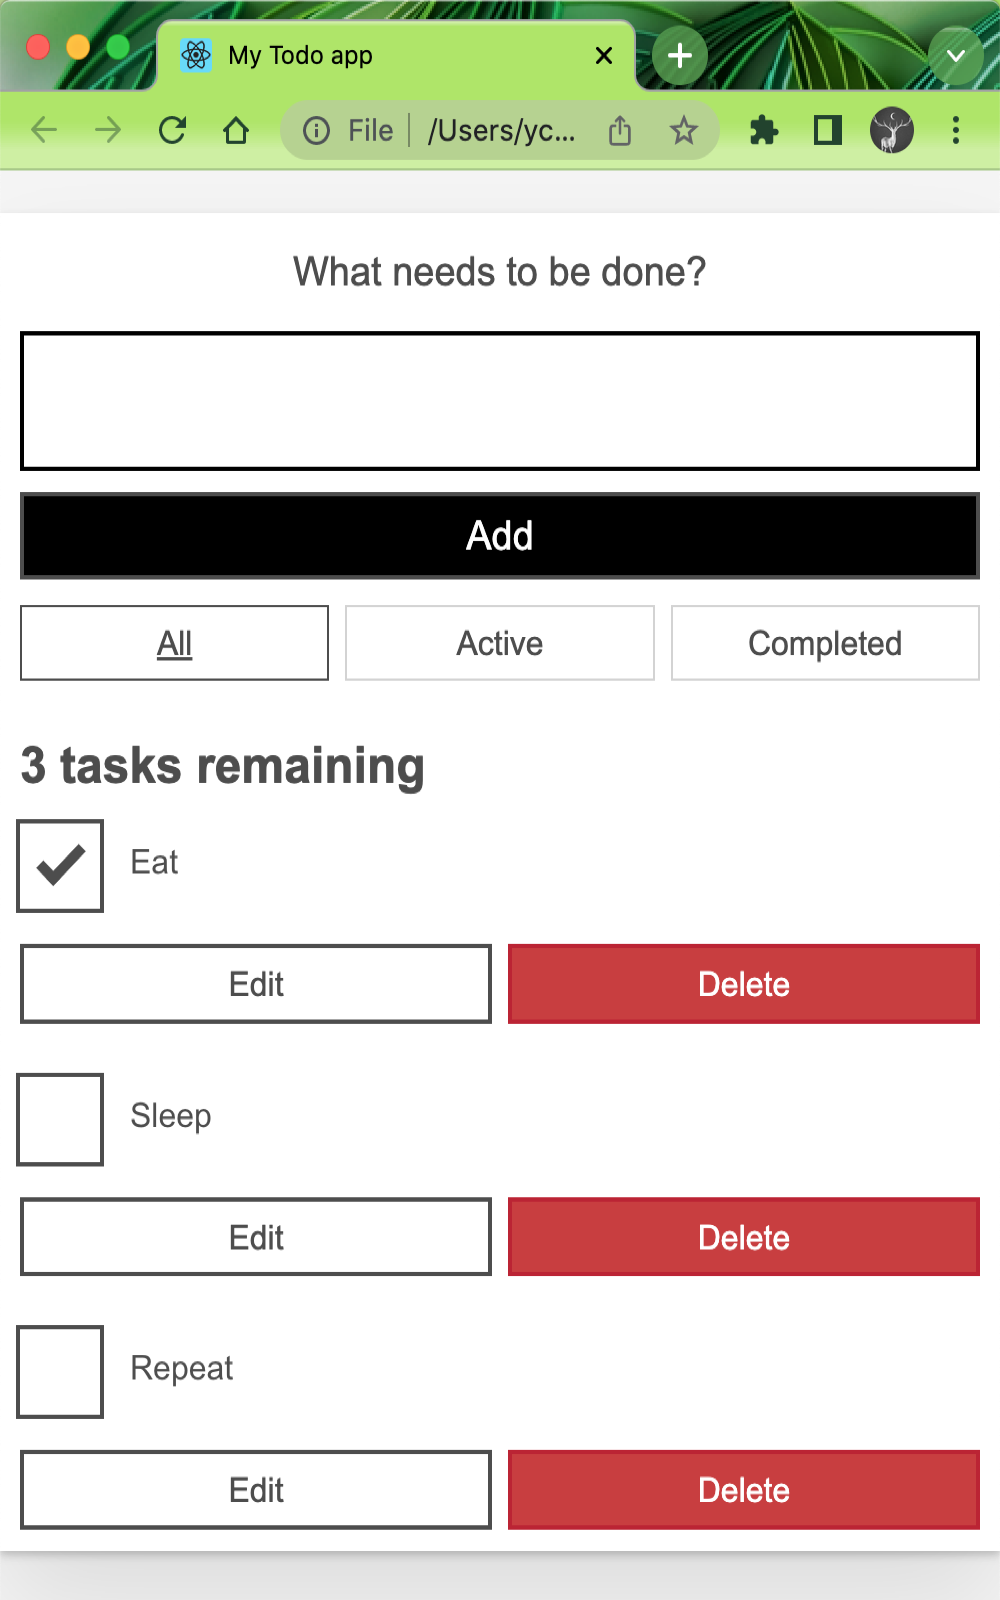
Since this is a static application, we can open the final generated file in the browser, here we are defining the final copy of the build result to the _build directory on the host. We can execute the open _build/index.html command to preview the application.

open _build/index.html

Now we don’t need to install any application-specific dependencies, dagger manages all these intermediate steps, and with dagger we don’t need to commit and push the code every time to see the results of the application, and each executed action is cached so that subsequent runs are very fast.

For example, in the todoapp directory, edit line 25 of src/components/Form.js, change the line to What must be done today? and save the file, then run the build command locally again.

 1
 2
 3
 4
 5
 6
 7
 8
 9
10
dagger do build

[] client.filesystem."./".read                                                                   0.2s
[] actions.deps                                                                                  1.8s
[] actions.test.script                                                                           0.2s
[] actions.build.run.script                                                                      0.2s
[] actions.test                                                                                  0.0s
[] actions.build.run                                                                             0.0s
[] actions.build.contents                                                                        0.0s
[] client.filesystem."./_build".write                                                            0.5s

We can see that the execution time of the entire pipeline has been drastically reduced and the results are output correctly.

Pipeline Definition

dagger uses the CUE language to define the pipeline, so we have to understand the language first, as we described in the previous article about the basic use of the CUE language.

The pipeline definition for our sample application here is shown below.

  1
  2
  3
  4
  5
  6
  7
  8
  9
 10
 11
 12
 13
 14
 15
 16
 17
 18
 19
 20
 21
 22
 23
 24
 25
 26
 27
 28
 29
 30
 31
 32
 33
 34
 35
 36
 37
 38
 39
 40
 41
 42
 43
 44
 45
 46
 47
 48
 49
 50
 51
 52
 53
 54
 55
 56
 57
 58
 59
 60
 61
 62
 63
 64
 65
 66
 67
 68
 69
 70
 71
 72
 73
 74
 75
 76
 77
 78
 79
 80
 81
 82
 83
 84
 85
 86
 87
 88
 89
 90
 91
 92
 93
 94
 95
 96
 97
 98
 99
100
101
102
103
104
105
106
package todoapp

import (
 "dagger.io/dagger"
 "dagger.io/dagger/core"
 "universe.dagger.io/alpine"
 "universe.dagger.io/bash"
 "universe.dagger.io/docker"
 "universe.dagger.io/netlify"
)

dagger.#Plan & {
 _nodeModulesMount: "/src/node_modules": {
  dest:     "/src/node_modules"
  type:     "cache"
  contents: core.#CacheDir & {
   id: "todoapp-modules-cache"
  }

 }
 client: {
  filesystem: {
   "./": read: {
    contents: dagger.#FS
    exclude: [
     "README.md",
     "_build",
     "todoapp.cue",
     "node_modules",
    ]
   }
   "./_build": write: contents: actions.build.contents.output
  }
  env: {
   APP_NAME:      string
   NETLIFY_TEAM:  string
   NETLIFY_TOKEN: dagger.#Secret
  }
 }
 actions: {
  deps: docker.#Build & {
   steps: [
    alpine.#Build & {
     packages: {
      bash: {}
      yarn: {}
      git: {}
     }
    },
    docker.#Copy & {
     contents: client.filesystem."./".read.contents
     dest:     "/src"
    },
    bash.#Run & {
     workdir: "/src"
     mounts: {
      "/cache/yarn": {
       dest:     "/cache/yarn"
       type:     "cache"
       contents: core.#CacheDir & {
        id: "todoapp-yarn-cache"
       }
      }
      _nodeModulesMount
     }
     script: contents: #"""
      yarn config set cache-folder /cache/yarn
      yarn install
      """#
    },
   ]
  }

  test: bash.#Run & {
   input:   deps.output
   workdir: "/src"
   mounts:  _nodeModulesMount
   script: contents: #"""
    yarn run test
    """#
  }

  build: {
   run: bash.#Run & {
    input:   test.output
    mounts:  _nodeModulesMount
    workdir: "/src"
    script: contents: #"""
     yarn run build
     """#
   }

   contents: core.#Subdir & {
    input: run.output.rootfs
    path:  "/src/build"
   }
  }

  deploy: netlify.#Deploy & {
   contents: build.contents.output
   site:     client.env.APP_NAME
   token:    client.env.NETLIFY_TOKEN
   team:     client.env.NETLIFY_TEAM
  }
 }
}

The CUE file above shows that the dagger pipeline starts with a #Plan in which we can.

  • interact with the client client file system.
    • read files, usually using . for the current directory.
    • write to files, usually build output as _build directory.
  • Read environment variables, such as NETLIFY_TOKEN as defined above.
  • Declare some actions, such as test, build, deploy, etc. The names of the actions can be arbitrary.

The overall architecture of the pipeline we defined above is shown below, where the client section defines client-related interactions and the actions section defines the pipeline actions.

 1
 2
 3
 4
 5
 6
 7
 8
 9
10
11
12
13
14
15
16
17
18
19
20
21
22
23
24
25
26
27
28
29
dagger.#Plan & {
  client: {
    filesystem: {
      // ...
    }
    env: {
      // ...
    }
  }
  actions: {
    deps: docker.#Build & {
      // ...
    }
    test: bash.#Run & {
      // ...
    }
    build: {
      run: bash.#Run & {
         // ...
      }
      contents: core.#Subdir & {
        // ...
      }
    }
    deploy: netlify.#Deploy & {
      // ...
    }
  }
}

When we executed the dagger do build command earlier, the following output was generated.

1
2
3
4
5
6
7
8
[] client.filesystem."./".read                                                                   0.2s
[] actions.deps                                                                                  1.8s
[] actions.test.script                                                                           0.2s
[] actions.build.run.script                                                                      0.2s
[] actions.test                                                                                  0.0s
[] actions.build.run                                                                             0.0s
[] actions.build.contents                                                                        0.0s
[] client.filesystem."./_build".write                                                            0.5s

Since we only execute the build action, no deploy related information appears. We can choose to run a specific action by simply specifying the action name after dagger do <action>, and since the input to the build action is the test.output, we will also execute test. Similarly the input to the test action is the output of deps, so that action will be executed as well.

Each specific action is basically defined using a package that is imported off-the-shelf. For example, the build action defines the flow of execution via bash.#Run, and the code is shown below.

 1
 2
 3
 4
 5
 6
 7
 8
 9
10
11
12
13
14
build: {
    run: bash.#Run & {
        input:   test.output
        mounts:  _nodeModulesMount
        workdir: "/src"
        script: contents: #"""
            yarn run build
            """#
    }
    contents: core.#Subdir & {
        input: run.output.rootfs
        path:  "/src/build"
    }
}

So the output of the test action is used as the input to this project via input: test.output, then the directory to mount is specified via mounts, so that the cached nodemodules directory can be used, workdir specifies the working directory as /src, and then the script specifies the command to execute The overall definition structure is actually defined by base.#Run, which can be found in the package universe.dagger.io/bash.

To improve the developer experience, dagger has released a toolkit library called Dagger Universe to help developers import their own Dagger configurations flexibly, and many of the pipelines above are defined in that toolkit.

Client-side interaction

For details on what properties or operations can be defined in dagger.#Plan, we can look at the code in the imported package dagger.io/dagger at https://github.com/dagger/dagger/blob/main/pkg/dagger.io/dagger/plan.cue. This file defines all the properties of #Plan, such as client-side interaction via client.

Accessing the file system

Access to the filesystem can be defined via client.filesystem.

 1
 2
 3
 4
 5
 6
 7
 8
 9
10
11
12
13
14
15
16
17
18
19
20
dagger.#Plan & {
    client: filesystem:  {
        ".": read: {
            // 将本地目录加载为 dagger.#FS
            contents: dagger.#FS   
            exclude: ["node_modules"]
        }
        "config.yaml": write: {
            // 将 CUE 值转换为 YAML 格式的字符串
            contents: yaml.Marshal(actions.pull.output.config)
        }
    }

    actions: {
        copy: docker.#Copy & {
            contents: client.filesystem.".".read.contents
        }
        // ...
    }
}

Get Local Socket

 1
 2
 3
 4
 5
 6
 7
 8
 9
10
11
12
13
14
15
16
17
18
19
20
dagger.#Plan & {
    client: network: "unix:///var/run/docker.sock": connect: dagger.#Socket

    actions: {
        image: alpine.#Build & {
            packages: "docker-cli": {}
        }
        run: docker.#Run & {
            input: image.output
            mounts: docker: {
                dest:     "/var/run/docker.sock"
                contents: client.network."unix:///var/run/docker.sock".connect
            }
            command: {
                name: "docker"
                args: ["info"]
            }
        }
    }
}

Environment Variables

Environment variables can be read from the host as strings or Secret, just specify the type.

 1
 2
 3
 4
 5
 6
 7
 8
 9
10
11
12
13
dagger.#Plan & {
    client: env: {
        REGISTRY_USER:  string
        REGISTRY_TOKEN: dagger.#Secret
    }
    actions: pull: docker.#Pull & {
        source: "registry.example.com/image"
        auth: {
            username: client.env.REGISTRY_USER
            secret:   client.env.REGISTRY_TOKEN
        }
    }
}

Execute commands

Sometimes you need to execute some local commands, which can also be defined in client.

 1
 2
 3
 4
 5
 6
 7
 8
 9
10
11
12
13
14
15
16
17
18
dagger.#Plan & {
    client: commands: {
        os: {
            name: "uname"
            args: ["-s"]
        }
        arch: {
            name: "uname"
            args: ["-m"]
        }
    }

    actions: build: go.#Build & {
        os:   client.commands.os.stdout
        arch: client.commands.arch.stdout
        // ...
    }
}

Get platform information

You can get platform information via client.platform.

1
2
3
4
5
6
7
8
9
dagger.#Plan & {
    client: _

    actions: build: go.#Build & {
        os:   client.platform.os
        arch: client.platform.arch
        // ...
    }
}

Building an image

Again, we can use dagger to build the container image. The code is shown below.

 1
 2
 3
 4
 5
 6
 7
 8
 9
10
11
12
13
14
15
16
17
18
19
20
21
22
23
package main

import (
    "dagger.io/dagger"
    "universe.dagger.io/docker"
)

dagger.#Plan & {
    client: filesystem: "./src": read: contents: dagger.#FS

    actions: build: docker.#Dockerfile & {
        // 构建上下文
        source: client.filesystem."./src".read.contents

        // 默认在 context 中查找 Dockerfile,这里我们直接声明
        dockerfile: contents: #"""
            FROM python:3.9
            COPY . /app
            RUN pip install -r /app/requirements.txt
            CMD python /app/app.py
            """#
    }
}

Here we import the universe.dagger.io/docker package, so a docker.#Dockerfile definition is used in the build action, which first reads the ./src directory, then specifying the build context in the build action, and then defining the Dockerfile to use directly via dockerfile.contents, or we can just provide a build context in the ./src directory.

In addition to using the Dockerfile directly, we can also build the image directly in CUE, as shown in the code below, which is exactly the same as the result above.

 1
 2
 3
 4
 5
 6
 7
 8
 9
10
11
12
13
14
15
16
17
18
19
20
21
22
23
24
25
26
27
28
29
30
31
package main

import (
    "dagger.io/dagger"
    "universe.dagger.io/docker"
)

dagger.#Plan & {
    client: filesystem: "./src": read: contents: dagger.#FS

    actions: build: docker.#Build & {
        steps: [
            docker.#Pull & {
                source: "python:3.9"
            },
            docker.#Copy & {
                contents: client.filesystem."./src".read.contents
                dest:     "/app"
            },
            docker.#Run & {
                command: {
                    name: "pip"
                    args: ["install", "-r", "/app/requirements.txt"]
                }
            },
            docker.#Set & {
                config: cmd: ["python", "/app/app.py"]
            },
        ]
    }
}

Here we are using the docker.#Build definition for configuration. steps defines the build steps, docker.#Pull specifies the base image, docker.#Copy copies the source file directory, docker.#Run configures the image build command, and docker.#Set specifies the image start command. This is actually equivalent to implementing the Dockerfile declaration through CUE.

Summary

dagger uses the CUE language to configure the pipeline, so this naturally adds a bit of a barrier, but if you get familiar with CUE, you’ll find that dagger’s pipeline is very easy to configure, basically by looking at the package definitions and knowing how to use it.

The tagline of dagger is a portable development toolkit for CI/CD pipelines, which allows DevOps engineers to quickly build powerful CI/CD pipelines, run them anywhere, unify development and CI environments, and test and debug pipelines locally, which is undoubtedly the biggest benefit of dagger so far, but you’d say it’s going to be a disruptive product in the DevOps space? We haven’t seen any of these disruptions yet, at least not yet, but of course dagger is still in the very early stages, so maybe there will be more and more surprising features to come.