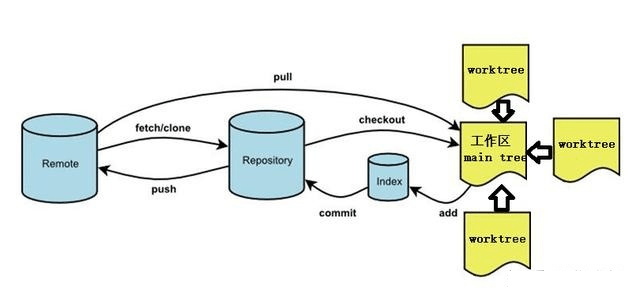
The git worktree is not technically a new feature, it has been available for several years and was introduced in the 2.5 release in July 2015. A Worktree is multiple workspaces linked to a unified repository. A git repository can support multiple worktrees, corresponding to different branches.
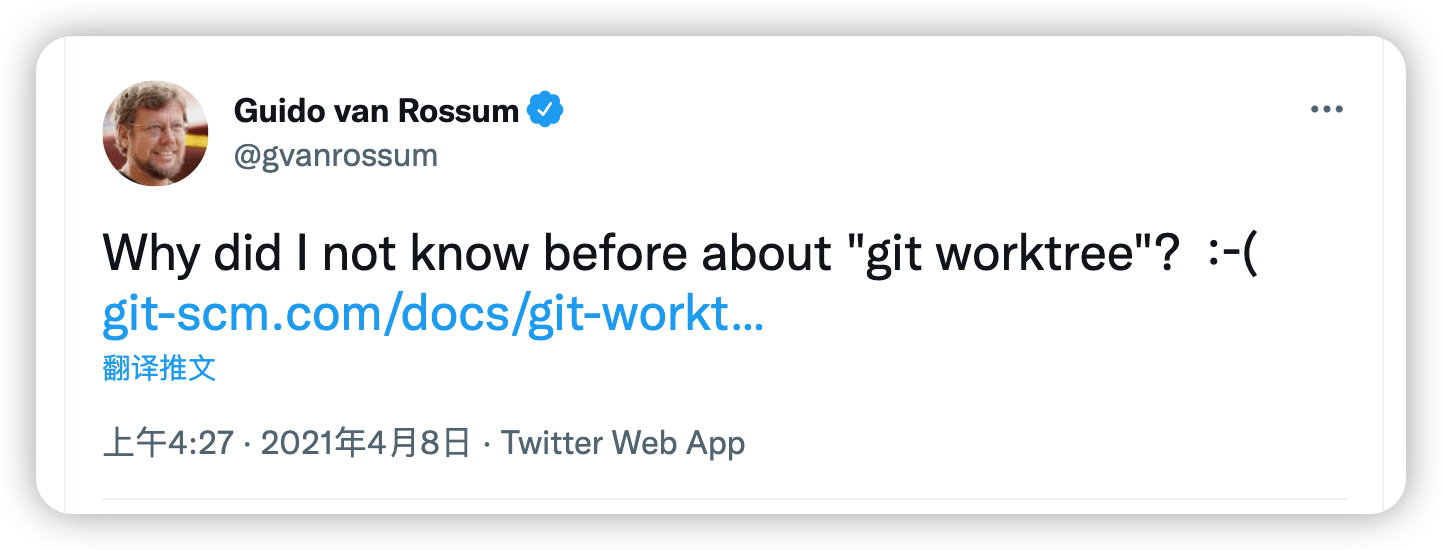
I saw a tweet from Guido van Rossum on Twitter about why he didn’t know about the git worktree usage before. This piqued my curiosity, as I don’t usually encounter scenarios where I need to use this command in my work.
Speaking of the git worktree command, it is essential to introduce the git stash command. I’m sure you’ve used this command in the past.
git stash
This command is usually used when you are working on your current branch and suddenly need to switch to another branch to fix a bug or deal with an issue. You can use the git stash command to stash your changes in your current branch, then switch to another branch to work on the issue, then switch to your previous branch when you’re done, and use git stash pop to pop your previous changes and continue the work you’ve been working on.
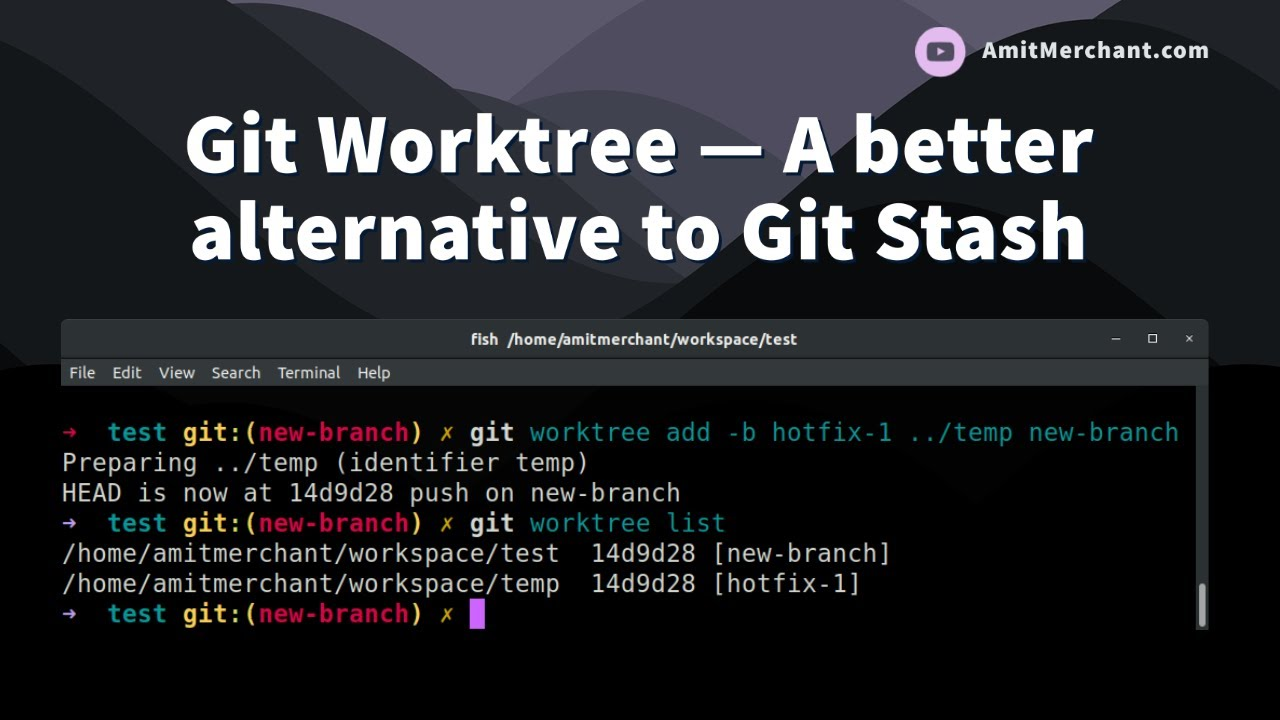
git worktree
The command can also be used with the functionality of the above problem, and it will be convenient to use it flexibly. You can use this command to create a new worktree directory, which is still logical for branch switching and issue handling. Now if you want to go to the stable branch for a while, you can just cd it. It is better to create the working directory outside of the main repository directory to avoid contaminating the repository.
|
|
bare repo
As we know, the worktree directory is usually not created under the current project, which is very difficult for OCD people, so here we need to use bare repo to solve this problem.
To generate a bare repo is also very simple, just add the -bare parameter to the following two commands. As you can see from the picture below, bare repo only contains Git related information ( .git), but not our actual code files, directories, which means it can’t perform add / commit / pull / push operations like non-bare repo.

We can simply understand that bare repo is a Git shell, and because of these features (no changes can be made to it), it can be used as a private centralized repo to avoid messing up the contents of repo. Optimize the way you work on multiple branches at the same time with the bare repo feature.
|
|
summarize
The advantage of this is that when our repository needs to be maintained in multiple branches at the same time (due to some need), we don’t have to create two new projects ( git clone) to pull the code and maintain them separately (switching branches is still a lot of work, especially for branches that are very different and can be very slow). This is where using git worktree comes in handy. It ensures that multiple branches are maintained at the same time, and that the disk space in the directories out of worktree is as small as possible (macOS disk space is an inch of gold).
| No. | Command | Meaning |
|---|---|---|
| 1 | git worktree add ../Work tree directory name Branch(commits ID) | Create a complete set of branch workspaces |
| 2 | git worktree list (–porcelain) | List the details of each working tree (list more complete hash and branch information) |
| 3 | git worktree move 2022-stable ../2022-stable-new | Move the working tree to a new directory (you cannot move the main working tree containing submodules) |
| 4 | git worktree prune | Clear the worktree information in $GIT_DIR/worktrees. |
| 5 | git worktree remove (–force) | User deletes the working tree (only clean working trees can be deleted and the main working tree cannot be deleted) |
| 6 | git worktree lock | Prevent their administrative files from being automatically deleted |
| 7 | git worktree unlock | Unlocking of trees in locked work |