The cross-platform principle of Kotlin Native

Kotlin Native’s cross-platform is pretty much all-inclusive.

  • JVM
  • JS
  • Android / Android NDK
  • Apple
  • Linux
  • Windows
  • WebAssembly

In short, although Kotlin can run on JVM and call Java code, Kotlin is not Java, and with the help of LLVM, Pure Kotlin Code can be compiled into With LLVM, Pure Kotlin Code can be compiled into platform code to achieve VM-less cross-platform.

It can be compiled as an executable, a library, or of course an Apple framework.

Write an API SDK: HappyNasa

I’m not worried at all about using Kotlin Native on Android, so the main conclusion I want to draw is how it works with Swift.

A typical scenario would be to write an API SDK in Kotlin Native, where the SDK would request the API and parse the JSON, and return a deserialized object to Swift.

First we need an API.

After looking around the web, I found that NASA has an interesting API for Astronomy Picture of the Day, which you can see by visiting this Astronomy Picture of the Day page.

The API URL provided by NASA looks like this

1
https://api.nasa.gov/planetary/apod?api_key={API_KEY}

You can request your own API_KEY at https://api.nasa.gov/.

The next step is to create a Kotlin Native project, I use IntelliJ IDEA.

File -> New -> Project

Select Mobile Library like the following image

Select Mobile Library

Three targets will be created by default

  • common
  • android
  • ios

commomMain

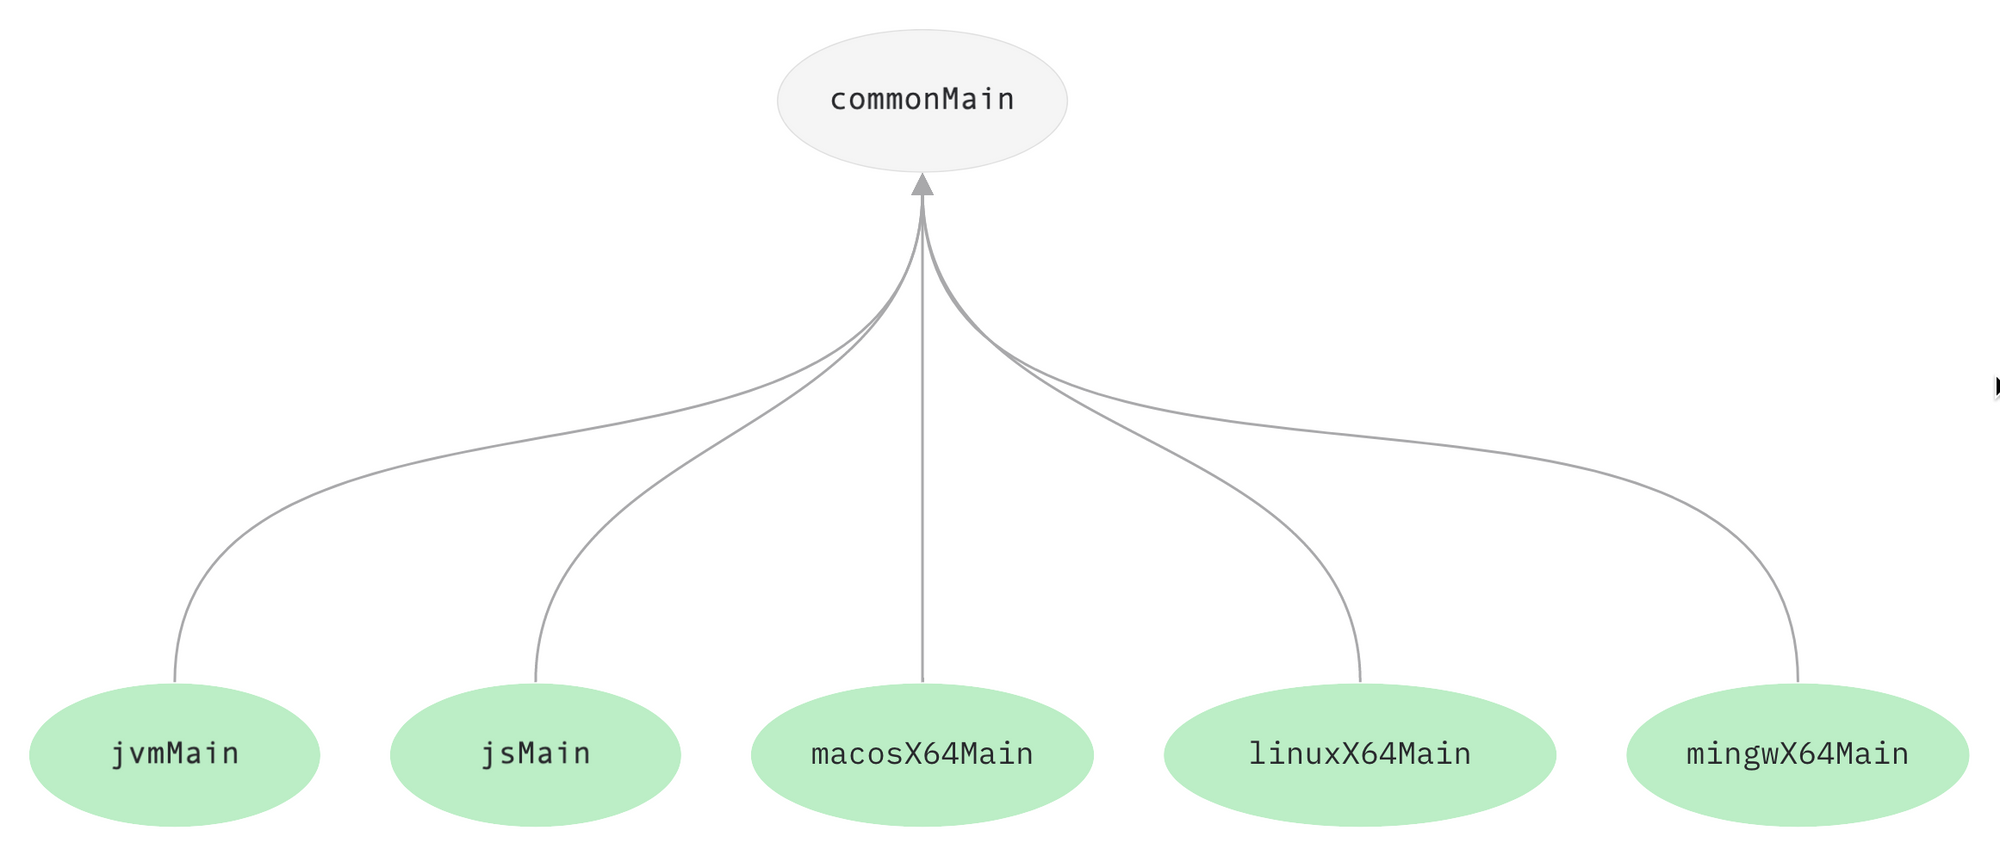
To continue in short, the code in common is the common code where theoretically the core logic of the SDK should be placed, while android and ios can use the shortcuts feature, inherits from common, and can use its own platform interface.

The usage can be seen in the passing of the Platfrom variable of the Greeting class.

commonMain/kotlin/me.zhoukaiwen.library/Greeting.kt

1
2
3
4
5
class Greeting {
    fun greeting(): String {
        return "Hello, ${Platform().platform}!"
    }
}

iosMain/kotlin/me.zhoukaiwen.library/Platform.kt

1
2
3
4
5
import platform.UIKit.UIDevice

actual class Platform actual constructor() {
    actual val platform: String = UIDevice.currentDevice.systemName() + " " + UIDevice.currentDevice.systemVersion
}

If you press Build now, you will find the compiled Framework in the build/bin/ios folder in the project directory, ready to use out of the box.

Make a network request

Now you can go to my repo kotlin-native-library-demo and download the finished project

The first step is to configure build.gradle.kts to add the serialization and network request library Ktor dependencies, focusing on the following steps.

 1
 2
 3
 4
 5
 6
 7
 8
 9
10
11
12
13
14
15
16
17
18
19
20
21
22
23
24
25
26
27
28
29
30
31
32
33
34
35
36
37
38
39
40
41
42
43
44
45
46
47
48
49
50
51
52
53
// 配置 serialization plugin
// https://ktor.io/docs/json.html#kotlinx_dependency
// https://github.com/Kotlin/kotlinx.serialization#setup
// https://kotlinlang.org/docs/mpp-discover-project.html#multiplatform-plugin
plugins {
    kotlin("plugin.serialization") version "1.5.10"
}

kotlin {
  // 配置 target
  // https://kotlinlang.org/docs/mpp-discover-project.html#targets
  val macos = macosX64("macos")
  val ios = iosX64("ios")
  val iosArm64 = iosArm64("iosArm64")
  
  // https://kotlinlang.org/docs/mpp-discover-project.html#source-sets
  sourceSets {
    val commonMain by getting {
                dependencies {
                // 添加 ktor core 到 common
                // https://ktor.io/docs/http-client-multiplatform.html#add-dependencies
                // https://kotlinlang.org/docs/mpp-add-dependencies.html
                    implementation("io.ktor:ktor-client-core:$ktorVersion")
                    implementation("io.ktor:ktor-client-serialization:$ktorVersion")
                }
            }
            
    val iosMain by getting {
        dependsOn(commonMain)
        dependencies {
            // 添加 ktor for ios
            implementation("io.ktor:ktor-client-ios:$ktorVersion")
        }
    }

    val macosMain by getting {
        dependsOn(commonMain)
        dependencies {
            // 添加 ktor for macOS
            implementation("io.ktor:ktor-client-curl:$ktorVersion")
        }
    }

    // 配置每个 target 编译出来的 Framework 名称
    // https://kotlinlang.org/docs/mpp-build-native-binaries.html#declare-binaries
    configure(listOf(ios, iosArm64, macos)) {
        // listOf(RELEASE) 是指 Build 时只编译 Release 版本
        binaries.framework(listOf(RELEASE)) {
            baseName = "HappyNasa"
        }
    }
  }
}

For a description of the structure of this file, see official documentation Discover Project and Build final native binaries

Next you can write the request logic

commonMain/kotlin/me.zhoukaiwen.library/Nasa.kt

 1
 2
 3
 4
 5
 6
 7
 8
 9
10
11
12
13
14
15
16
17
18
19
20
21
22
23
24
25
26
27
28
29
30
31
32
33
34
35
36
37
38
39
40
41
42
43
@Serializable
@SerialName("APOD")
data class APOD(val date: String,
                val explanation: String,
                val hdurl: String,
                val media_type: String,
                val service_version: String,
                val title: String,
                val url: String)

class NASA(private val apiKey: String) {

    val NASAEntryPoint.fullPath: String
        get() {
            return nasaBaseURL + this.path
        }

    private val client = HttpClient() {
        install(JsonFeature) {
            serializer = KotlinxSerializer()
        }
    }

    private val nasaBaseURL: String = "https://api.nasa.gov"

    enum class NASAEntryPoint(val path: String) {
        APOD( "/planetary/apod")

    }

    suspend fun getAPOD(): APOD? {
        val response: HttpResponse =  client.get(NASAEntryPoint.APOD.fullPath) {
            parameter("api_key", apiKey)
        }

        return try {
            val apod: APOD = response.receive()
            apod
        } catch (e: NoTransformationFoundException) {
            null
        }
    }
}

Now press Build and we will find the ios, iosArm64 and macos frameworks for all three platforms under build/bin.

Create Swift Package

The first step is to merge the Framework into an xcframework using xcodebuild.

1
xcodebuild -create-xcframework -framework ./lib/iosArm64/releaseFramework/HappyNasa.framework -framework ./lib/ios/releaseFramework/HappyNasa.framework -framework ./lib/macos/releaseFramework/HappyNasa.framework -output ./happy_lib.xcframework

Then it’s time to create our new Swift Package project, skip the tutorial on how to create it, you can download the completed project kotlin_native_swift_package_demo_lib directly from Github.

Configuring Package.swift.

 1
 2
 3
 4
 5
 6
 7
 8
 9
10
11
12
13
14
15
16
17
18
19
20
21
import PackageDescription

let package = Package(
    name: "kotlin_demo_lib",
    products: [
        .library(
            name: "kotlin_demo_lib",
            targets: ["kotlin_demo_lib", "HappyNasa"]),
    ],
    targets: [
        .target(
            name: "kotlin_demo_lib",
            dependencies: []),
        .binaryTarget(
                    name: "HappyNasa",
                    path: "Sources/happy_lib.xcframework"),
        .testTarget(
            name: "kotlin_demo_libTests",
            dependencies: ["kotlin_demo_lib"]),
    ]
)

The main operation is to increase the binaryTarget, refer to the official documentation of Declare a Binary Target in the Package Manifest can be.

Using HappyNasa in iOS

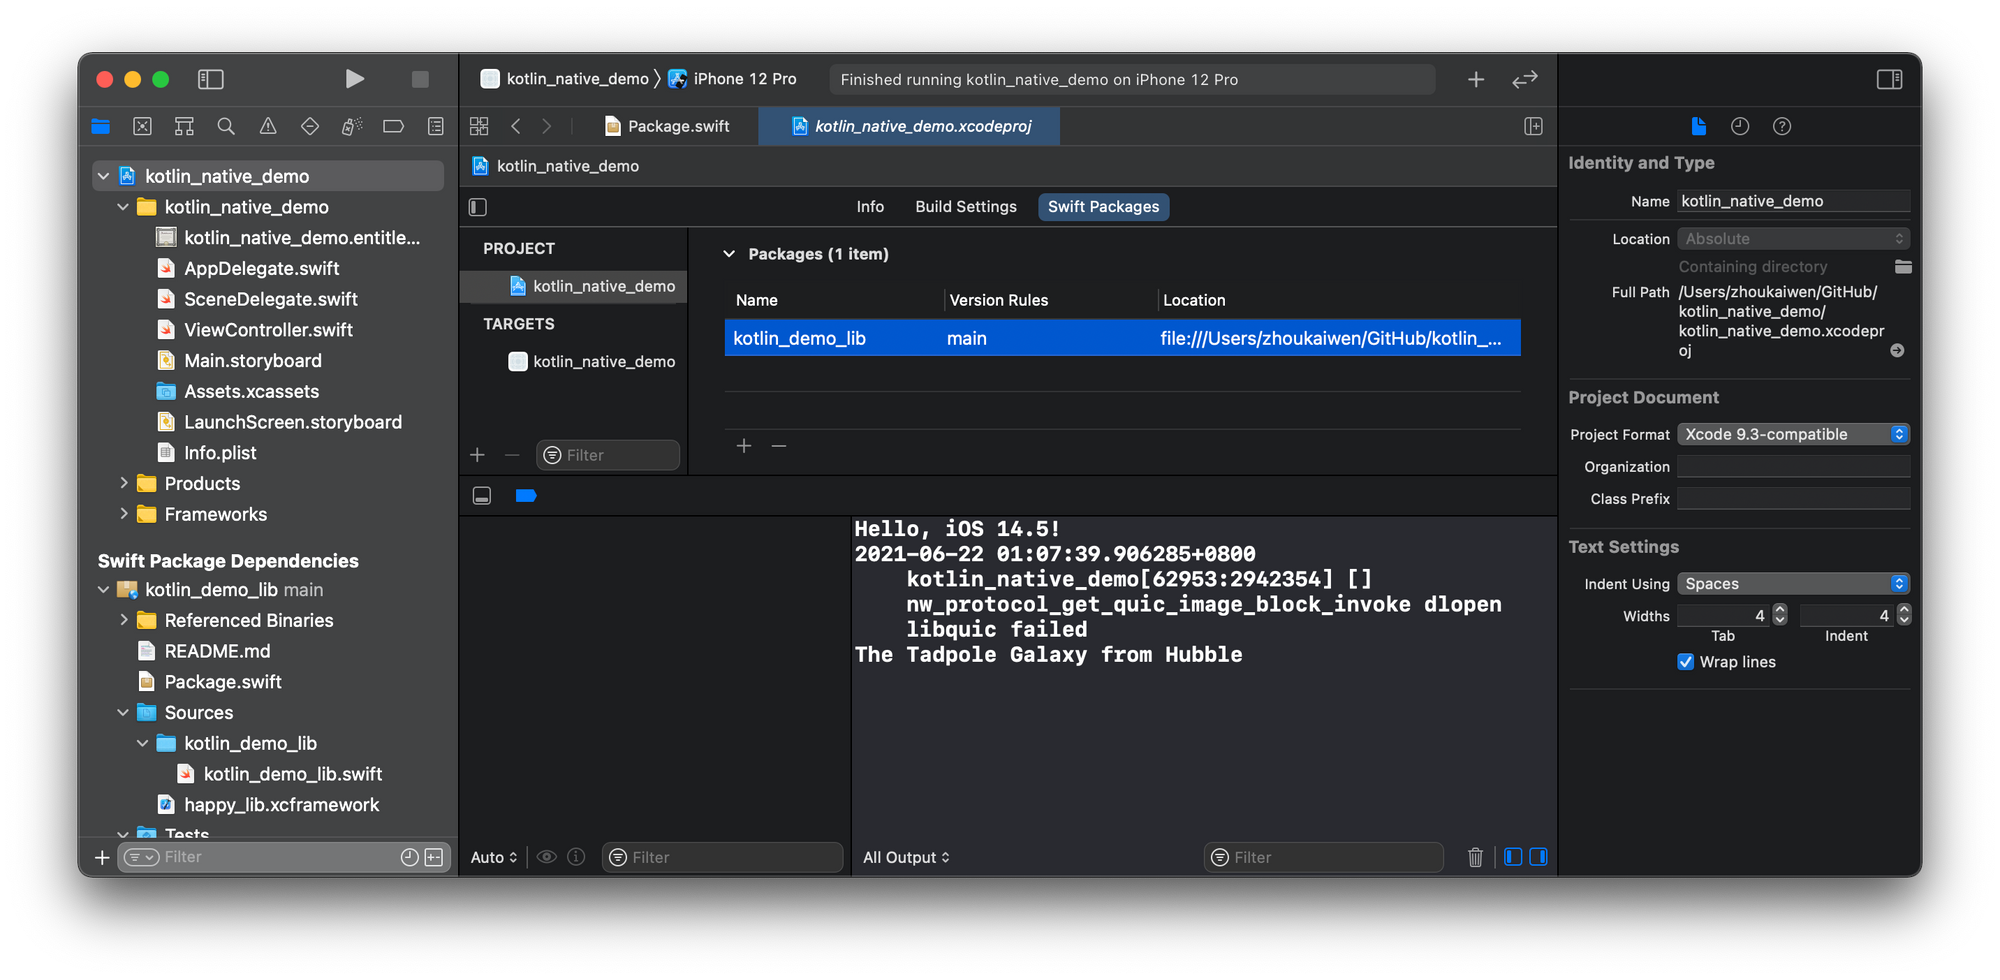
Create a new Xcode Swift project and add a reference to the Swift Package we just finished, which you can download from my repo kotlin_native_ios_demo You can download the finished project here.

kotlin native ios

Note that I’m referencing a local address, so if you clone my project directly, please re-add the Swift Pakcage dependency.

ViewController.swift

 1
 2
 3
 4
 5
 6
 7
 8
 9
10
11
12
13
14
15
16
17
18
19
20
21
22
import UIKit
import kotlin_demo_lib
import HappyNasa

class ViewController: UIViewController {

    override func viewDidLoad() {
        super.viewDidLoad()

        let a = Greeting().greeting()
        print(a)

        let nasaClient = NASA.init(apiKey: "{API_KEY}")
        nasaClient.getAPOD { apod, error in
            if let apod = apod {
                print(apod.title)
            } else {
                print("Get apod failed")
            }
        }
    }
}

It feels elegant to use, and Kotlin’s suspend function is translated into Swift’s completion handler. The APOD object defined in Kotlin also has normal access to properties.

Conclusion

Kotlin Native looks like a great cross-platform solution, with the features of a high-level language and the ability to compile perfectly for multiple platforms.

Of course, there are still some shortcomings, Catalyst and Apple Silicon architecture support is still in progress, according to the official issue KT-40442 KT-45302 should be available by the time Kotlin 1.5.30 is released.

But I still have a dream that one day Swift will be able to run on various platforms as easily as Kotlin.