Since the default Kubernetes scheduler is highly configurable, in many cases we don’t need to write any code to customize the scheduling behavior. However, people who want to understand how the scheduler works or have a need for custom features may try to develop their own scheduler. In this article, I will describe how to build a scheduler development environment with the help of kube-scheduler-simulator, a scheduler simulator.
Installing the emulator
First, the code for the Clone emulator.
To build images for the web frontend and emulator server, just execute the make docker_build_and_up command.
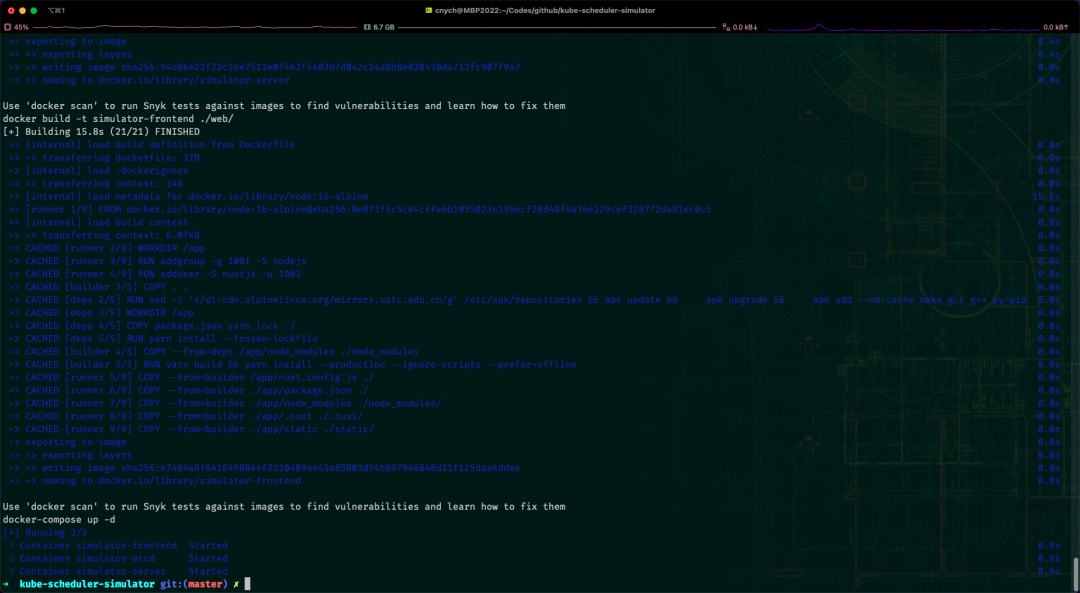
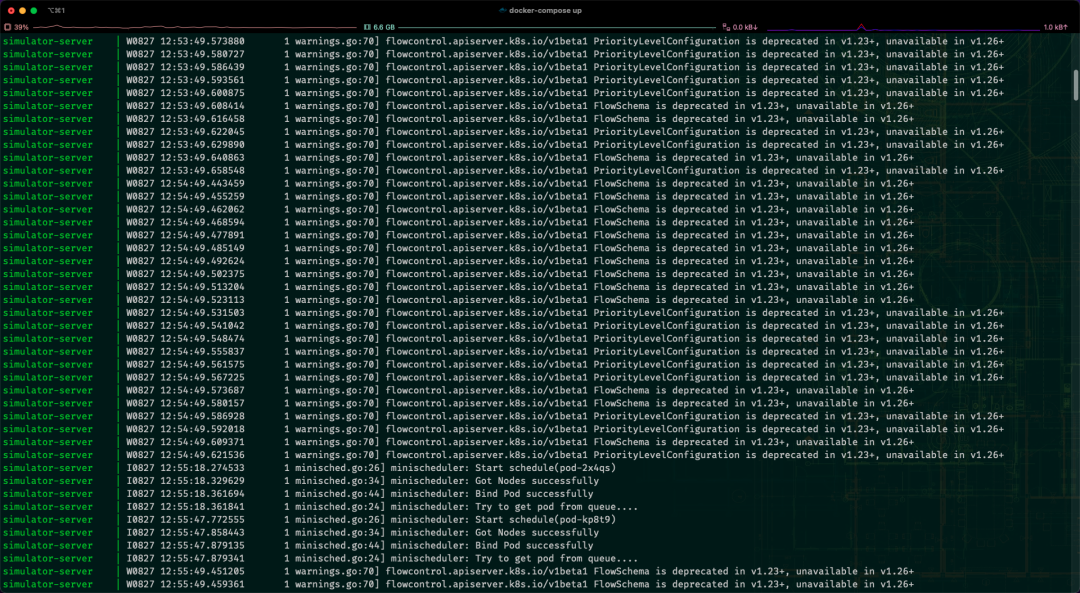
After the image is built we can start the emulator directly with the docker-compose up command.
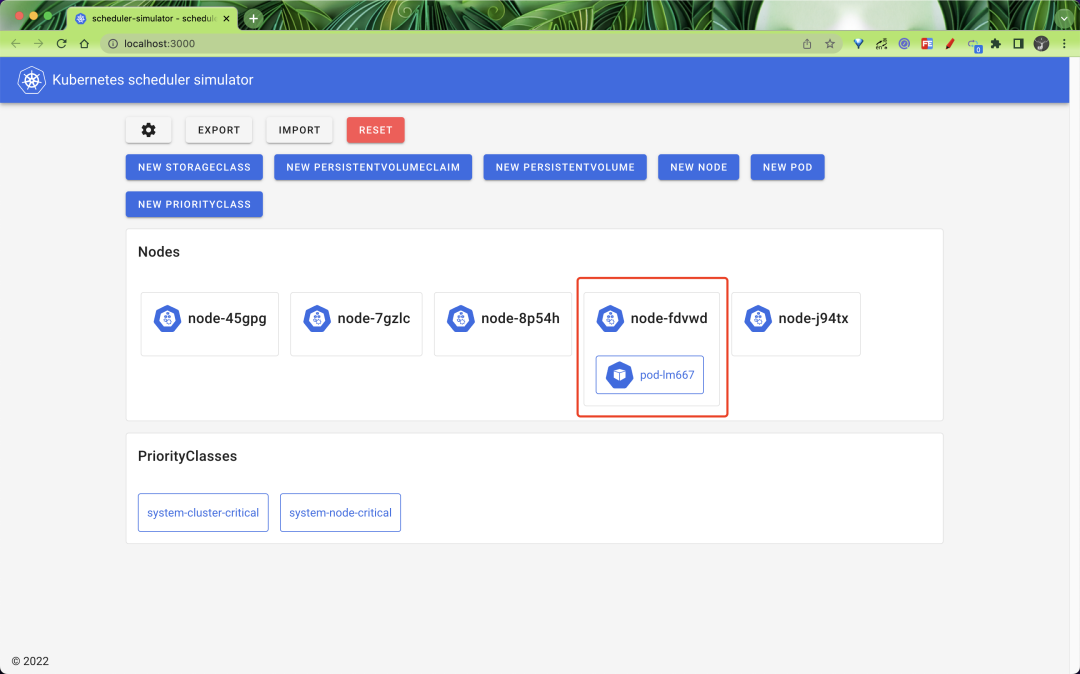
Once started we can access the web page of the emulator directly in the browser via localhost:3000, as shown below.
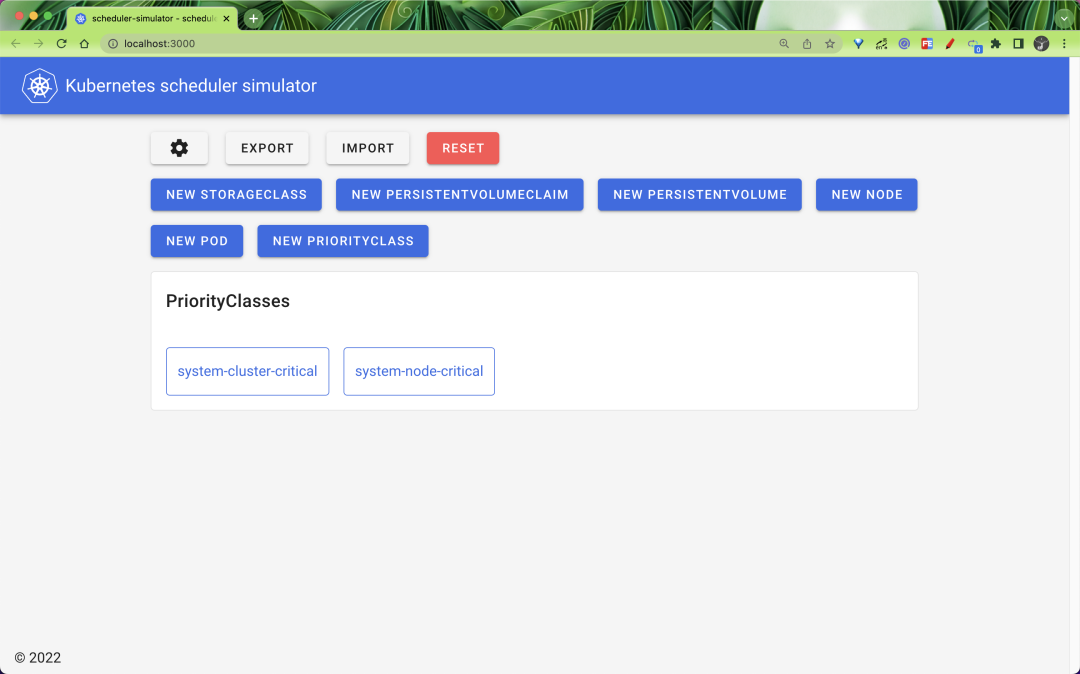
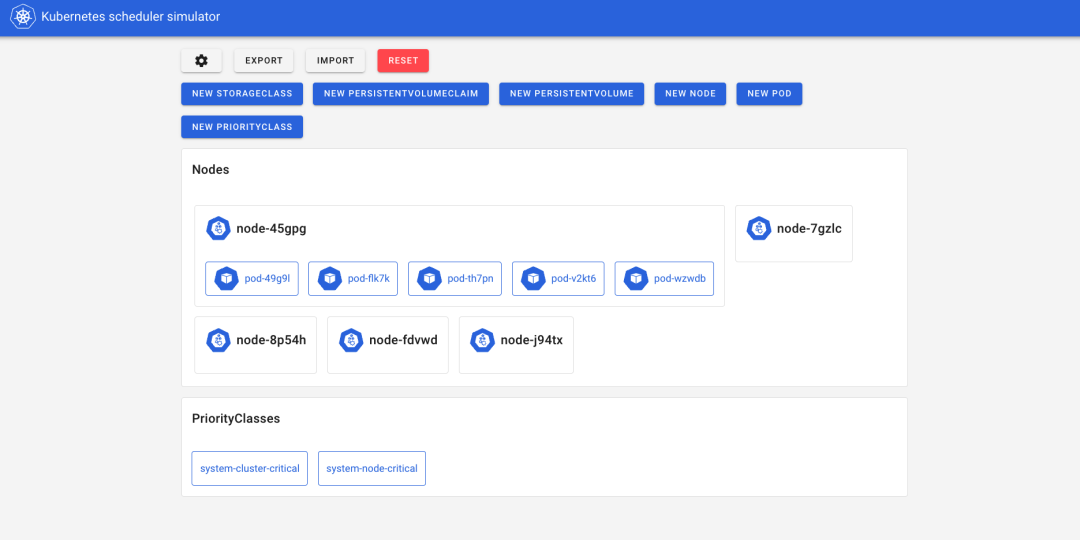
The page provides methods to create new resources, for example, we can click the NEW NODE button to create some new nodes.
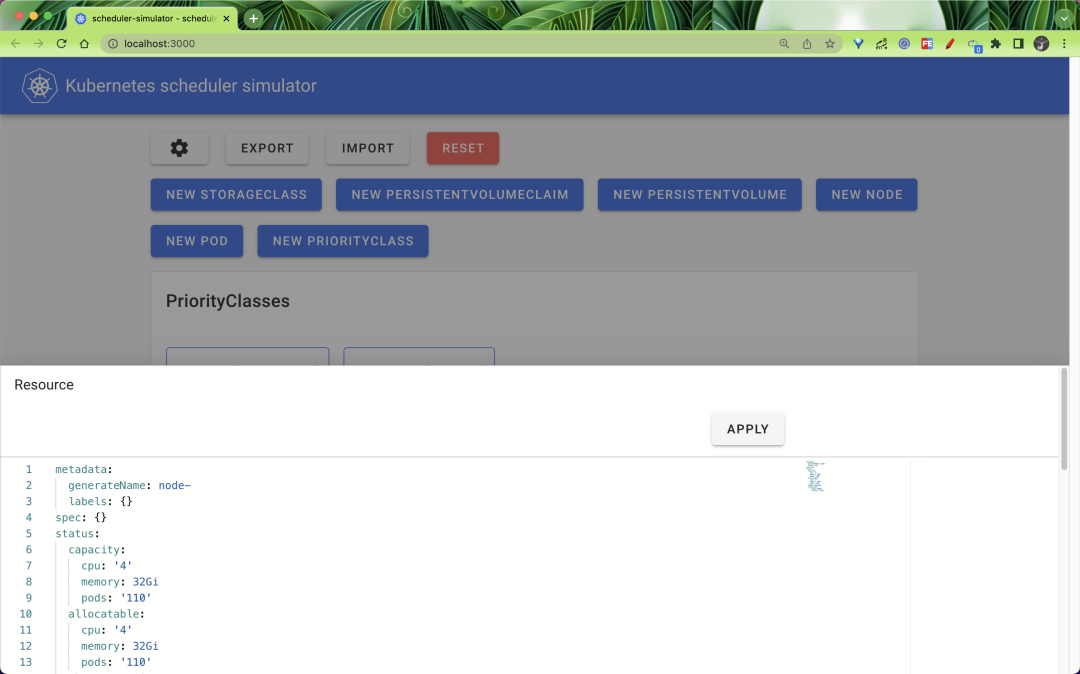
Just click the APPLY button to add a new node, we have added 5 nodes here. Then click NEW POD in the same way to create a new Pod, and it will simulate the whole scheduling process.

The newly created Pod is dispatched to one of the following nodes.
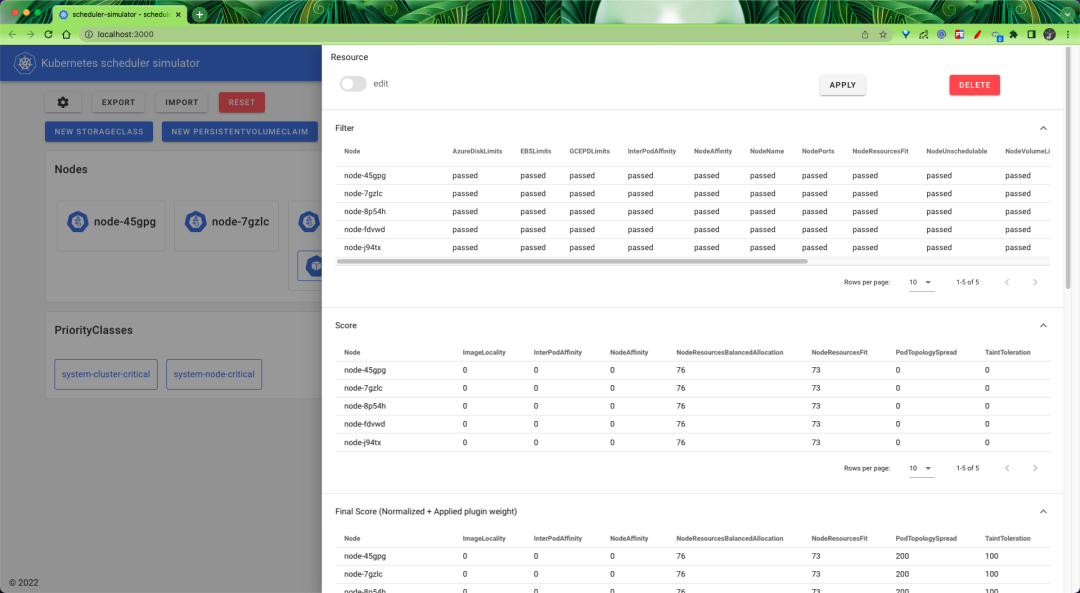
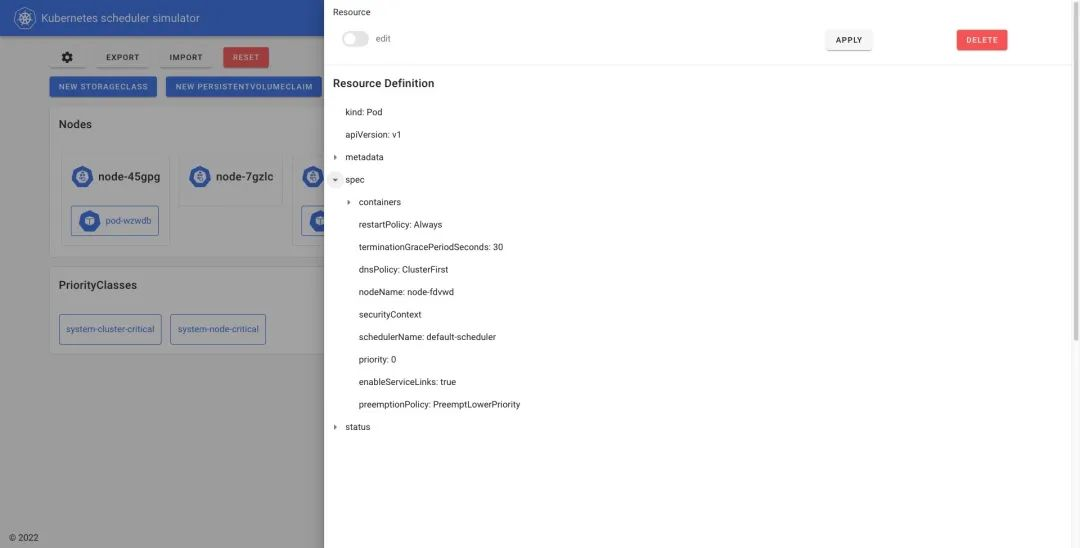
Click on the Pod name to see the entire scheduling process of the Pod, including the Filter phase, Score phase, and final scoring results.
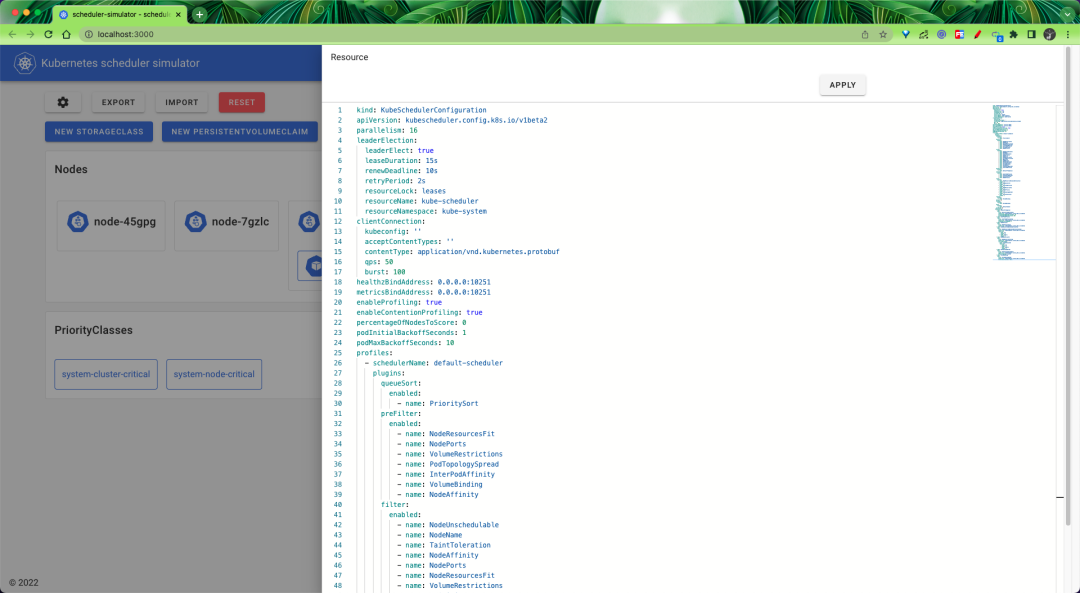
We can configure the scheduler directly by clicking the Settings button in the upper left corner, which actually modifies the KubeSchedulerConfiguration object.
Usage
We learned about Pod scheduling if we use the simulator, so if we want to develop a new scheduler plugin, how should we use it in conjunction with the simulator?
Here we illustrate this with the program https://github.com/sanposhiho/mini-kube-scheduler, a scheduler that implements a Node that randomly determines the Pod.
To get us to use this scheduler in the simulator, we need to perform some of the following procedures.
- Copy
mini-kube-scheduler/minisched(from branch initial-random-scheduler) tokube-scheduler-simulator - Modify the
kube-scheduler-simulator/scheduler/scheduler.gofile to useminisched
Modify the kube-scheduler-simulator/scheduler/scheduler.go file as follows, mainly looking at the changes to the StartScheduler function.
|
|
Change the scheduler to sched := minisched.New(clientSet informerFactory, ), i.e. now we only use the scheduler minisched.
Recompile the project after the changes are done.
|
|
Restart the container after the compilation is complete.
|
|
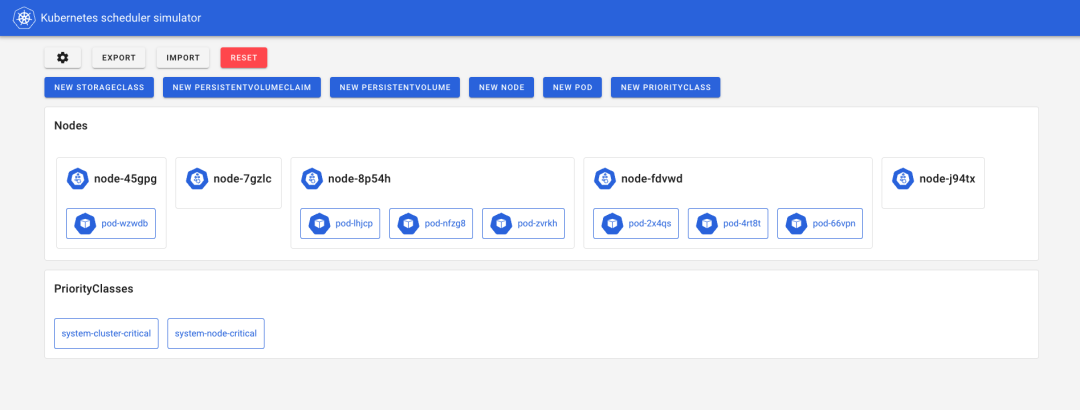
Once started, the simulator can be accessed again via localhost:3000, and now that we only have minisched as the scheduling algorithm in the simulator, we can create a few new Pods to test.
The previous phases of the scheduler will not be visible now, because we did not register.
For example, let’s change the scheduling algorithm of the minisched scheduler from randomly selecting a node to fixedly selecting the first node by modifying the scheduleOne function in the kube-scheduler-simulator/simulator/minisched/minisched.go file, as follows.
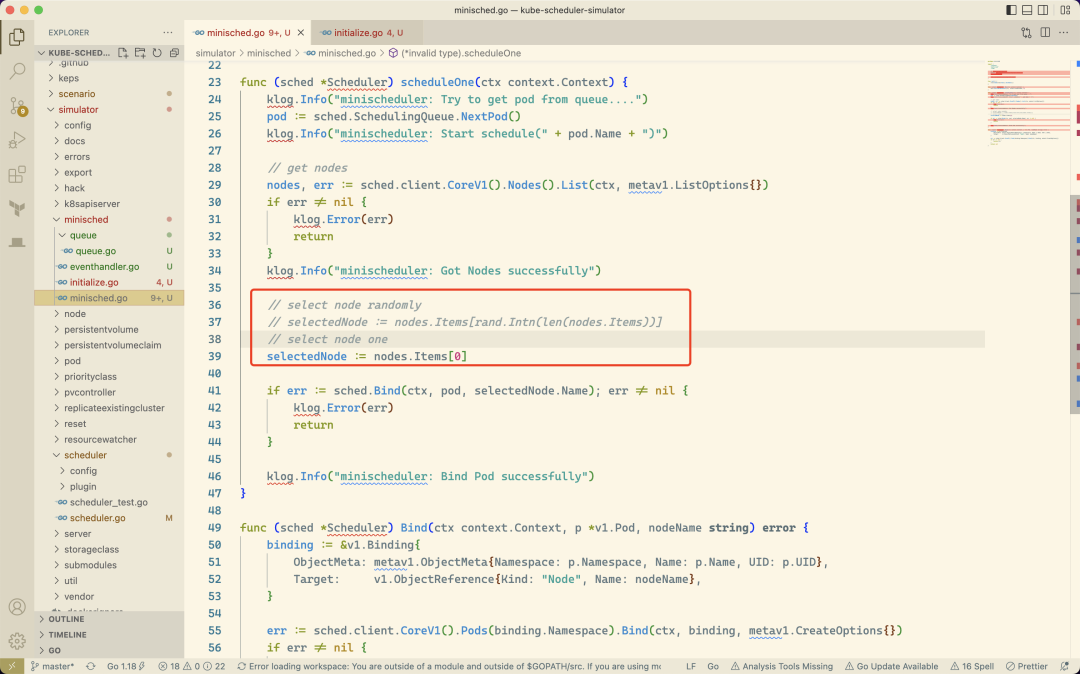
After recompiling the same changes, restarting the container, and revisiting the simulator’s web page, we can now see that our new Pods are always dispatched to the first Node node.
Now we can develop our own scheduler algorithms on demand, without the need for a real K8s cluster at all.
Reference
https://www.miraxia.com/engineers-blog/writing-your-own-scheduler-with-kube-scheduler-simulatorhttps://mp.weixin.qq.com/s?__biz=MzU4MjQ0MTU4Ng==&mid=2247503638&idx=1&sn=06e3628ca4fc17ba08fe17421e0fb7d4