With the development of Kubernetes and its surrounding ecology, cloud-native technology is now very mature and popular, but the Kubernetes architecture is complex, the threshold for use is high, even if you learn to install a Kubernetes cluster is also a very troublesome thing. The good thing is that most cloud vendors provide ready-made container services that can be created and used directly, and there are also projects that simplify the simulation of Kubernetes, such as Kind, Minikube and K3d, which can be used by developers to learn and develop debugging locally.
K3s is a lightweight Kubernetes, K3d, full name K3s in Docker, K3s running in Docker environment, you can build multiple K3s nodes in Docker containers, a single physical machine can run multiple K3s clusters, each cluster can have multiple Server and Agent nodes.
k3s includes some of the following components.
- Containerd: a Docker-like runtime container, but it does not support building images.
- Flannel: a network model based on the CNI implementation. Flannel is used by default and can be replaced by other implementations such as Calico.
- CoreDNS: the cluster internal DNS component.
- SQLite3: SQLite3 is used by default for storage, etcd3, MySQL, Postgres are also supported.
- Traefik: default installation of Ingress controller is traefik version 1.x.
- Embedded service loadbalancer: an embedded service load balancing component.
K3d Repository https://github.com/k3d-io/k3d, installation.
1
|
wget -q -O - https://raw.githubusercontent.com/k3d-io/k3d/main/install.sh | bash
|
kubectl is a Kubernetes command line tool that is downloaded to create a soft link.
1
2
3
|
curl -LO "https://dl.k8s.io/release/$(curl -L -s https://dl.k8s.io/release/stable.txt)/bin/linux/amd64/kubectl"
# Soft links must use absolute paths
sudo ln -s /home/nathan/app/k8s/kubectl /usr/bin/kubectl
|
Use kubectl terminals and systems without agents to avoid interfering with communication with the K3s cluster.
kubecm is a k8s multi-cluster configuration management tool.
1
2
3
4
5
6
|
curl kubecm.tar.gz https://github.com/sunny0826/kubecm/releases/download/v$\{VERSION\}/kubecm_$\{VERSION\}_Linux_x86_64.tar.gz
tar -xf kubecm_v0.21.0_Linux_x86_64.tar.gz
sudo ln -s /home/nathan/app/k8s/kubecm /usr/bin/kubecm

# Switching Clusters
kubecm s
|
helm is the Kubernetes package management tool, download the script to execute the installation.
1
2
3
|
curl -fsSL -o get_helm.sh https://raw.githubusercontent.com/helm/helm/main/scripts/get-helm-3
chmod 755 get_helm.sh
./get_helm.sh
|
Create a cluster
Create a cluster with the command and specified configuration file
The following command creates a one-master-two-slave cluster.
1
|
k3d cluster create command-cluster --port 8080:80@loadbalancer --port 8443:443@loadbalancer --api-port 6443 --servers 1 --agents 2
|
Focus on creating a cluster using the yaml configuration file, write a dev-cluster.yaml file with the following contents.
The old v1alpha2 and v1alpha4 versions have some differences in configuration, see K3d’s official documentation.
 1
 2
 3
 4
 5
 6
 7
 8
 9
10
11
12
13
14
15
|
apiVersion: k3d.io/v1alpha4
kind: Simple
metadata:
  name: dev-cluster # No underscores
servers: 1
agents: 3
kubeAPI:
  hostPort: "6443"
ports:
  - port: 8080:80  # ingress port mapping
    nodeFilters:
      - loadbalancer
  - port: 8443:443
    nodeFilters:
      - loadbalancer
|
Specify the yaml file to create the cluster.
1
2
3
4
5
6
7
8
9
|
$  k3d cluster create --config dev-cluster.yaml
INFO[0000] Using config file dev-cluster.yaml (k3d.io/v1alpha4#simple)
INFO[0000] portmapping '8080:80' targets the loadbalancer: defaulting to [servers:*:proxy agents:*:proxy]
INFO[0000] portmapping '8443:443' targets the loadbalancer: defaulting to [servers:*:proxy agents:*:proxy]
...Omitted...
INFO[0019] Injecting records for hostAliases (incl. host.k3d.internal) and for 5 network members into CoreDNS configmap...
INFO[0021] Cluster 'dev-cluster' created successfully!
INFO[0021] You can now use it like this:
kubectl cluster-info
|
After success, check the cluster information.
1
2
3
4
5
6
|
$ kubectl cluster-info
Kubernetes control plane is running at https://0.0.0.0:6443
CoreDNS is running at https://0.0.0.0:6443/api/v1/namespaces/kube-system/services/kube-dns:dns/proxy
Metrics-server is running at https://0.0.0.0:6443/api/v1/namespaces/kube-system/services/https:metrics-server:https/proxy

To further debug and diagnose cluster problems, use 'kubectl cluster-info dump'.
|
Node information.
1
2
3
4
5
6
|
$ kubectl get node
NAME                       STATUS   ROLES                  AGE     VERSION
k3d-dev-cluster-agent-0    Ready    <none>                 3m50s   v1.24.4+k3s1
k3d-dev-cluster-agent-2    Ready    <none>                 3m49s   v1.24.4+k3s1
k3d-dev-cluster-server-0   Ready    control-plane,master   3m54s   v1.24.4+k3s1
k3d-dev-cluster-agent-1    Ready    <none>                 3m49s   v1.24.4+k3s1
|
Install Traefik2 gateway
Ingress is an API object, just like the other API objects Service and Deployment, which is responsible for managing external traffic access to the cluster, and can be used for load balancing, SSL, etc. Ingress Controllers include Traefik, Nginx Ingress, kong, istio and so on.
We can use Helm to install Traefik2 directly.
1
2
3
4
|
# Similar to the process of installing applications with apt
helm repo add traefik https://helm.traefik.io/traefik
helm repo update
helm install traefik traefik/traefik
|
Wait for the installation to finish, and check the pod to see if it’s finished.
 1
 2
 3
 4
 5
 6
 7
 8
 9
10
11
12
13
14
|
$ helm install traefik traefik/traefik
NAME: traefik
LAST DEPLOYED: Fri Oct 28 23:17:54 2022
NAMESPACE: default
STATUS: deployed
REVISION: 1
TEST SUITE: None
NOTES:
Traefik Proxy 2.9.1 has been deployed successfully
on default namespace !

$ kubectl get pod
NAME                       READY   STATUS    RESTARTS   AGE
traefik-7b47dbff65-5wlvj   1/1     Running   0          5m2s
|
Because the cluster is running in docker, access requires port forwarding.
1
|
kubectl port-forward --address=0.0.0.0 $(kubectl get pods --selector "app.kubernetes.io/name=traefik" --output=name) 9000:9000
|
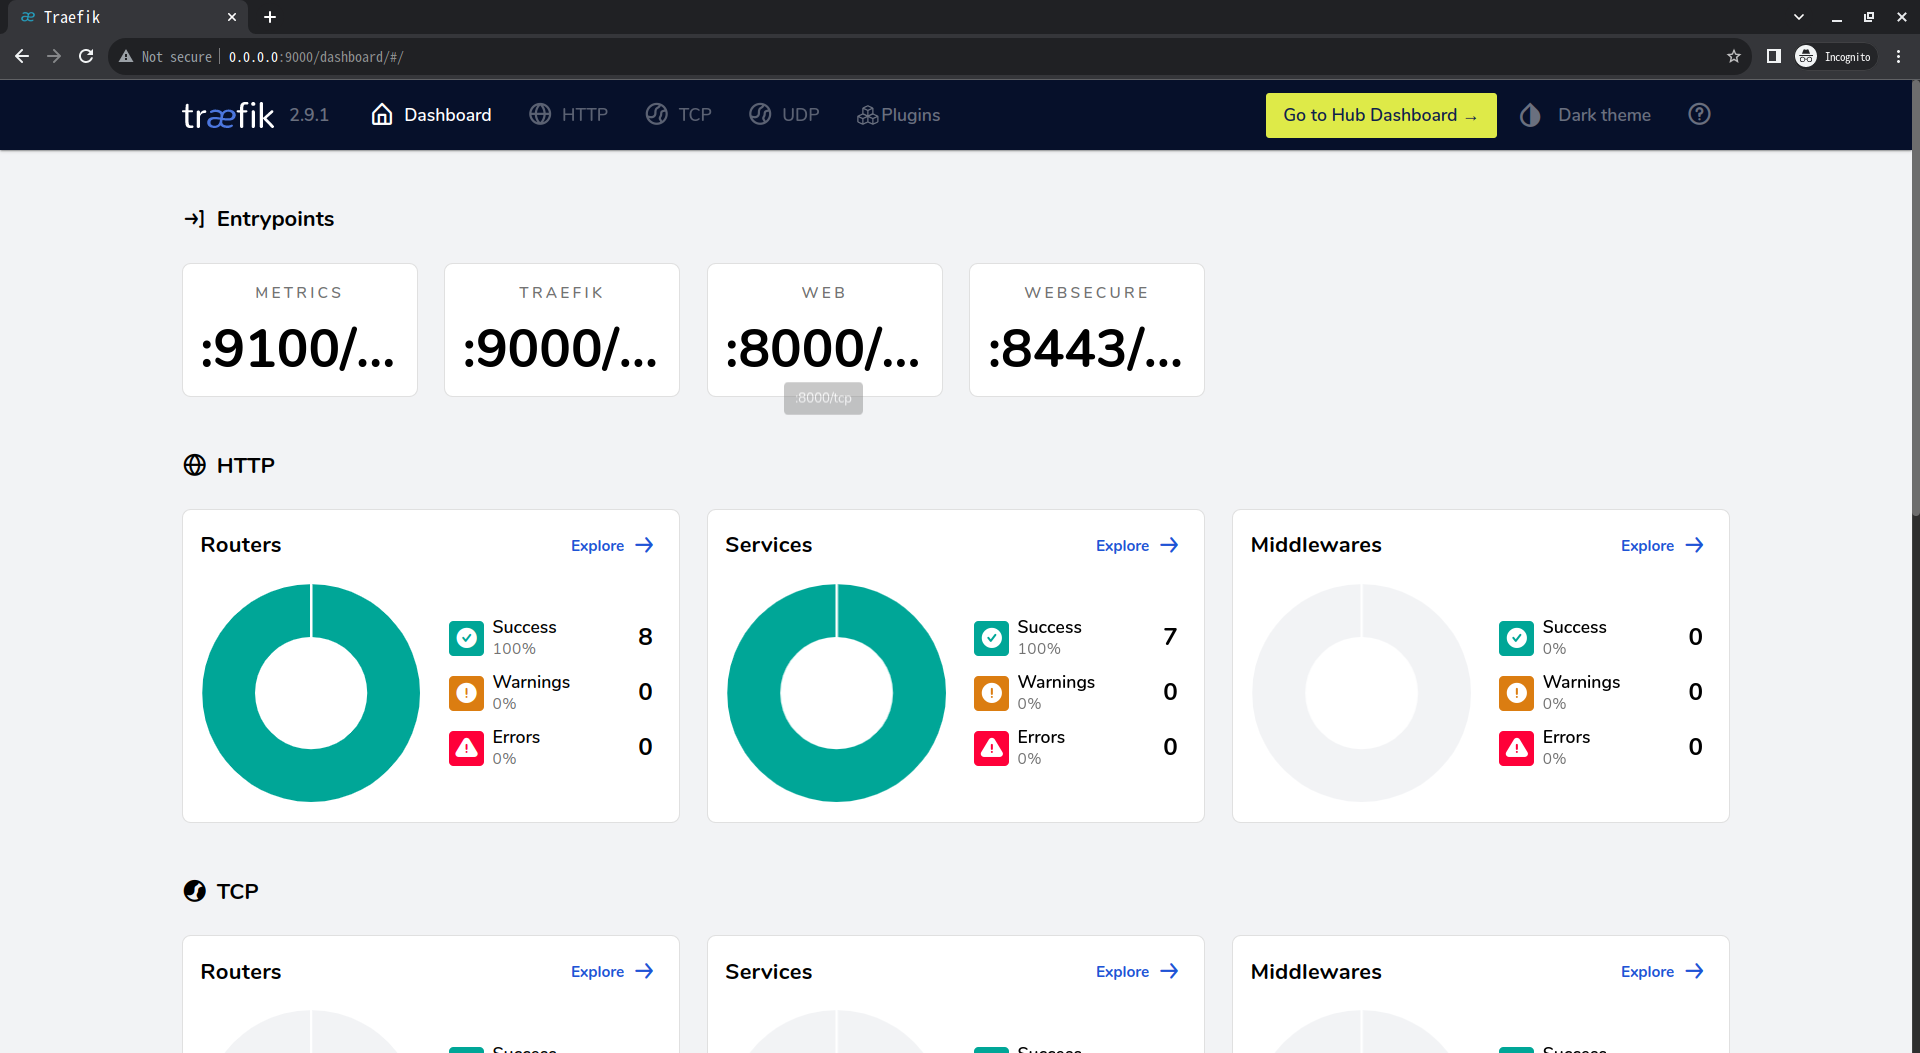
Visit the dashboard, http://0.0.0.0:9000/dashboard/#/.
Deploying Applications
Basic concepts.
- Pod: Pod is the smallest deployable unit of compute that can be created and managed in Kubernetes
- Deployment: Used to manage Pods, ReplicaSet, enabling rolling upgrade and rollback of applications, scaling up and scaling down.
- Label: Label is attached to various objects in the form of key/value key-value pairs, such as Pod, Service, RC, Node, etc.
- Service: defines the entry address of a service, through which the front-end application accesses a cluster of Pod replicas behind it, and the access requests from outside are load-balanced to each container application on the back-end. Simply put, the front-end request is not sent directly to the Pod, but to the Service, which then forwards the request to the Pod.
We start by writing a simple python program to Docker and pushing it to the image repository.
 1
 2
 3
 4
 5
 6
 7
 8
 9
10
11
12
13
14
15
16
17
18
|
# Simple python program that handles get requests and responds to the content of the head to the client.
from http.server import HTTPServer, BaseHTTPRequestHandler

class HttpHandler(BaseHTTPRequestHandler):
    def do_GET(self):
        self.send_response(200)
        self.send_header('Content-type', 'text/html')
        self.end_headers()
        s = str(self.headers.values())
        print(s)
        self.wfile.write(s.encode("utf-8"))

try:
    httpd = HTTPServer(('127.0.0.1', 8000), HttpHandler)
    httpd.serve_forever()
except KeyboardInterrupt:
    print('^C received, shutting down the web server')
    httpd.socket.close()
|
Write the Dockerfile.
1
2
3
|
FROM python:3.8-alpine
COPY httpserver.py httpserver.py
CMD python3 httpserver.py
|
Build the image, tag it, and push it to dockerhub.
1
2
3
4
5
6
|
docker build -t py-server .

# You need to log in first
# docker login -u akari93
docker tag py-server:latest akari93/py-server:latest
docker push akari93/py-server:latest
|
Write the yaml file demo.yaml for deploying the application, with two deployments, one copy of py-server-1 and two copies of py-server-2, corresponding to two Services, and an Ingress to manage external access.
Use the kubectl apply -f /path/demo.yaml command to deploy.
1
2
3
4
5
6
|
$ kubectl apply -f demo.yaml
deployment.apps/py-server-1 created
deployment.apps/py-server-2 created
service/demo1-svc created
service/demo2-svc created
ingress.networking.k8s.io/demo-ingress created
|
After deployment, check the node information.
 1
 2
 3
 4
 5
 6
 7
 8
 9
10
11
12
13
14
15
16
|
$ kubectl get pod
NAME                           READY   STATUS    RESTARTS   AGE
traefik-7b47dbff65-5wlvj       1/1     Running   0          26m
py-server-2-79bd86f9d5-64cqg   1/1     Running   0          2m42s
py-server-1-579dc5ff74-wwv69   1/1     Running   0          2m42s
py-server-2-79bd86f9d5-cnt6f   1/1     Running   0          2m42s

$ kubectl get deployment
NAME          READY   UP-TO-DATE   AVAILABLE   AGE
traefik       1/1     1            1           27m
py-server-1   1/1     1            1           4m
py-server-2   2/2     2            2           4m

$ kubectl get ingress
NAME           CLASS    HOSTS                                 ADDRESS   PORTS   AGE
demo-ingress   <none>   demo1.example.com,demo2.example.com             80      4m25s
|
We modify the local hosts to resolve the two example domains. vi /etc/hosts and add the following.
1
2
3
|
# local k3d test
127.0.0.1       demo1.example.com
127.0.0.1       demo2.example.com
|
The line - port: 8080:80 in the yaml file that created the cluster earlier maps port 80 to the host 8080, so you have to use port 8080 to access the domain in the browser, i.e. http://demo1.example.com:8080/ and http://demo2.example.com:8080/ . Or use curl to test.
1
2
3
4
5
|
$ curl http://demo1.example.com:8080/
['demo1.example.com:8080', 'curl/7.81.0', '*/*', '10.42.1.0', 'demo1.example.com:8080', '8080', 'http', 'traefik-7b47dbff65-5wlvj', '10.42.1.0', 'gzip']%

$ curl http://demo2.example.com:8080/
['demo2.example.com:8080', 'curl/7.81.0', '*/*', '10.42.0.1', 'demo2.example.com:8080', '8080', 'http', 'traefik-7b47dbff65-5wlvj', '10.42.0.1', 'gzip']%
|
We can also modify the Python program and Dockerfile file to output the program logs to the log file, and then access the pod specific two containers with the command kubectl exec -it py-server-2-79bd86f9d5-64cqg sh to see the logs of the two py-server-2 programs. Make multiple requests to demo2.example.com:8080 to see if load balancing is in effect, and don’t test it here.
Ref
https://zguishen.com/posts/ba3329f9.html