PHP is not as hot as when personal websites were booming, but many of the open source programs left during the period are still very valuable to learn and use, such as this blog is using WordPress. in the process of studying PHP code you need to deploy the PHP runtime environment, the easier way is to use the integrated runtime environment.
PHP Integrated Runtime Environment
PHP integrated runtime environment as the name implies is integrated with the software needed to run PHP, such as PHP program interpreter, server (Apache/Nginx), database (MySQL/MariaDB), database management software (PhpMyAdmin), etc., and provides a convenient start, configuration and other interfaces.
Recommended software.
- XAMPP: Apache + MariaDB + PHP + Perl + PhpMyAdmin, supports Windows, Linux, Mac OS
- Wnmp: Nginx + MariaDB + PHP + phpMyAdmin, Windows only
Since Apache’s performance is not as good as Nginx’s, online servers basically use Nginx and currently recommend Wnmp. Since I have been using XAMPP previously, I have been more familiar with it, so I have not adjusted it for now.
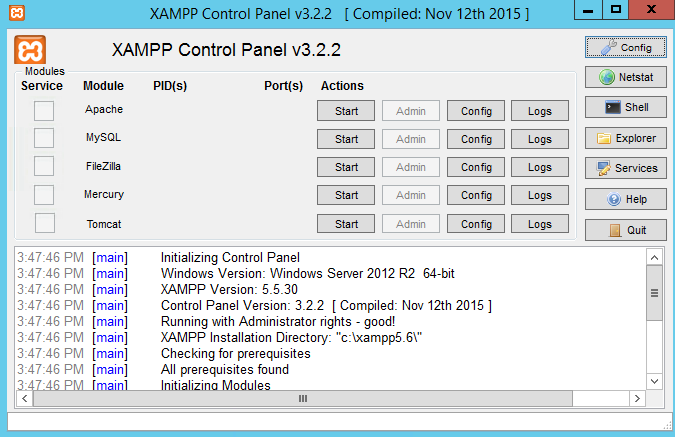
XAMPP common configuration
Setting the MySQL Password
After installing XAMPP, the default account of MySQL is root and the password is empty, which is very insecure. The solution is to set a password for MySQL. The solution is to set a password for MySQL. The specific operation is as follows.
- Open http://localhost/phpmyadmin with the tour, and click “Users” after entering.
- Click on the user as root and the host as localhost with edit permission.
- Set the password in the pop-up layer, and then click Execute, as follows
When the above operation is finished, the password of MySQL has been changed. However, when I click phpMyAdmin again, I find that I can no longer log in.
The prompt returned is: Unable to connect: Invalid settings. phpMyAdmin tried to connect to the MySQL server, but the server refused to connect. You should check the host, username and password in the configuration file and make sure that this information corresponds to the information given by the MySQL server administrator.
The reason for the problem is that the MySQL password needs to be configured in the phpMyAdmin configuration file, and when the MySQL password is changed you need to manually go through and modify the phpMyAdmin configuration file.
That is, modify the xampp/phpMyAdmin/config.inc.php file, find $cfg[‘Servers’][$i][‘password’] = " and just set the corresponding password to your newly set password.
Multi-Domain/Multi-Site Deployment
After XAMPP is installed by default, the site files are placed under the /xampp/htdocs/ file by default and can be accessed via http://localhost. Previously, when testing various programs, we created new directories under /xampp/htdocs/ files, such as /xampp/htdocs/wordpress, and then accessed them through http://localhost/wordpress/.
If you currently have a need to test three programs (wordpress, Discuz, phpwind), you would like to assign a separate domain name to each program. For example
- wordpress ->
www.wordpress-test.com - discuz ->
www.discuz-test.com - phpwind ->
www.phpwind-test.com
The following is the specific solution.
Modify the hosts file
Whether you own the above domain name or not, if you want to access your own established site through the domain name, this needs to modify the hosts file first. Open the hosts file in the C:\Windows\System32\Drivers\etc directory and add the following three lines.
If you encounter a solution where the hosts file cannot be modified, copy the hosts file to the desktop first, and then copy it to the etc folder to replace the old hosts file after it has been changed on the desktop.
Modify the configuration of Apache virtual host
In the virtual host settings file xampp\apache\conf\extra\httpd-vhosts.conf, set
Remove the ## in front of NameVirtualHost *:80, i.e. remove the comment to enable the configuration in httpd-vhosts.conf.
Append the following to the end of the file.
|
|
Once set, save and restart apache to pass www.wordpress-test.com直接访问/xampp/htdocs/wordpress下的内容了.
Make localhost work again
After doing the above, I found that using localhost directly locates the content under /xampp/htdocs/wordpress, while I was expecting to still locate the content under /xampp/htdocs/. That is, the default httpd setting is not working. The solution is to put the localhost configuration back in httpd-vhosts.conf.
Add the following to the end of the file and restart Apache.
So far, the XAMPP virtual host is set up, now visit localhost is still the original XAMPP content, visit www.wordpress-test.com will point to the bound wordpress directory, visit www.discuz-test.com will point to the bound discuz directory …
Change the default directory of the program
If I don’t want to put the test program in the /xampp/htdocs/ directory, for example, I want to put it in the D:\website\ directory, how can I solve it? There are 2 ways to achieve this function.
1. Modify the configuration in the httpd-vhosts.conf file
The original configuration is as follows.
needs to be modified to read.
That is, add a new Directory node to allow directory access. Note: You do not need to add “" at the end of the D:\wordpress\wordpress folder.
2. Modify the configuration in the httpd.conf file
Open the httpd.conf file in the E:\xampp\apache\conf directory. Find the line where DocumentRoot is located. Change DocumentRoot “D:/xampp/htdocs”, to D:/website, and find <Directory "D:/xampp/htdocs"> change it to < Directory "D:/website">, save it and restart Apache ~ note that “/” is used here, not “".