code-server is a VSCode that runs on top of a server and can be accessed directly through a browser, VSCode is a modern code editor that supports Git, a code debugger, intelligent code hints, and various customizations and extensions. Next, we’ll go over how to run a VSCode on our Kubernetes cluster.
Installation
First of all, of course, you need an installed Kubernetes cluster, and if you want to access our Cloud IDE via a domain name, you also need to prepare a domain name and an Ingress Controller to be installed in the cluster.
We deploy the code-server in a namespace called code-server and use Deployment to manage the code-server container, here we use the image codercom/code-server and we set the password to access the IDE via the environment variable PASSWORD. The password to access the IDE is set via the environment variable PASSWORD, and the corresponding resource list file is shown below (code-server.yaml)
|
|
It is straightforward to create the list of resources above.
|
|
Once created, we can see how the application is running by viewing the status of the Pod.
When the Pod is in the Running state, it proves that the application has been deployed successfully. Since we are using Traefik version 2.1 here, we create the IngressRoute resource object and the corresponding resource manifest file is shown below: (ingress-route.yaml)
|
|
Above we have defined two IngressRoute objects, one is bound to port 80 and one is bound to port 443, in order to allow us to access via https, we have also created a redirect-https middleware to force a jump to the https service, of course if your https service has its own certificate directly through the Secret can be created and added to the tls area, we are using a wildcard certificate automatically generated by the ACME mechanism provided by Traefik2.1. Again, you can create the above resource object directly.
Once created, resolve (or do a local hosts map) our domain name code.qikqiak.com to the node where Traefik2.1 is located.
Testing
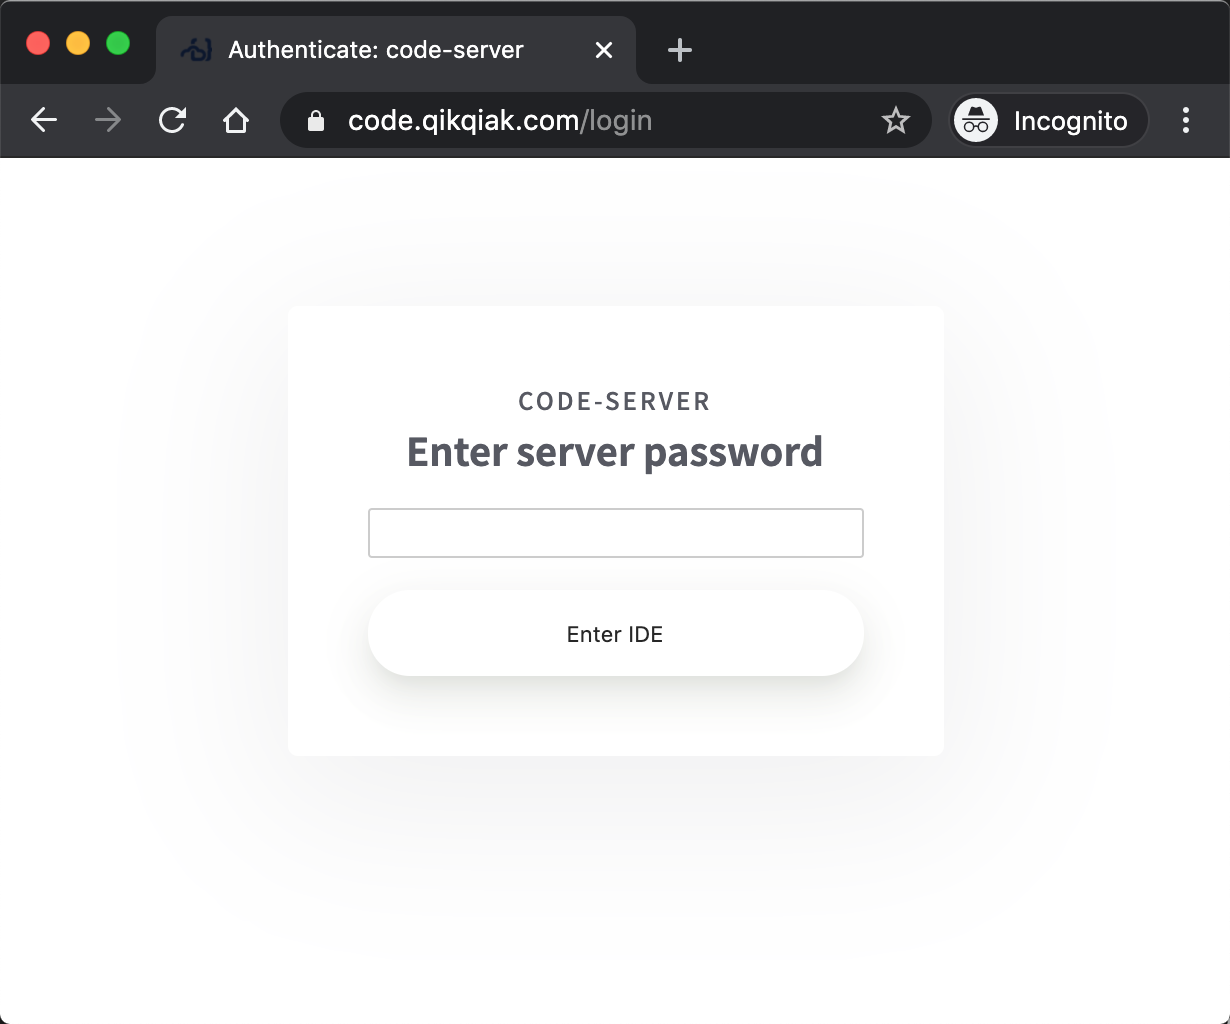
When you access code.qikqiak.com in a browser, the first time you will get a dialog asking for a password, which is the value we configured in the environment variable PASSWORD above: code.qikqiak.com.
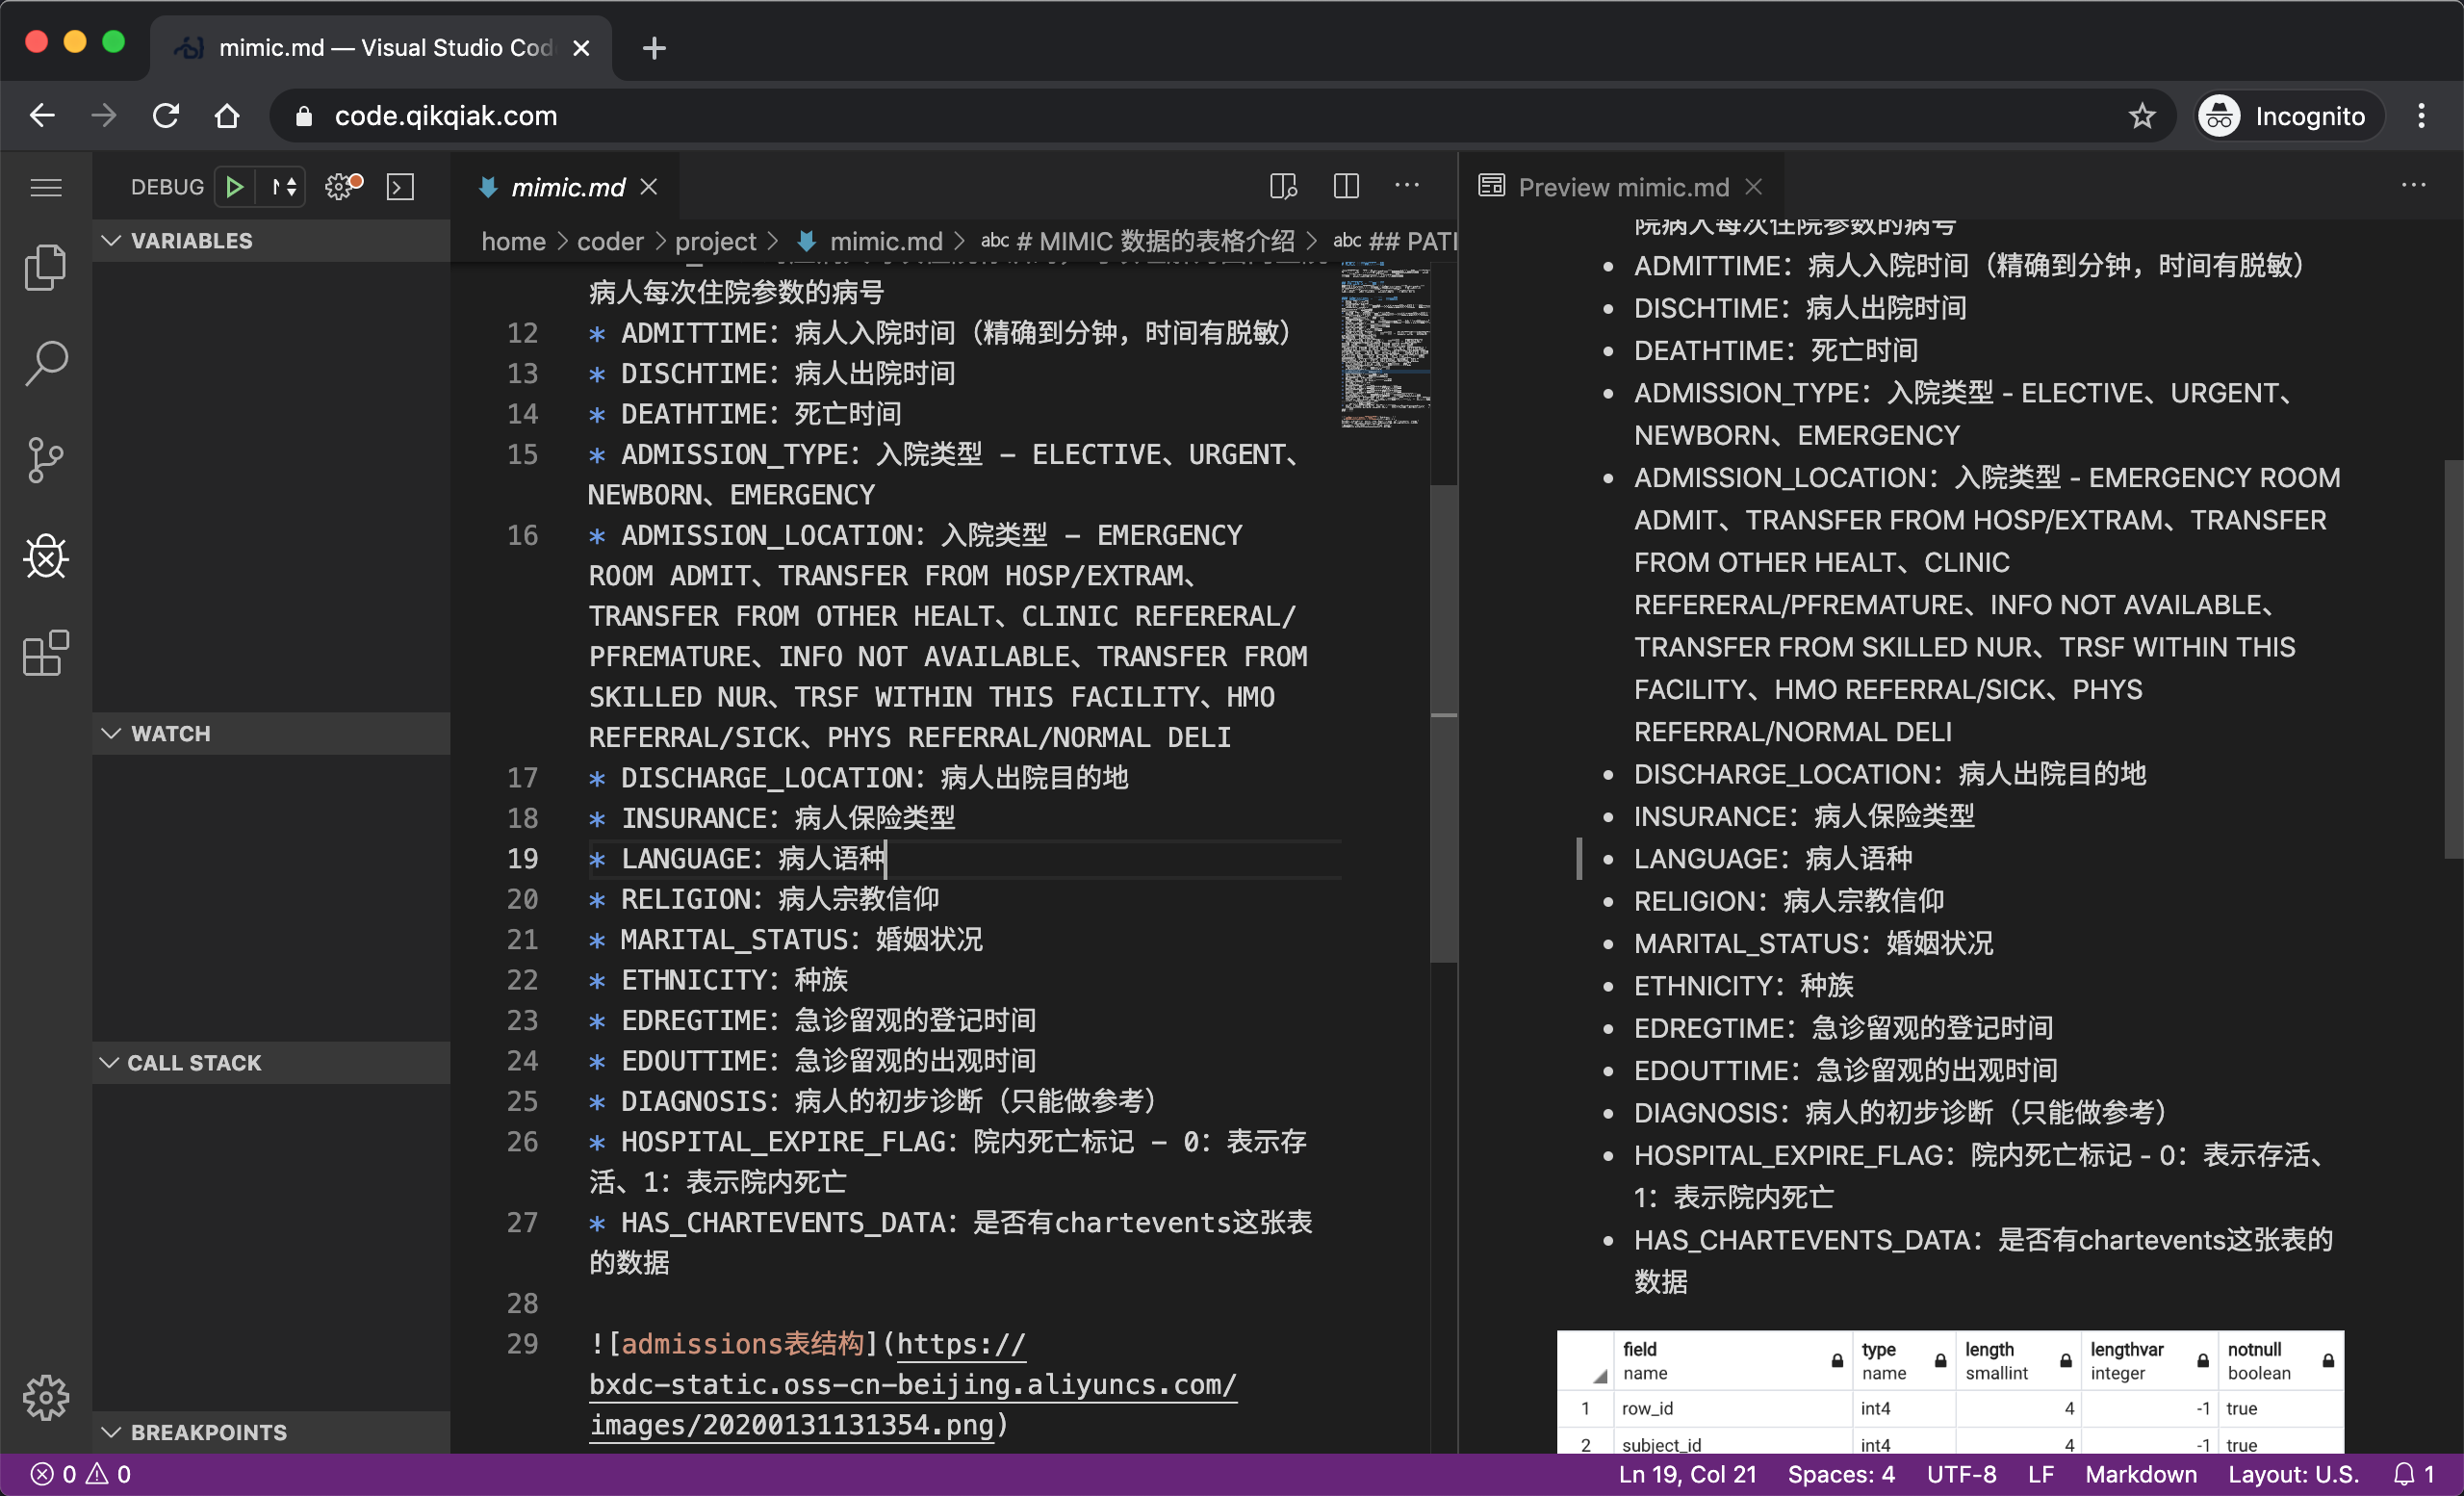
The application can be accessed by entering the configured password, which is what the familiar VSCode interface looks like, except now it is run in a browser:
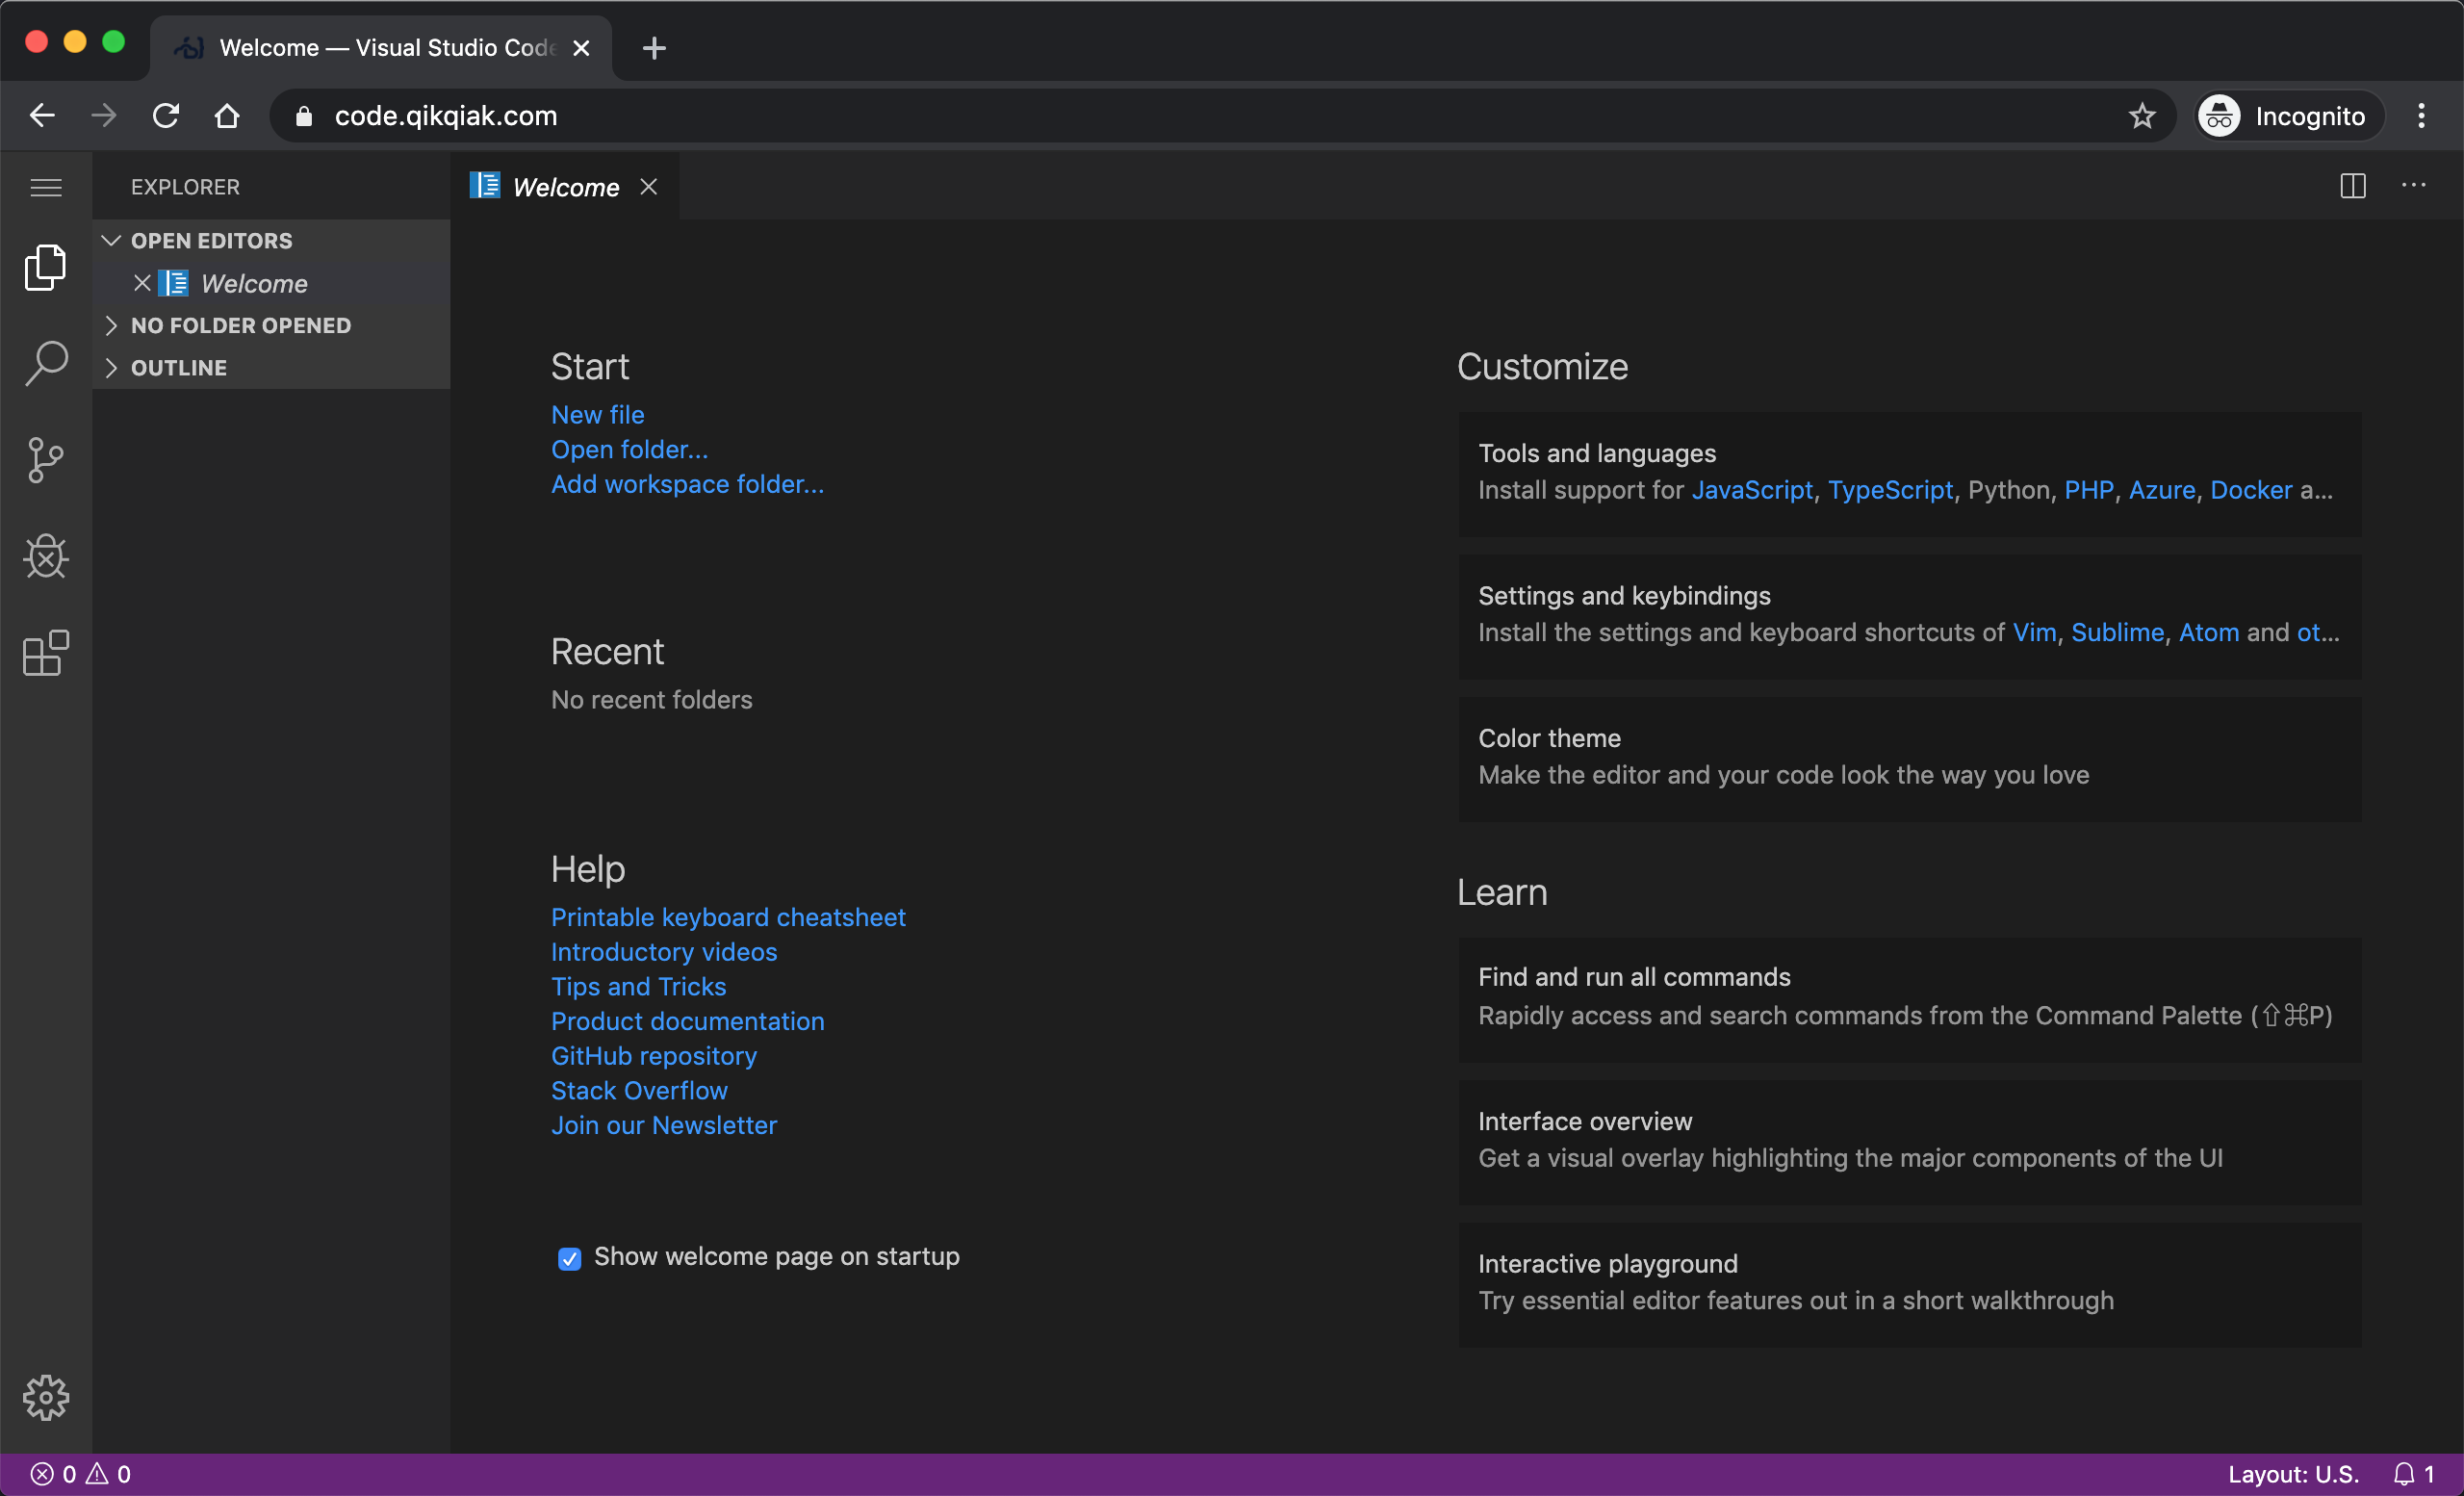
Then the rest is basically the same as when we use VSCode locally, you can install themes, plugins, debug, etc., so you can explore it yourself: