This article documents the process of building a Jenkins service from scratch using Docker.
Before you start
This article assumes that you already have some basic knowledge of Linux, command line operations, ssh, and other tools.
Installing Docker
Docker offers unprecedented ease of deployment of services, and an introduction to it can be found at official website.
To install Docker, just follow the steps, here is the link to the official tutorial.
This article gives a summary of the commands available on the Debian distribution. Theoretically, the installation of Docker and docker-compose can be done by copying-Paste to the command line and executing it as an unprivileged user with sudo privileges.
|
|
If you want to be able to communicate with Docker as an unprivileged user, you need to add the user to the docker group. On Debian you can make use of adduser and of course usermod, here for simplicity, adduser is used.
|
|
You need to log in again for this to take effect.
At this point, we have successfully installed Docker and can run a hello world: docker run hello-world to verify that the installation was successful and the user group is set up.
Deploying Jenkins
Jenkins is currently divided into two images jenkinsci/blueocean and jenkins/jenkins, the difference is that the former is pre-installed with the blueocean plugin, the latter is not. I feel that blueocean is still more necessary to install, and I recommend using the former directly.
The easiest way to do this is simply to execute the following line of command, which is a convenience that Docker gives us.
|
|
You can see the initialization interface of jenkins by visiting ip: 8080. I don’t have a screenshot in this step, so I’ll borrow a picture from the Internet.
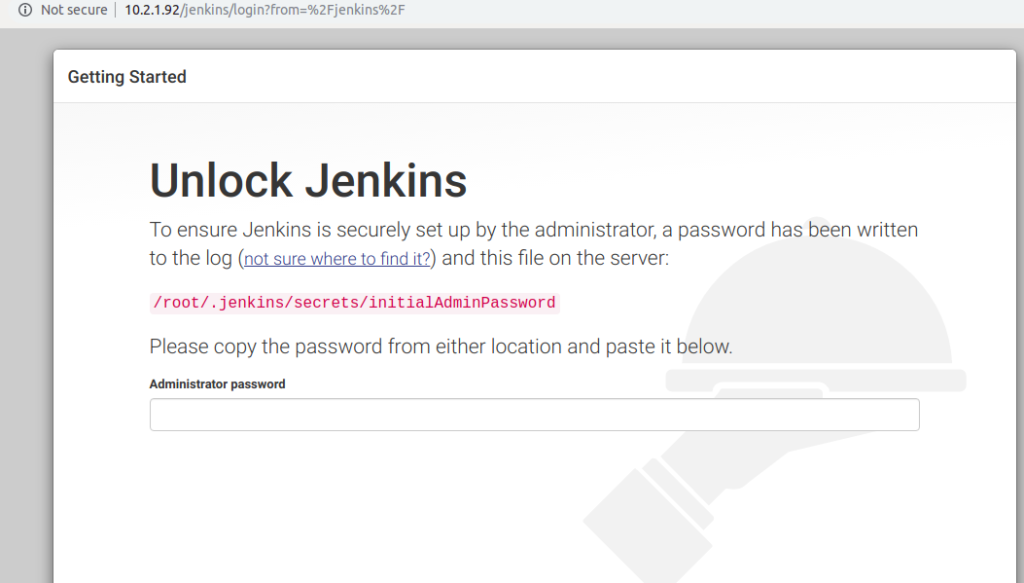
At this point we need to go to the command line and look for the output of the command we just docked, there is something like this.
|
|
You can see that this is the admin password we are looking for.
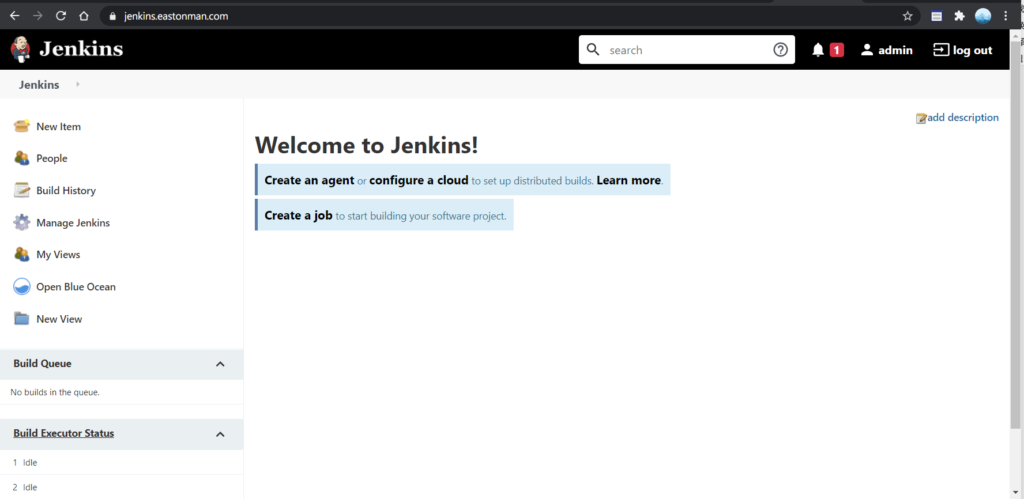
At this point, we have completed the installation of Jenkins.
Of course, if we want to use it in a production environment we need to do storage persistence, use https, etc. You need to use docker-compose to avoid typing a lot of command line arguments every time, I’ll put here a docker-compose.yml that I use.
|
|
Instead of using Docker’s port mapping, I used HAProxy as a reverse proxy to facilitate the configuration of tls and the sharing of port 443 across multiple sites. The reverse proxy and tls configuration will not be repeated.