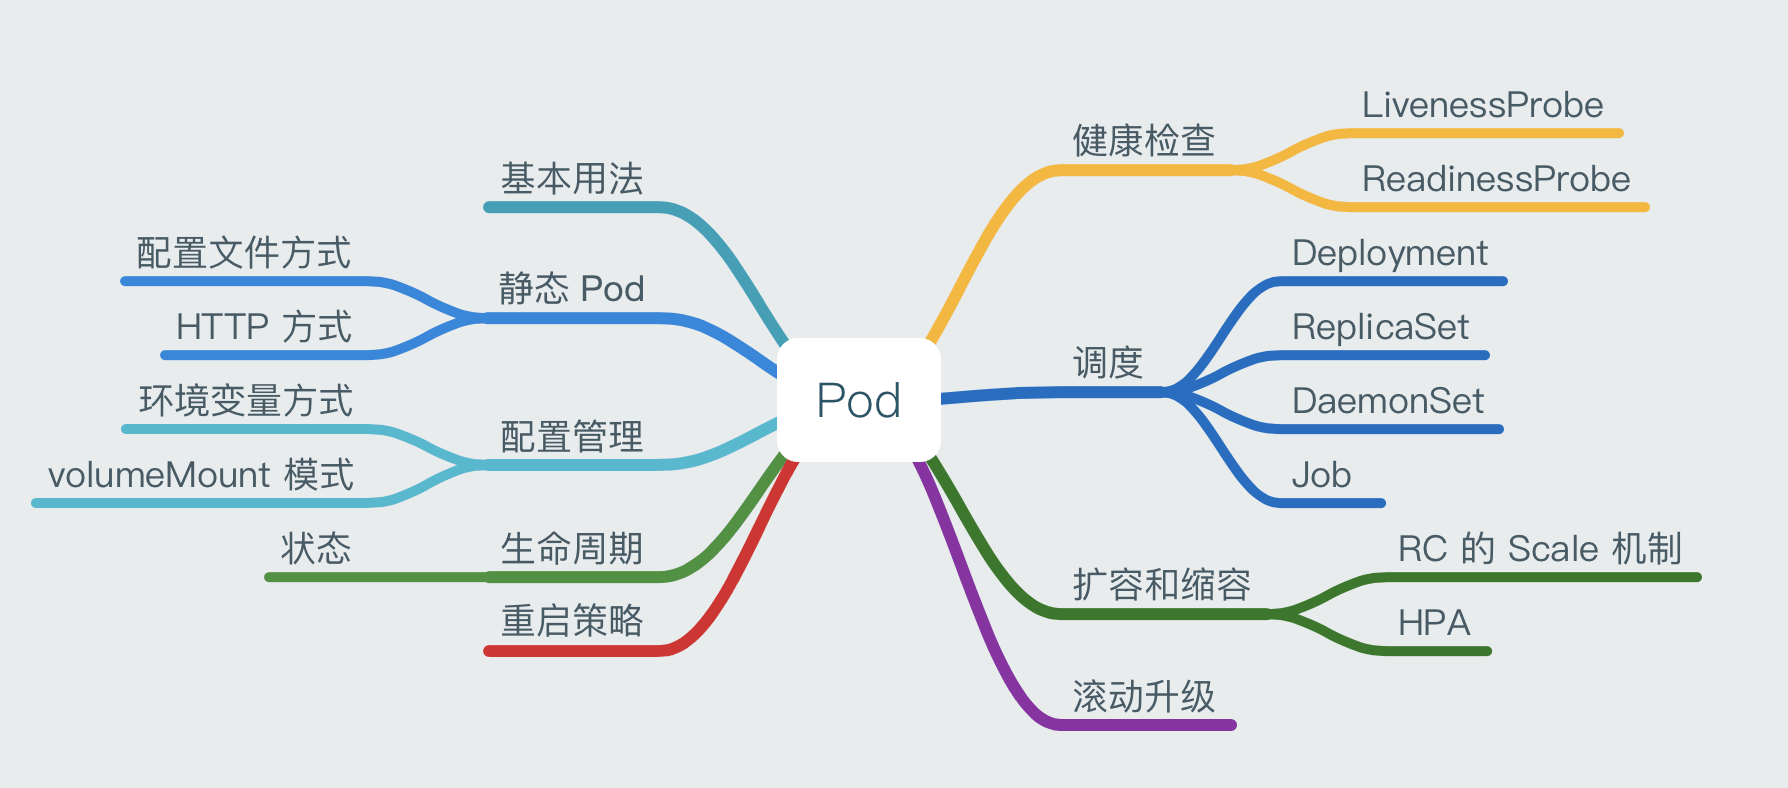
Pods are the basic scheduling unit of k8s and are the key to k8s. This article explains how to publish and manage applications in k8s, starting from Pod usage, control, scheduling, and application configuration.
Pod Basic Usage
The requirement for a long-running container is that its main application needs to be running in the foreground at all times. kubelet creates a Pod containing this container, then runs the command, considers the execution of the Pod finished, and immediately destroys the Pod, and according to the number of copies of the Pod defined in RS, a new Pod is immediately created, which will enter an infinite loop.
Multiple container applications belonging to a Pod only need to communicate with each other through localhost, and a group of containers are bound in a single environment.
Containers in the same Pod share the Pod-level Volume, and each container can mount the Volume as a directory that is needed inside the container individually.
Static Pods
Static pods are pods managed by kubelet that exist only on a specific Node; they cannot be managed by APIServer, cannot be associated with RS, etc.
How to create a static pod:
Static pods can be created in two ways, the configuration file way and the HTTP way.
Configuration file method:
Set the kubelet startup parameter –config to specify the directory where the kubelet needs to monitor the configuration files, and the kubelet will periodically scan the directory and create operations based on the .yaml or .json files in the directory. Since static pods cannot be managed directly by APIServer, trying to delete this pod on the Master node will turn it into a pending state and it will not be deleted; if you need to delete this pod, you need to remove its definition file from the /etc/kubelet.d directory on the Node where it resides.
HTTP method:
Set the kubelet startup parameter –manifest-url and the kubelet will periodically download the pod definition file from the URL address, parse it as a .yaml or .json file, and create the pod in the same way as the configuration file.
Pod Configuration Management - ConfigMap
A best practice for application deployment is to separate the configuration information required by the application from the application, with the benefit of enabling the application to be taken better and more flexible through different configurations. configMap is a unified cluster configuration management solution for k8s.
Usage
Generate environment variables for containers, set startup parameters for container startup commands, mount them as files or directories inside containers in the form of Volume, and save them as key:value, which can represent both the value of a variable and the content of a complete configuration file.
blog.cdn.updev.cn
ConfigMap creation
By yaml file: After writing the yaml file, the kubectl create -f ***.yaml command creates the ConfigMap.
Directly using the kubectl create configmap command line: ConfigMap can be created based on directories, files, or literal values.
-
can be created from a directory with the
-from-fileparameter.1kubectl create configmap <map-name> --from-file=config-files-dirwhere
<map-name>is the name of the ConfigMap andconfig-files-diris the directory. The key of the created ConfigMap is the file name. -
can be created from a file with the
-from-fileparameter and customize the key.1kubectl create configmap <map-name> --from-file=<my-key-name>=<path-to-file>where
my-key-nameis a custom key andpath-to-filerepresents a file. -
can be created from the file with the
-from-literalparameter and specify the literal value.1kubectl create configmap <map-name> --from-literal=<key>=<value>where
<key>=<value>represents the specified key-value pair.
How to use ConfigMap
The following is how to use ConfigMap for applications in containers, mainly the environment variable method and the mount volume method.
Environment variable method
Define env in the container of Deployment’s yaml. The format is as follows.
means: The value of the environment variable HDLS_KEY in this container is taken from the ConfigMap named special-config with the key hdls.
volumeMount mode
You need to define volumeMounts in the container of the Pod’s yaml (referencing the volume name and the directory to be mounted in the container), and define the volume name and ConfigMap etc. in the volumes that need to be mounted. As follows.
|
|
Constraints of ConfigMap
- must be created before the Pod.
- Only Pods in the same namespace can be referenced.
- no quota management.
- Static Pods cannot use ConfigMap.
- When a Pod mounts a ConfigMap, the container can only be mounted as a directory inside the container, not as a file.
Pod Lifecycle and Restart Policy
When scheduling and managing Pods, we need to be familiar with the various states of Pods throughout their lifecycle, and setting up Pod restart policies is also based on knowledge of the various states of Pods.
Pod states
There are a total of 5 states of Pods, which are as follows.
Pending : APIServer has created the Pod, but there are still images of containers in the Pod that have not been created or are being downloaded. Running: all containers in the Pod have been created, and at least one container is running, starting, or restarting; Succeeded: all containers in the Pod have been created, and at least one container is running, starting, or restarting. Succeeded : all containers in the Pod have been successfully exited and will not be restarted; Succeeded : all containers in the Pod have been successfully exited and will not be restarted. Failed : all the containers in the Pod have exited, but at least one container is in a failed state; Failed : all the containers in the Pod have exited, but at least one container is in a failed state. Unknown : The status of the Pod is not available for some reason, probably due to poor network.
Pod reboot policies
There are 3 restart policies for Pods, the default value is Always.
Always : kubelet automatically restarts the container when it fails. OnFailure : restart when the container is terminated and the exit code is not 0. Never : kubelet does not restart the container, regardless of the status.
The time interval between kubelet restarts of failed containers is calculated by multiplying sync-frequency by 2n, with a maximum delay of 5 minutes, and resetting that time 10 minutes after a successful restart.
The restart policy of each controller for Pods
The reboot policy for Pods is related to the control method, and each controller requires the following reboot policy for Pods.
RS and DaemonSet: Must be set to Always Job: OnFailure or Never kubelet (Static Pod): Pod restarts automatically when it fails and no health checks are performed
Health checks
There are two types of Pod health checks: Survival check and Readiness check, using the LivenessProbe probe and ReadinessProbe probe respectively.
LivenessProbe (Survival check)
Once a container is detected to be unhealthy, the kubelet kills the container and handles it accordingly according to the restart policy. If the container does not contain the LivenessProbe probe, the kubelet assumes that the return value is always success.
ReadinessProbe (readiness check)
Used to determine whether the container is ready or not. If a failure is detected, the Pod’s state is overwritten and the Pod’s Endpoint is removed from the Service’s forwarding Endpoint.
Probe setting method
- ExecAction :Execute a command in the container, if the return code of the command is 0, it indicates that the container is healthy.
- TCPSocketAction :execute TCP check through the container’s IP and port number, if a TCP connection can be established, it indicates that the container is healthy.
- HTTPGetAction : call the HTTP Get method through the container’s IP address, port number and path, if the return code >= 200 and < 400, the container is considered healthy.
Each of the above detection methods need to set the parameters.
- initialDelaySeconds: the time to delay the check, the unit is s
- timeoutSeconds: health check sent after the timeout waiting for a response, in s
- periodSeconds: execution period
Pod Scheduling
Pod is the smallest scheduling unit in k8s, it is just a carrier for containers, and it cannot perform automatic scheduling functions by itself. k8s uses RS, Deployment, DaemonSet, Job, etc. to achieve scheduling and automation of Pods.
RS, Deployment Fully Automated Scheduling
One of the main functions of RS is to automatically deploy multiple copies of a container application, and continuously monitor the number of copies. RS/RC is rarely used alone in k8s, but in Deployment, which is a concept introduced by k8s to better solve the Pod scheduling problem, and through Deployment we can know the Pod scheduling situation at any time.
In the definition of Pod, the scheduling can be done in two ways, NodeSelector or NodeAffinity.
NodeSelector Directed Scheduling
Pod scheduling is implemented through the Scheduler on the Master, by matching the Node tag with the Pod’s nodeSelector property.
The NodeSelector scheduling process is as follows: label the target Node with a kubectl label; add the nodeSelector setting to the Pod definition. Note that once a Pod has specified a nodeSelector, if there is no matching Node in the cluster, it will not be scheduled even if there is a free Node.
The method of tagging via kubectl.
|
|
Specify the nodeSelector in the Pod.
NodeAffinity Affinity Scheduling
NodeAffinity means Node affinity scheduling policy, which is the next generation scheduling policy to replace NodeSelector. It adds In/NotIn/Exists/DoesNotExsist/Gt/Lt operations on top of NodeSelector.
Set affinity.
- requiredDuringSchedulingRequiredDuringExecution: similar to NodeSelector, when a Node does not satisfy the condition, the system removes the Pod on the previous scheduling from that Node.
- requiredDuringSchedulingIgnoredDuringExecution: If the Node does not meet the condition, the system does not necessarily remove the previously scheduled Pod from the Node.
- preferredDuringSchedulingIgnoredDuringExecution: Specifies which of the Nodes that satisfy the condition are scheduled more preferentially; also, the Pods on the previous schedule are not necessarily removed from the Node when the Node does not satisfy the condition.
DaemonSet Scenario-Specific Scheduling
DaemonSet is a new resource object in Kubernetes 1.2 that ensures that a copy of a Pod is running on all (or some specified) Nodes. Its Pod scheduling policy is similar to RC.
Usage scenarios.
- run a daemon process for GlusterFS storage or Ceph storage on each Node
- Run a logging application such as fluentd, logstach on each Node.
- Run a health application on each Node to collect performance data of the Node
Job Batch Scheduling
Job is a new resource object in Kubernetes 1.2 that supports batch processing. Batch jobs typically start multiple compute processes in parallel or serially to process a batch of work items, and then the entire Job ends when it is finished.
The modes of Job
- Job Template Expansion mode: one Job corresponds to one work item. Usually suitable for scenarios where there are few work items and each work item has a large amount of data to process.
- Queue with Pod Per Work Item pattern: A task queue is used to store work items and Job objects consume these work items. In this pattern, a Pod corresponds to a work item, and a Job starts multiple Pods.
- Queue with Variable Pod Count pattern: the same as the above pattern, the only difference is that the number of Pods started by a Job is variable.
- Single Job with Static Work Assignment pattern: This is also a pattern in which a Job generates multiple Pods, but it uses a programmatic static approach to assigning tasks instead of a queue pattern.
Types of Jobs
Taking into account the parallelism of batch processing, Jobs are classified into the following types.
- Non-parallel Jobs: one Job starts one Pod.
- Parallel Jobs with a fixed completion count: Parallel Jobs start multiple Pods. The .spec.parallelism parameter is the number of Pods that process a work item simultaneously.
- Parallel Jobs with a work queue: Parallel Jobs have a separate queue to store work items, and the .spec.completions parameter cannot be set here.
Pod Scaling Up and Down
In real production systems, service scaling is a scenario that cannot be ignored. In k8s, there are two ways to scale up and down Pods, namely RC’s Scale mechanism and HPA (Horizontal Pod Autoscaler).
Scale mechanism for RC
The number of copies of a Pod can be set by the kebectl command.
|
|
By manually increasing the number of copies of Pods with the -replicas=<num> parameter, Pod expansion can be accomplished; accordingly, by setting the parameter to a lower number, the system will kill some running Pods to achieve application cluster shrinkage.
HPA
HPA (Horizontal Pod Autoscaler) is a new controller added to Kubernetes v1.1 to enable automatic Pod scaling based on CPU usage. pod-autoscaler-sync-period (default is 30 seconds), the HPA periodically checks the CPU usage of the target Pod and adjusts the number of Pod copies in RC or Deployment to match the user-defined average Pod CPU usage when the conditions are met. heapster component, so you need to install heapster beforehand.
The HPA can be created using the kubectlautoscale command or by using the yaml configuration file. Before creating an HPA, make sure that an RC or Deployment object already exists and that the Pod in the RC or Deployment must define the resource request value for resources.requests.cpu.
Rolling Upgrades
In real production environments, application upgrades are also an important scenario. When the cluster is large, a full stop and then a gradual upgrade can result in unavailability of the service for a longer period of time, and the upgrade becomes a considerable challenge. k8s provides a rolling upgrade feature to solve this problem.
Rolling upgrade is done by executing the kubectl rolling-update command with one click. The whole process is:
- create a new RC.
- automatically reduce the number of Pod copies in the old RC to 0. 3.
- at the same time, the number of Pod copies in the new RC gradually increases from 0 to the target value, and each time the old Pod is reduced by 1, the new Pod is increased by 1.
Note that the old and new RCs must be in the same namespace.
Using yaml configuration file
If you use yaml configuration file to achieve rolling upgrade, you need to create a new RC yaml manually first, and the yaml file needs to pay attention to the following: 1.
- the RC name should not be the same as the old RC name.
- there should be at least one Label in the selector that is different from the Label of the old RC to identify it as the new RC.
Then run the kubectl command to complete the rolling upgrade.
|
|
Not using yaml configuration file
Instead of using the yaml configuration file, you can use the kubectl rolling-update command with the --image parameter to specify the name of the new version of the image.
|
|
Unlike using the configuration file, this method results in the old RC being deleted, the new RC still using the old RC name, and the new RC having an additional Label with the key “deployment” (this name can be changed with the --deployment-label-key parameter) after the upgrade is completed, and the value being the Hash calculated from the RC’s contents.
Finally, if the Pod needs to be rolled back, you can interrupt the update operation and execute -kubectl rolling-update-rollback to complete the rollback of the Pod version.