In the previous article we introduced ReCaptcha’s mock click crack tutorial, but in addition to ReCaptcha, there is another CAPTCHA that is very similar to ReCapacha’s verification process, called HCaptcha.
ReCaptcha is Google’s, for some reason, we can not use ReCaptcha in China, so sometimes HCaptcha has become a better choice for some international sites.
So today we’ll learn about HCaptcha and its simulated click cracking process.
HCaptcha
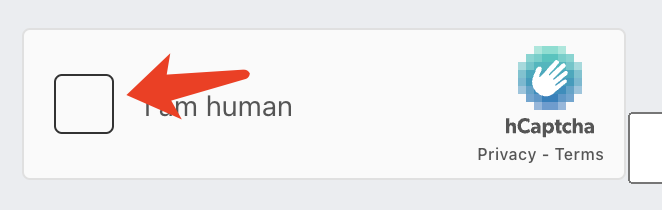
Let’s first take a look at HCaptcha’s verification interaction flow, its Demo website is https://democaptcha.com/demo-form-eng/hcaptcha.html, after opening it, we can see the following CAPTCHA entry page.
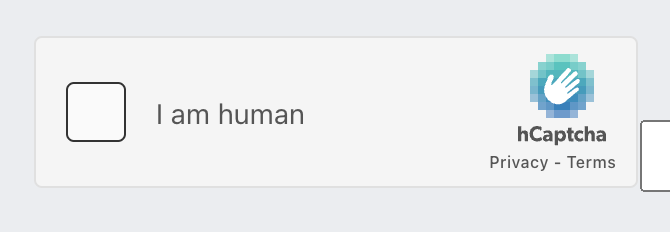
It looks very similar to ReCaptcha, and the verification process is also very similar.
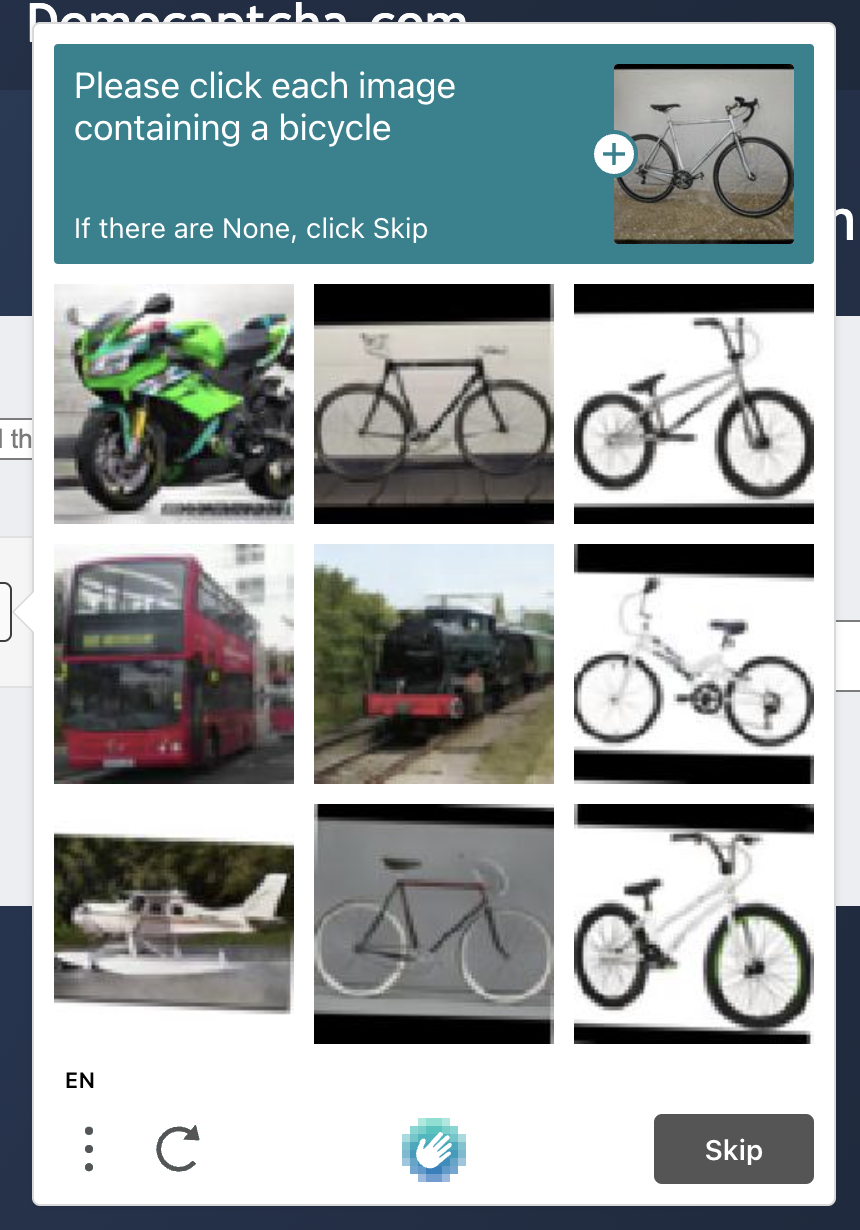
When we click on the checkbox, Captcha will first determine the risk of the current user through its risk analysis engine, and if it is a low-risk user, it will pass directly, otherwise, Captcha will pop up a dialog box and let us answer the questions in the dialog box, similar to the following.
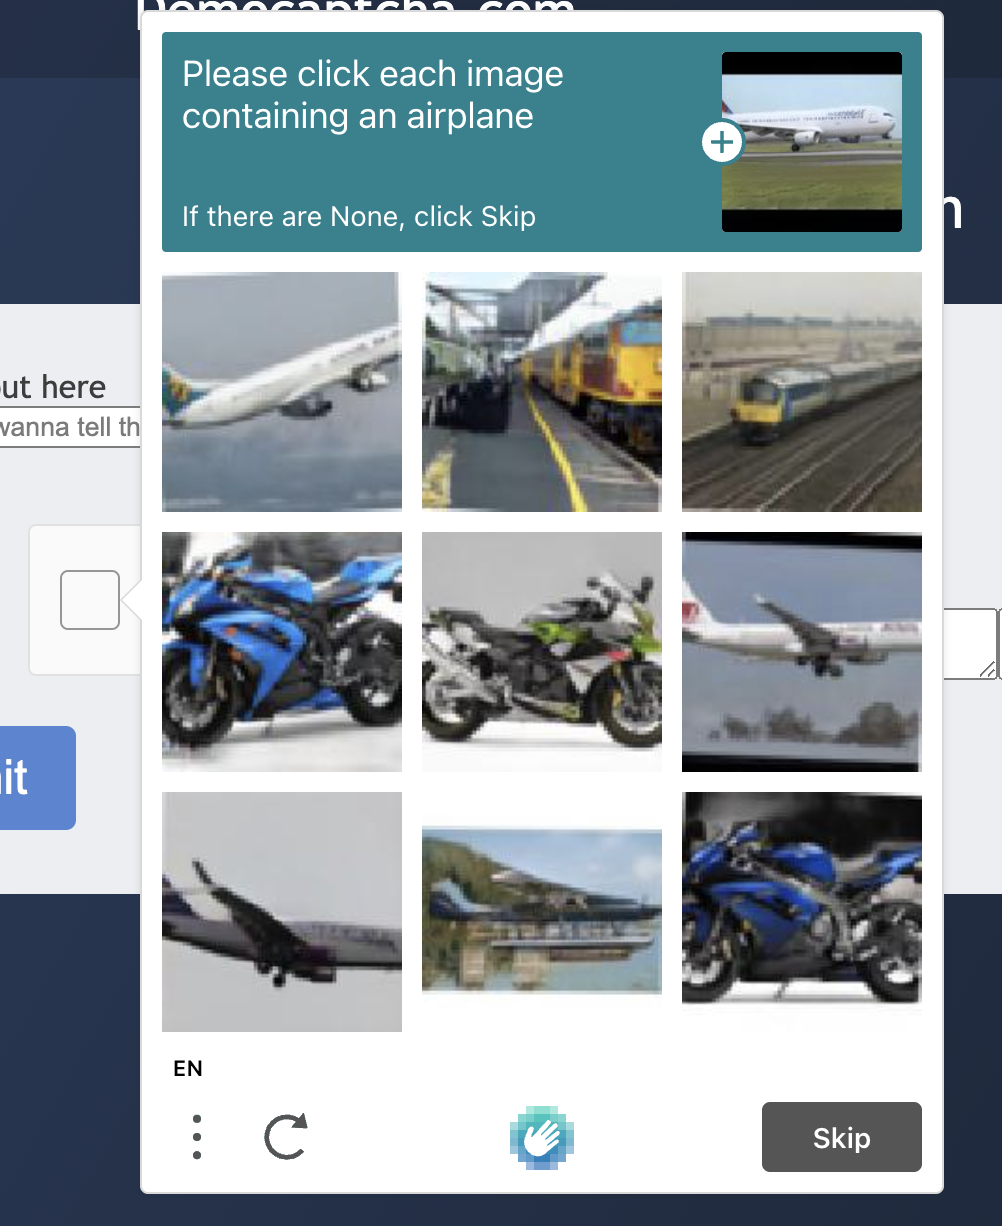
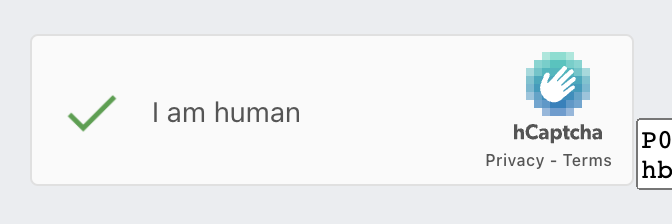
At this point we see that the HCaptcha verification code will give us a question, for example, the above question is “Please click on each picture containing an airplane”, we need to select from the following nine pictures containing airplanes, if there are no airplanes in the nine pictures, then click the “Skip / Skip” button, if there are, then all pictures with airplanes will be selected, the skip button will become a “Check / Verify” button, after the verification is passed we can see the following effect of successful verification.
Is the overall process very similar to ReCaptcha?
But in fact, this is simpler than ReCaptcha, its captcha image must be 3x3 each time, no 4x4, and after clicking a picture will not appear a new small picture for us to choose twice, so its cracking idea is also relatively simple.
How to crack
The whole process actually we sort out a little, we know the overall idea of cracking, there are so two key points.
- The first is to find out the content of the text above, so that we know what to click on.
- The second is that we need to know which target images and the text above is a match, to find the analog click in turn on the good.
It sounds very simple, but the second point is a difficult one, how do we know which images match the text? This is a difficult problem.
We learned about using YesCaptcha for image recognition in the previous ReCaptcha hack. In addition to ReCaptcha, YesCaptcha actually supports HCaptcha’s CAPTCHA recognition, so we can easily know which images and input content match using YesCaptcha.
Let’s try it out.
YesCaptcha
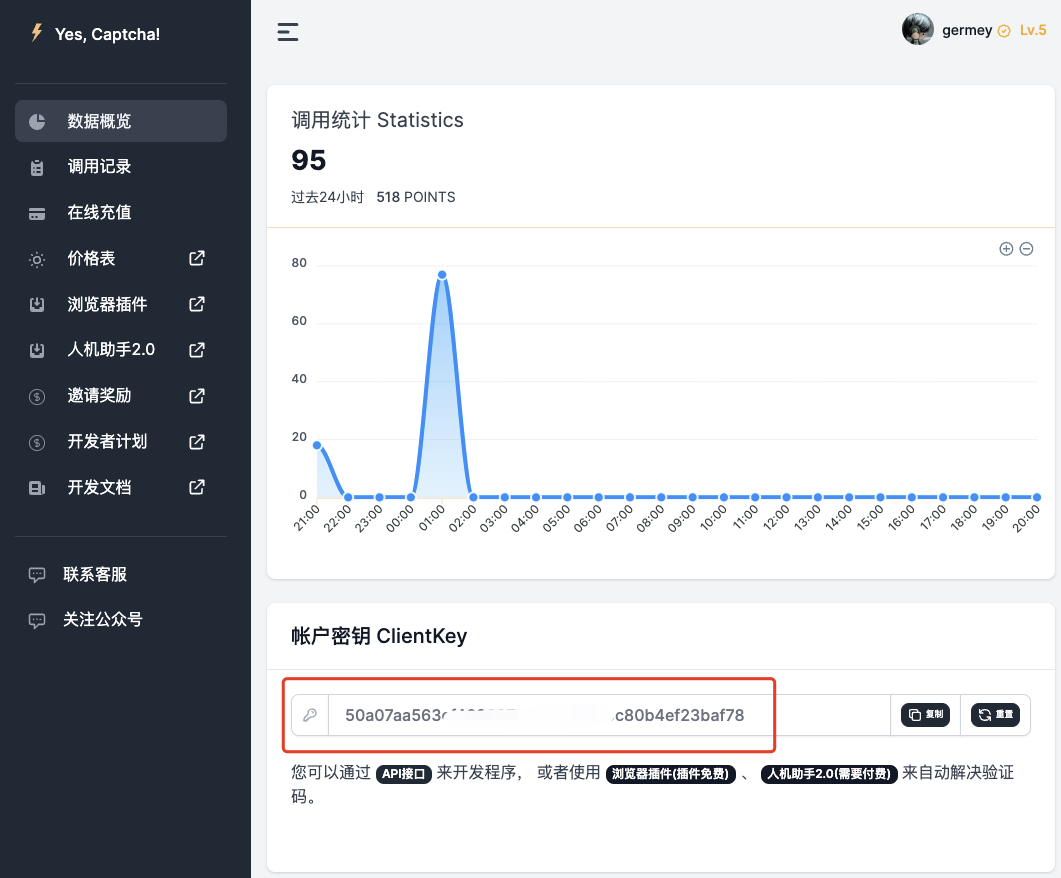
Before using the site we need to register first, the website address is https://yescaptcha.com/auth/register, after registering an account you can get an account key in the background, that is, ClientKey, save the backup.
Then we can check out the official documentation here. There is an API that is described here, and the general content is like this.
First there is an API for creating tasks, the API address is https://api.yescaptcha.com/createTask. Then look at the request parameters.

Here we need to pass in these parameters.
- type: the content is
HCaptchaClassification - queries: the corresponding Base64 encoding of the verification code, here directly into a list can be
- question: the corresponding question ID, that is, the identification of the target code, here is actually the content of the entire sentence of the question
- corrdinate: a control switch to return the result, the default will return the true / false result of each picture recognition, that is, whether the first x pictures and pictures match, if the parameter is added, then the API will return the index of the corresponding matching pictures.
For example, here we can POST such a content to the server with the following structure.
|
|
The server then returns a response like this.
|
|
We can see that the objects field in the solution field of the returned result contains a list of true and false, which represents whether each image matches the target or not.
Once we know this result, we just need to simulate the click on the image that returns true.
Code base implementation
Okay, so with the basic idea in mind, let’s start implementing the whole process in Python. Here we’ll take the https://democaptcha.com/demo-form-eng/hcaptcha.html website as a sample to explain the whole process of identifying and simulating clicks.
Encapsulation of recognition methods
First we implement a wrapper around the above task API, and write a class to start with.
|
|
OK, here we define a class CaptchaResolver, and then mainly receive two parameters, one is api_url, which corresponds to the https://api.yescaptcha.com/createTask API address, and then there is another parameter is api_key, which is the ClientKey introduced in the previous article.
Then we define a create_task method that takes two parameters, the first one, queries, is the Base64 encoding of each captcha image, and the second one, question, is the whole sentence of the question to be recognized. Here the whole request is simulated with requests, and finally the corresponding JSON is returned.
Basic framework
OK, so let’s use Selenium to simulate opening this example site, then simulate tapping to trigger the CAPTCHA, and then recognize the CAPTCHA.
First write a general framework.
|
|
Here we first initialize a Chrome operation object in the constructor, then call the corresponding get method to open the example website, and then declare a WebDriverWait object and a CaptchaResolver object to handle node lookup and captcha recognition operations, respectively, as a backup.
iframe toggle support
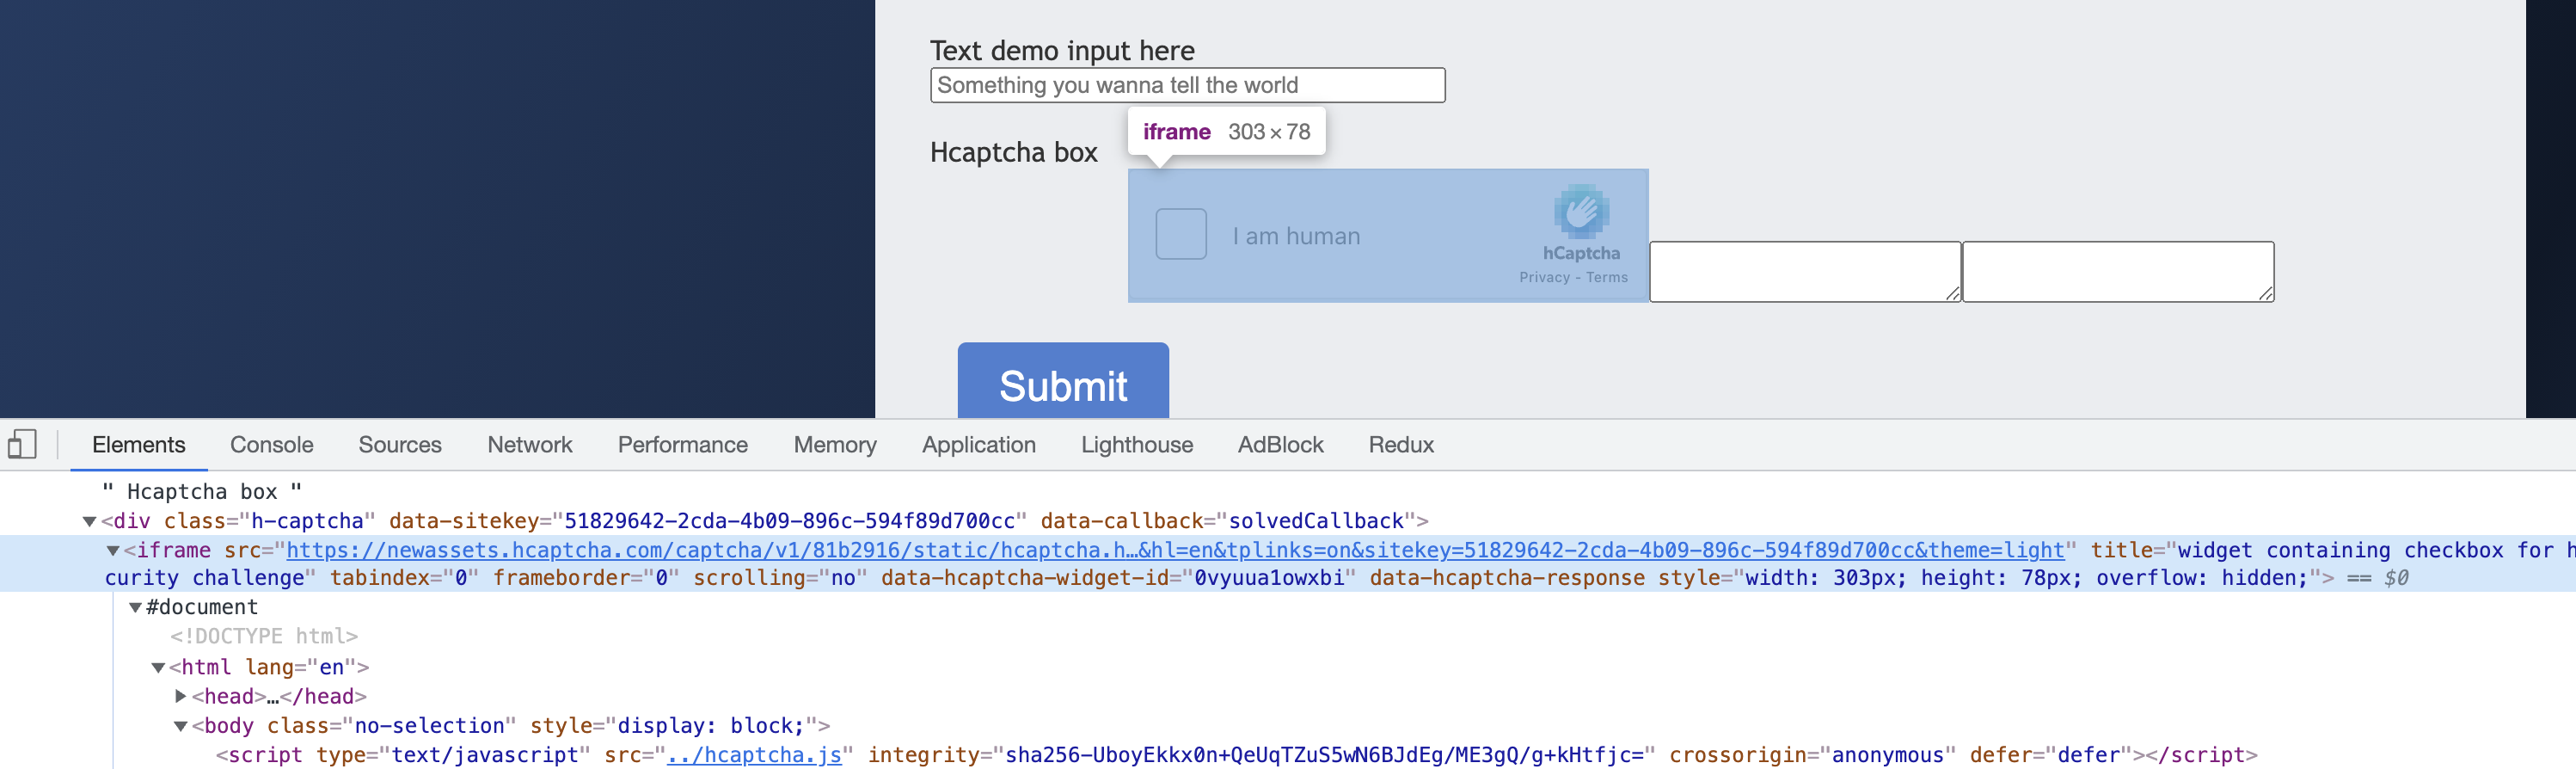
The next step is to simulate a click on the Captcha entry to trigger the Captcha, right?
By looking at this captcha, we see that it is very similar to ReCaptcha in that the entry point is actually loaded in an iframe, and the corresponding iframe looks like this.
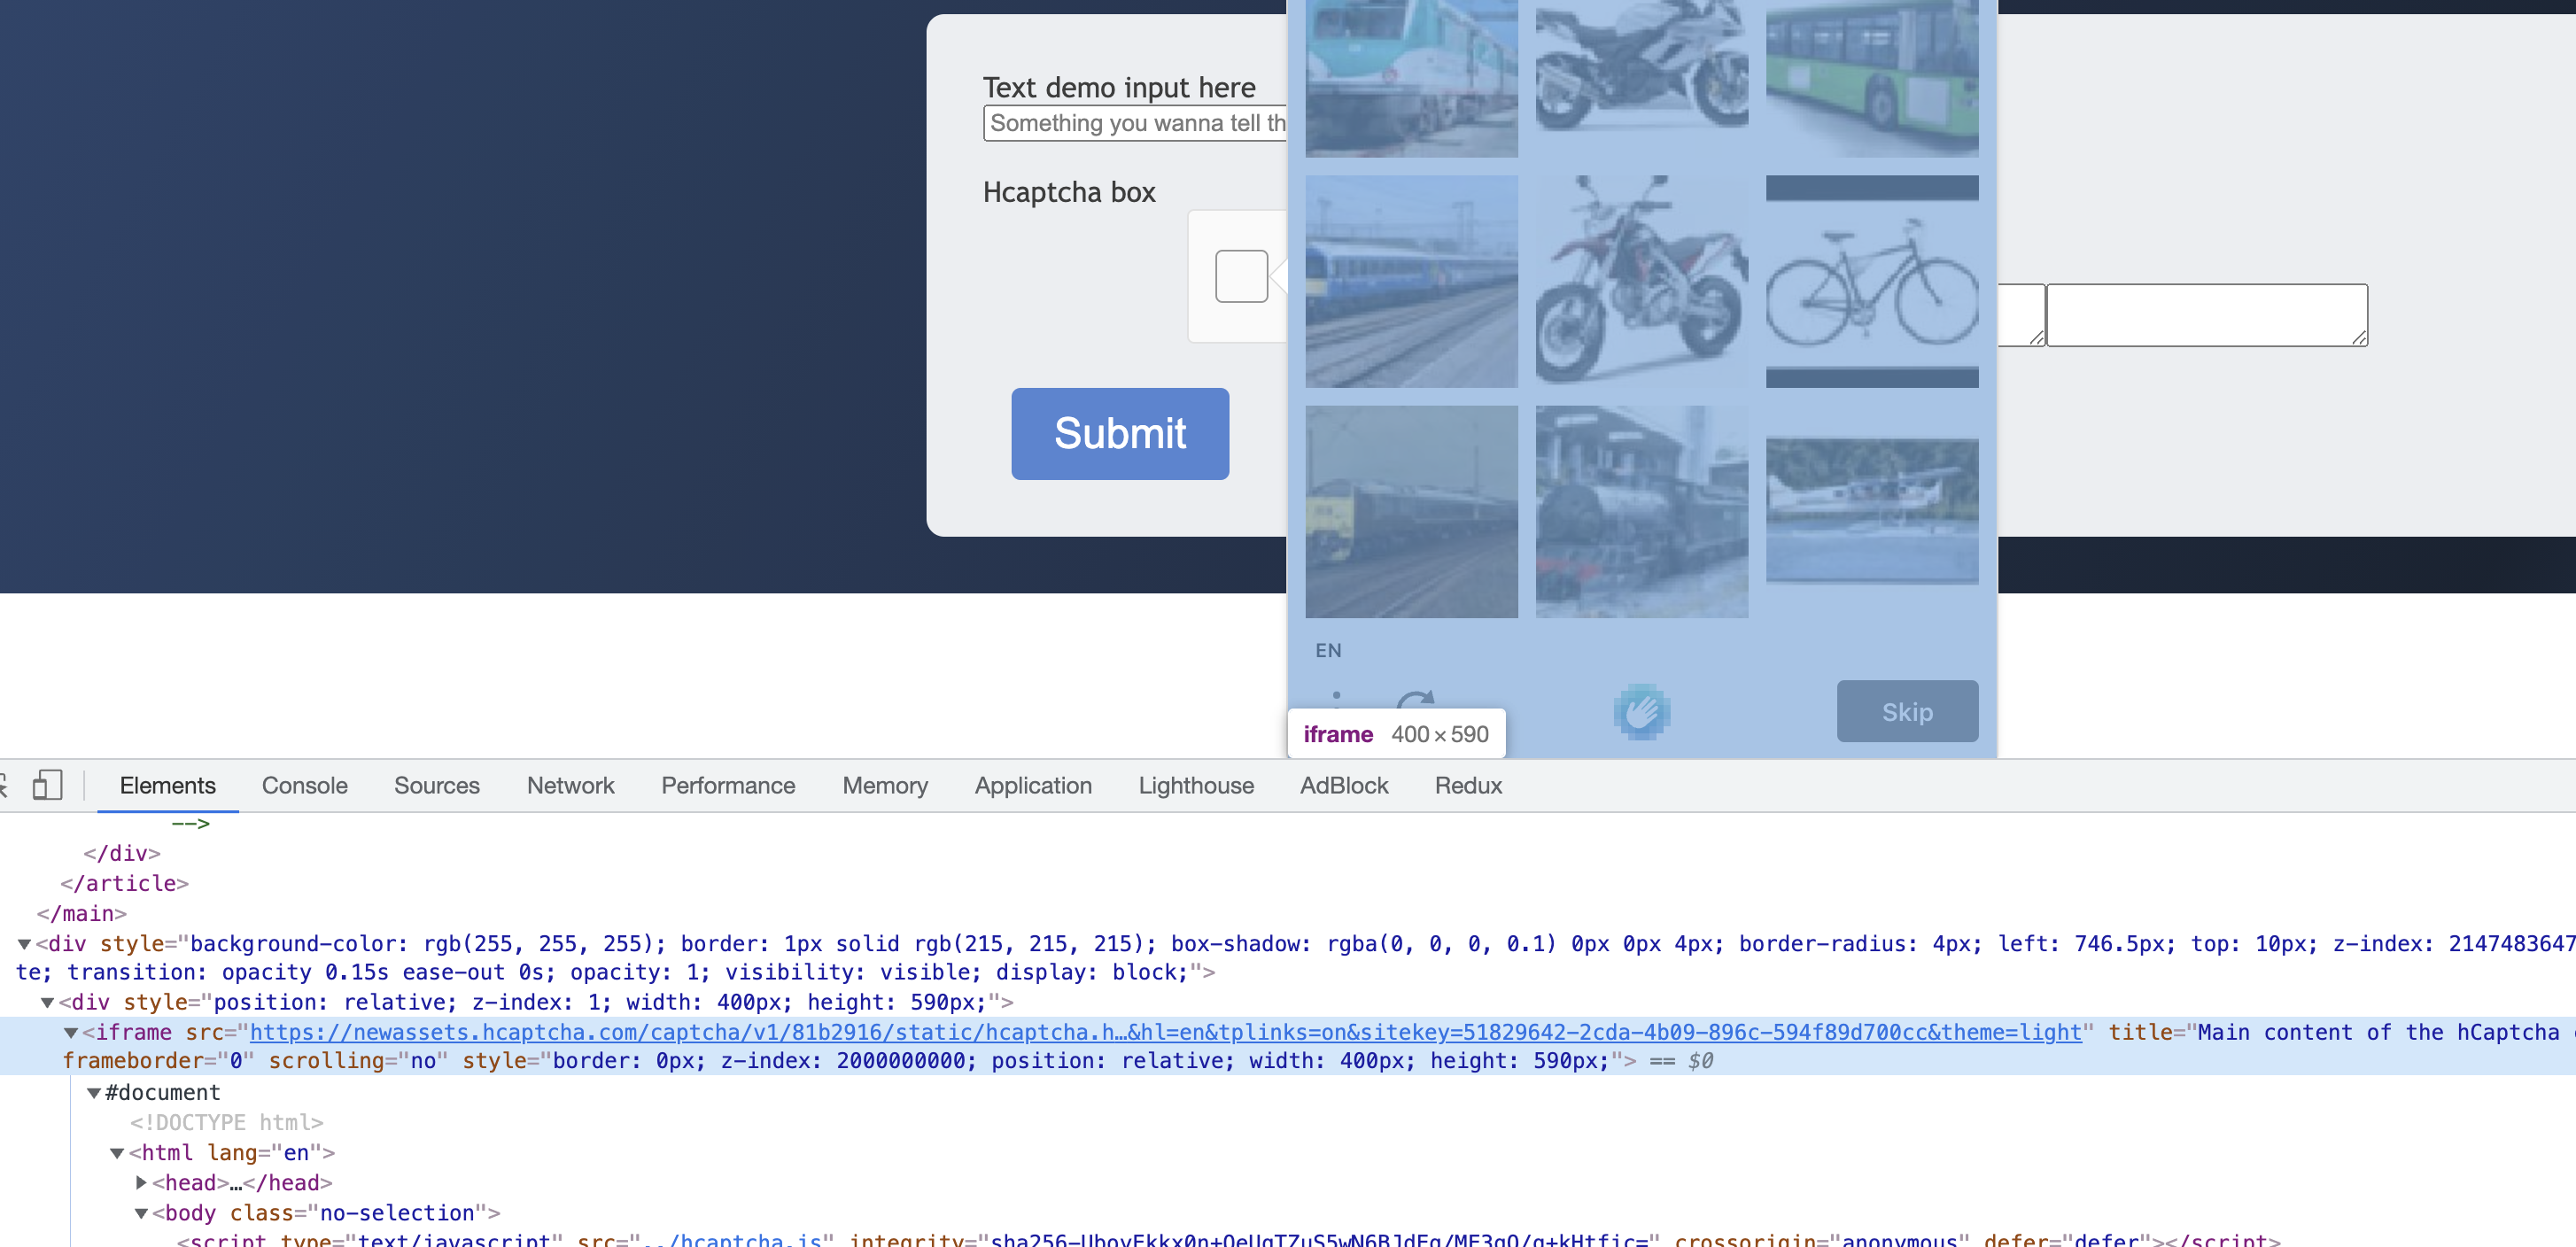
In addition, the pop-up captcha image is inside another iframe, as shown in the figure.
Selenium needs to switch to the corresponding iframe to find the node, otherwise it will not be able to find the corresponding node and simulate a click or something.
So here we define several tool methods to support switching to the corresponding iframe of the portal and the corresponding iframe of the CAPTCHA itself, with the following code.
|
|
In this case, we only need to call switch_to_captcha_content_iframe to find the content inside the captcha image and switch_to_captcha_entry_iframe to find the content inside the captcha entry.
Trigger CAPTCHA
OK, so the next step is to simulate a click on the captcha entry and then trigger the captcha, right, by simulating a click here.
The implementation is simple and the code is as follows.
|
|
Here we first call switch_to_captcha_entry_iframe to switch the iframe, then find the node corresponding to the entry box and click on it.
After clicking on it, we call switch_to_captcha_content_iframe to switch to the iframe corresponding to the captcha itself and find out if the node corresponding to the captcha itself has been loaded, and if it has, then it proves that the trigger is successful.
Find the recognition target
OK, so now the captcha might look like this.
So the next thing we need to do is two things, one thing is to find the match target, which is the question itself, and the second thing is to save each captcha and convert it to Base64 encoding.
Okay, so how do you find the question? Just use Selenium’s regular node search.
By calling this method, we get the complete text of the question in the image above.
Captcha recognition
Next, we need to download and convert each image to Base64 encoding, and let’s observe its HTML structure.
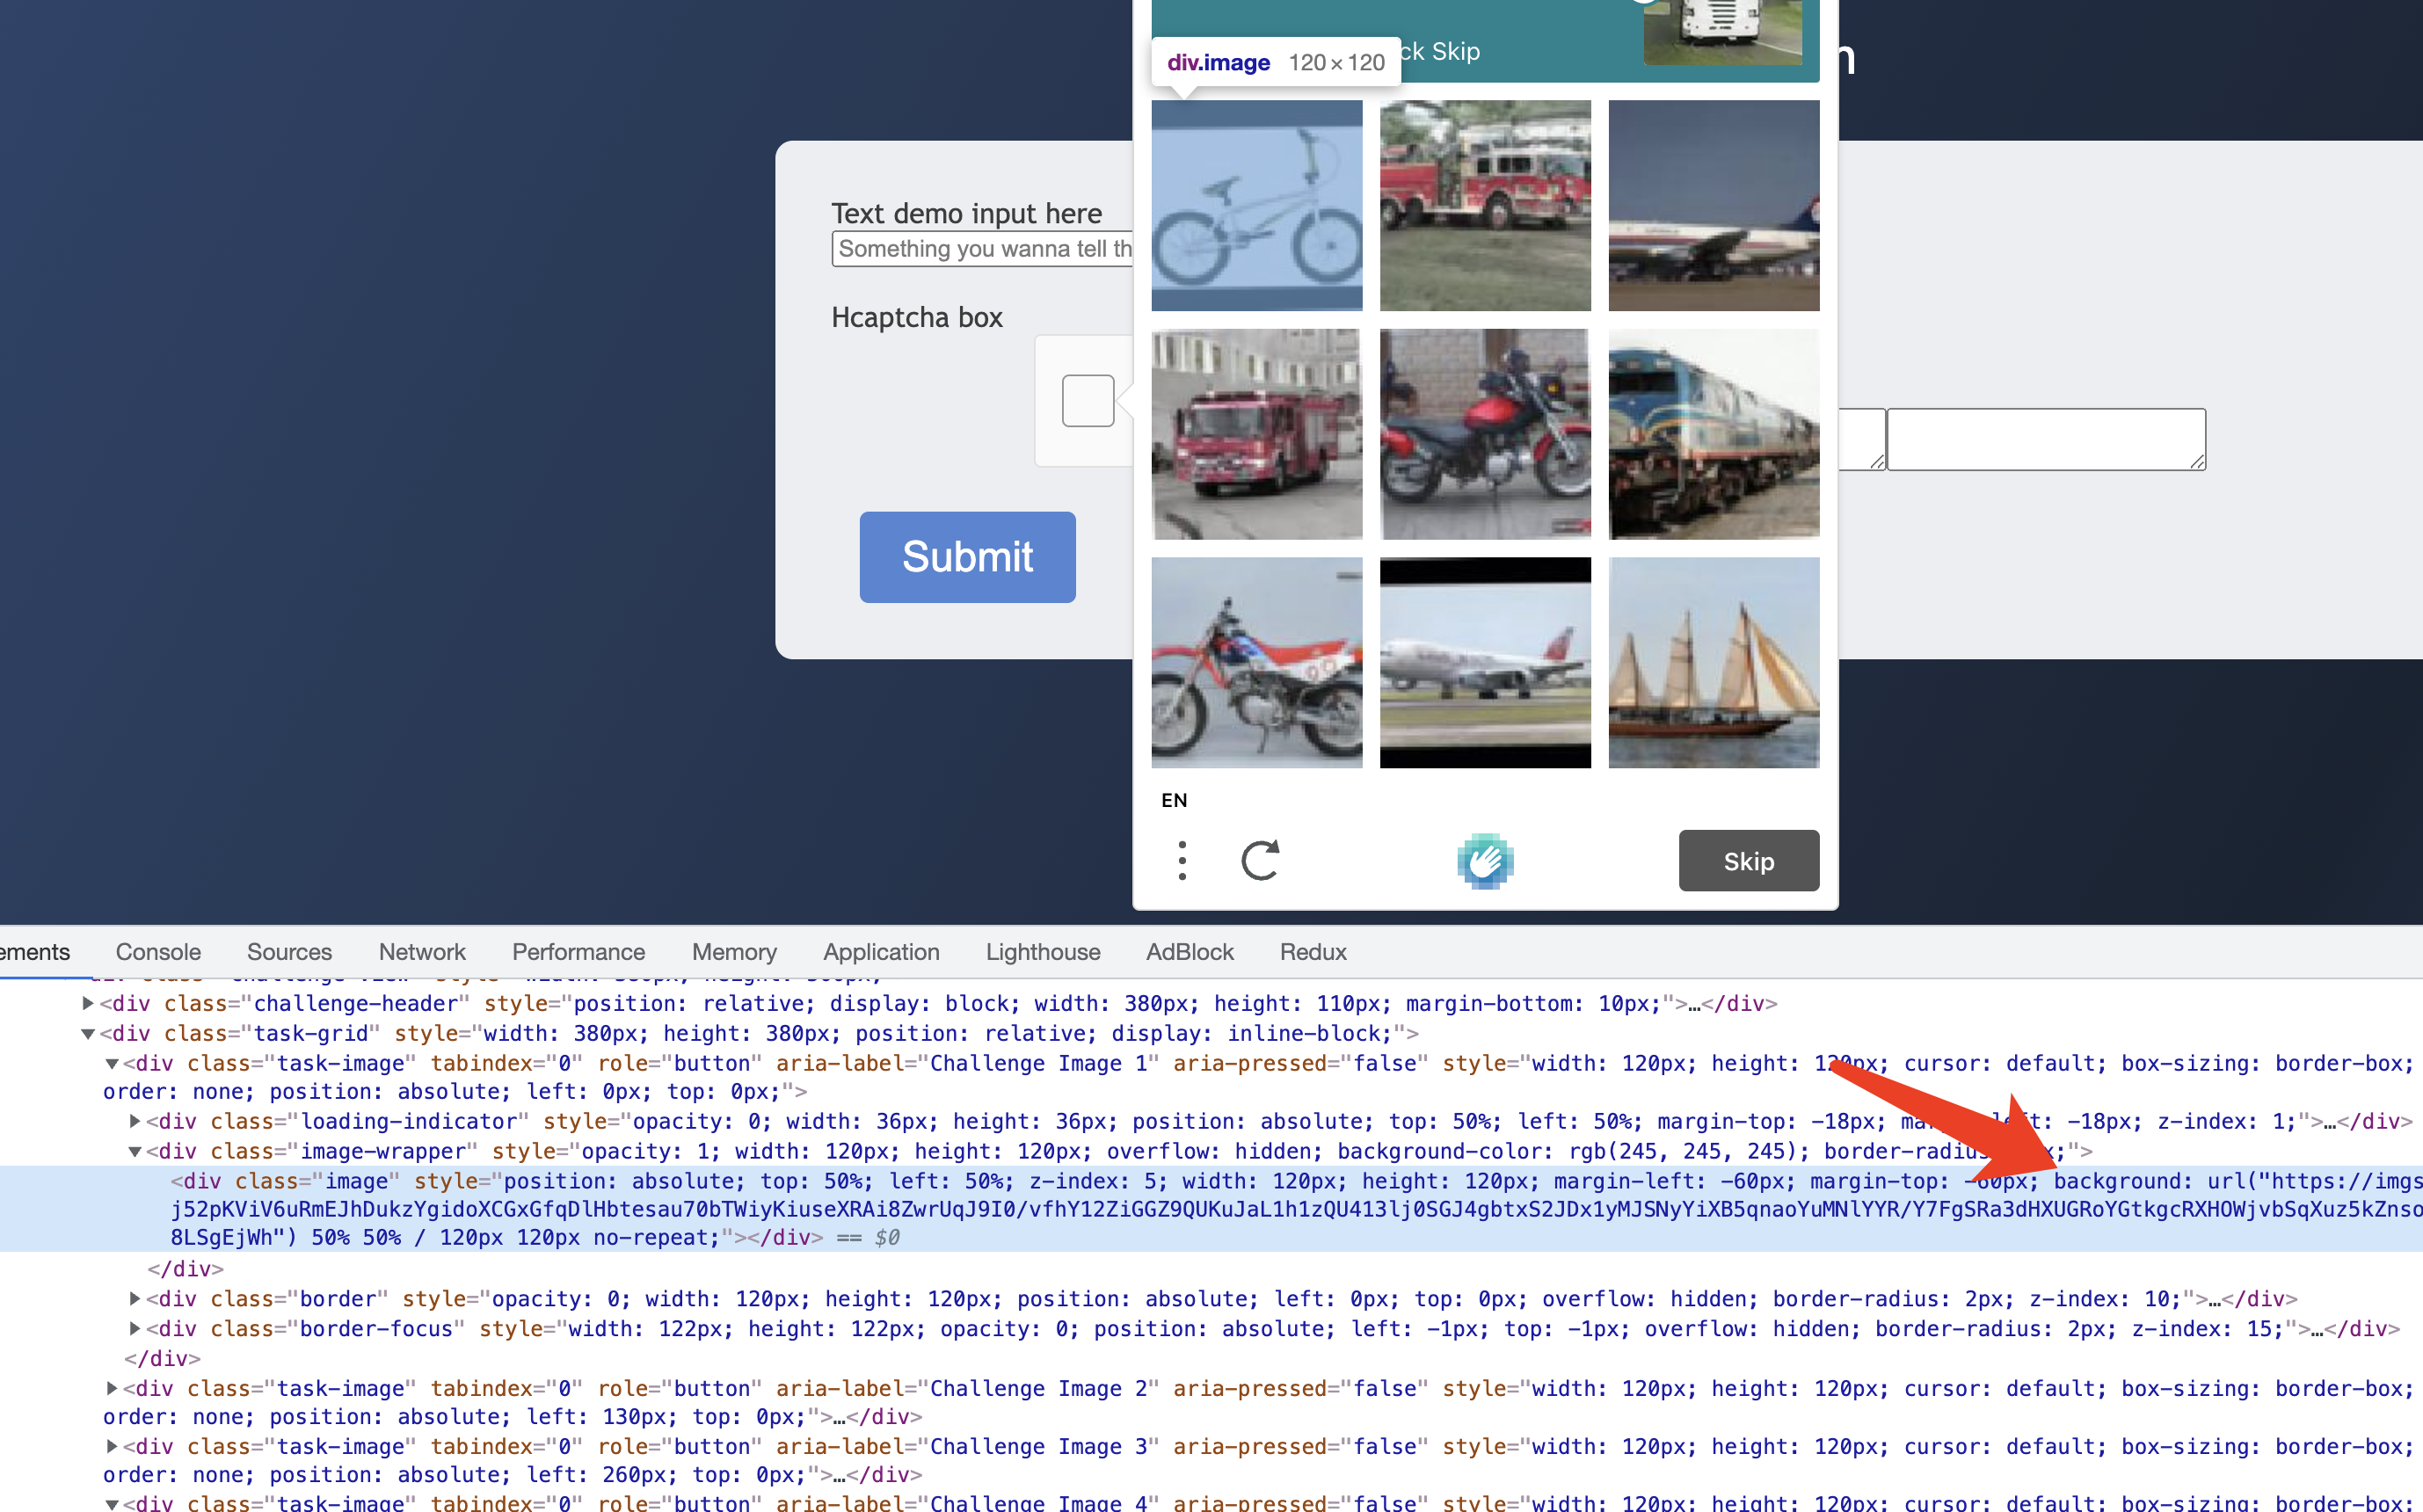
We can see that each captcha actually corresponds to a .task-image node, and then there is a .image-wrapper node inside, and inside there is a .image node, so how is the image rendered? Here it is set a style CSS style, through the CSS backgroud to set the address of the CAPTCHA image.
So, it’s easy to extract the captcha image, we just need to find out the content of the style property of the .image node and extract the url from it.
After we get the URL, we turn down the Base64 encoding and use captcha_resolver to recognize the content.
So the code can be written as follows.
|
|
Here we extract the url of each captcha image, which is matched using regular expressions. After extracting the url, we then store it in the resized_single_captcha_base64_strings list.
Here we have defined a separate method for Base64 encoding, passing in the image path and resizing, and then we can return the encoded result, defined as follows.
|
|
Image Recognition
Okay, so now that we can get the content of the question and the corresponding Base64 encoding for each image, we can directly use YesCaptcha for image recognition, with the following code call.
|
|
If it runs properly, we may get the following return results.
|
|
Now we can see that the objects field in sulution contains a list of true false, for example, the first true means that the first captcha is a match to the question, and the second false means that the second captcha image is a mismatch to the question. How do the serial number and the image correspond to each other? See the following figure.
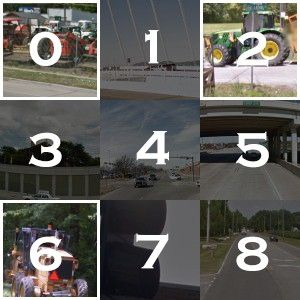
Counting from left to right, line by line, the serial number in increasing order, for example, the first serial number in the first line is 0, then the result is the first result inside the objects result, true.
Simulate a click
Now we have got the true false list, we just need to extract the serial number of the result is true, and then click on these CAPTCHA small picture is good, the code is as follows.
|
|
Of course, we can also simulate a click on each node by executing JavaScript, and the effect is similar.
Here we use a for loop to turn the true false list into a list, and each element of the list represents the position of true in the list, which is actually the target of our click.
Then we get all the nodes corresponding to the small CAPTCHA images, and then we call the click method to click them in turn.
This way, we can recognize the CAPTCHA image one by one.
Click to verify
Okay, so with the above logic, we can complete the entire HCaptcha recognition and point-and-click.
Finally, let’s simulate clicking the validation button and we’re done.
And the verfiy_button is extracted using Selenium as well.
Verify the result
After clicking on it, we can try to check the page changes to see if the validation was successful.
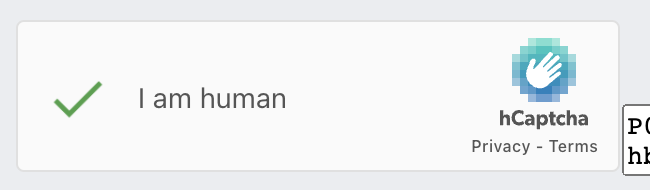
For example, the sign of successful validation is the appearance of a small green check mark.
The inspection method is as follows.
|
|
Here we switch the iframe first, and then check if the corresponding class is what we expect.
Finally, if the result of get_is_successful is True, then it means the recognition is successful, and the whole process is finished.
If the result is False, we can recursively call the above logic for a second time until the recognition is successful.
Code
The above code may be complicated, so I’ve organized the code here and put it on GitHub: https://github.com/Python3WebSpider/HCaptchaResolver
Finally, it should be noted that the above verification code service is charged, each verification may cost a certain number of points, for example, to identify a 3x3 figure costs 10 points, while a recharge of a dollar will get 1000 points, so identify a penny, or relatively cheap.