Previously, I shared the cracking scheme of ReCAPTCHA, which is to get one of the siteKey of ReCAPTCHA, and then submit the siteKey directly to the cracking service related to ReCAPTCHA to achieve cracking.
This time, we will introduce a more flexible and powerful full simulated click cracking scheme, the overall idea is to identify all the CAPTCHA images and simulate a click on the ReCAPTCHA CAPTCHA based on the identification result, so as to finally pass the CAPTCHA.
ReCAPTCHA Introduction
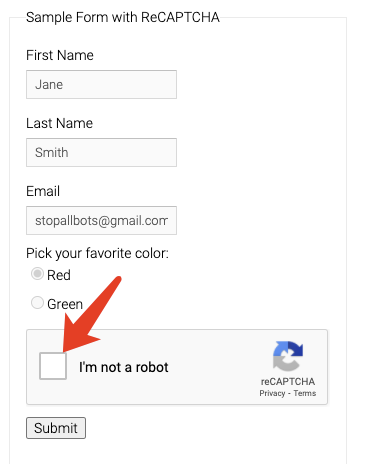
The CAPTCHA is something like this.
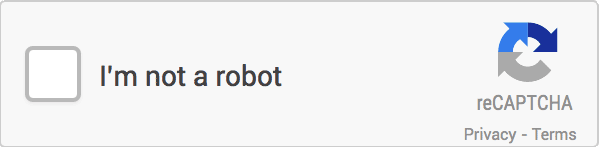
We need to click on the small box on the CAPTCHA at this point to trigger the verification, which normally presents the following point-and-click image.
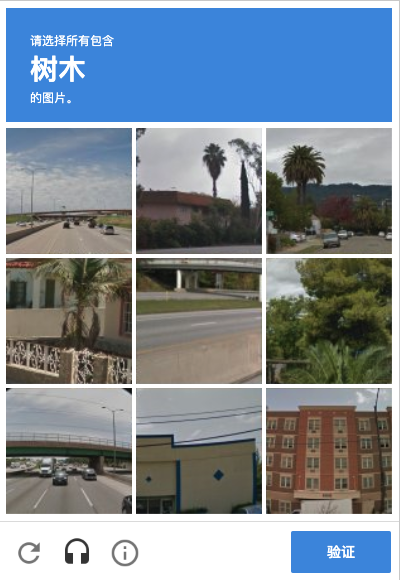
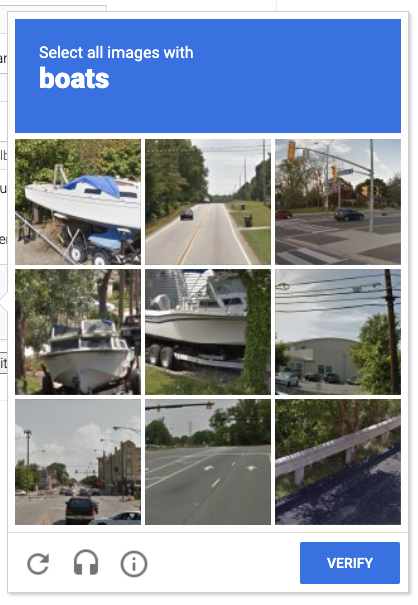
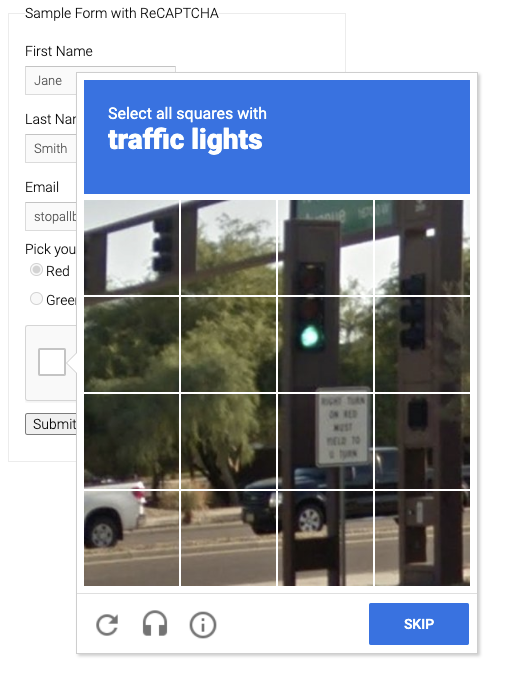
For example, in the picture above, nine images will appear on the verification code page, and the text “tree” will appear at the top, we need to click the image that appears “tree” in the nine images below, after we finish clicking, several new images may appear, we need to finish clicking again, and finally click the “verify” button to complete the verification.
ReCAPTCHA also has an experience address, you can open https://www.google.com/recaptcha/api2/demo to see, after opening, we can find the content as shown above, and then click on the picture for recognition.
Overall identification ideas
In fact, we see that this kind of CAPTCHA is actually mainly about clicking on some squares, we just need to click on some corresponding positions correctly, and finally we will be able to verify through.
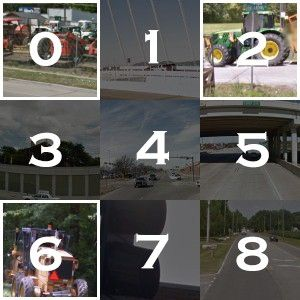
After observation, we found that it is mainly the 3x3 and 4x4 grid CAPTCHA, for example, the 3x3 one is like this.
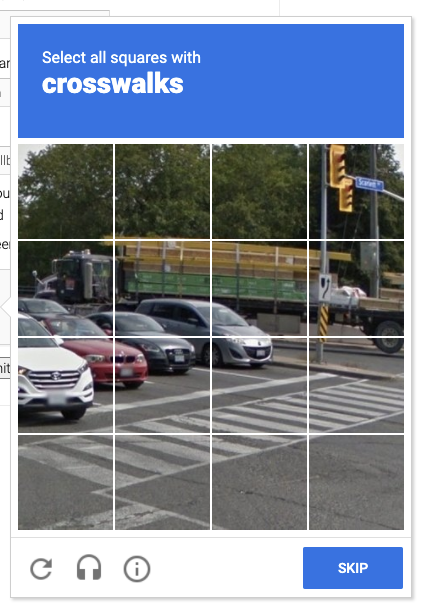
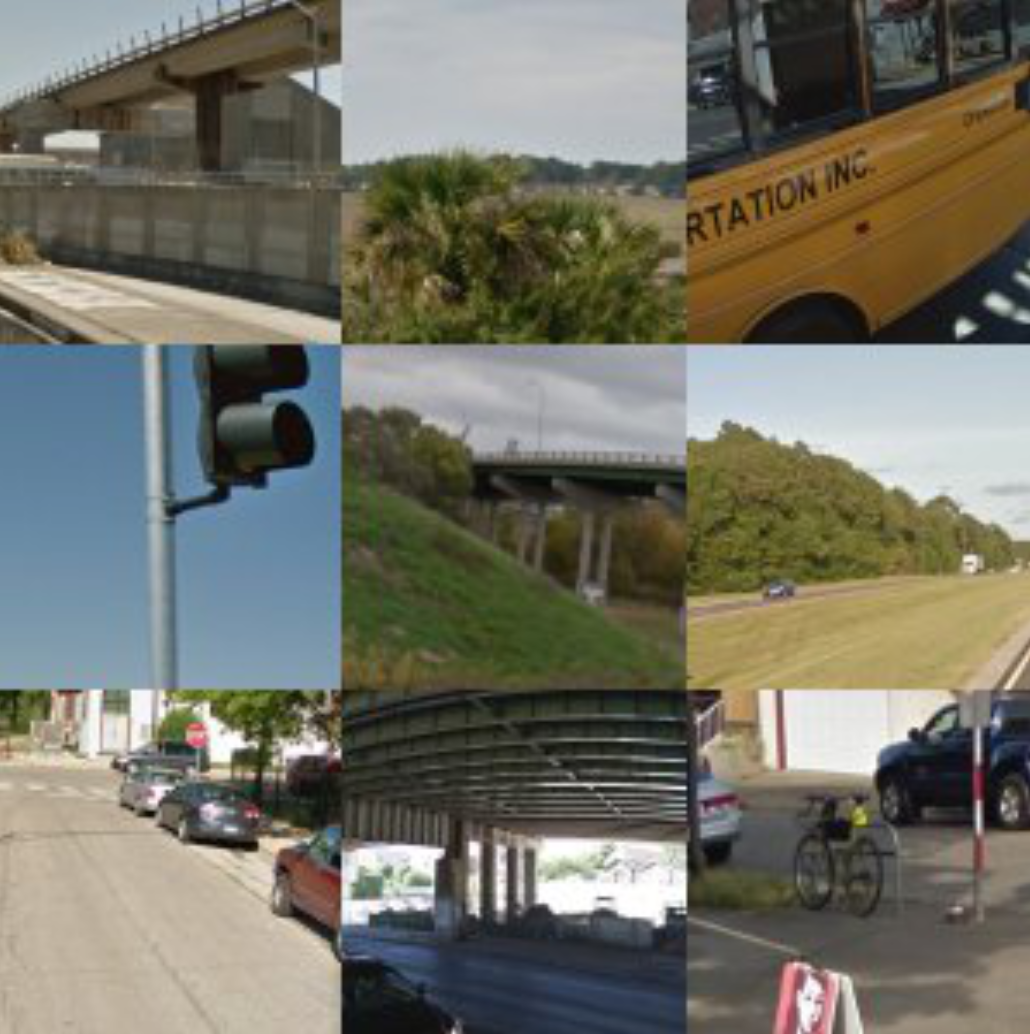
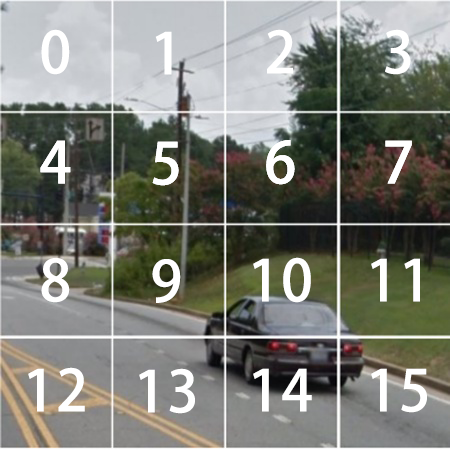
The CAPTCHA for 4X4 looks like this.
Then there is a line of bolded text above the CAPTCHA, which is the target of our point selection.
So, here comes the key point.
- The first is to find out the content of the text above, so that we know what to click on.
- The second is that we need to know which target images and the text above is a match, and find out in order to simulate a click on it.
It sounds very simple, but the second point is a difficult one, how do we know which images match the text? This is more trouble.
In fact, this can be done by deep learning, but to come up with such a model is not easy, we need a lot of data to train, need to collect a lot of CAPTCHA images and labeling results, the total workload is very large.
So what to do? Here we introduce a service website YesCaptcha, which has already done a good job of recognition service for us. All we need to do is to submit a large image of the CAPTCHA and tell the service what we need to recognize, and the service will return the corresponding recognition results.
Let’s try the recognition process with YesCaptcha.
YesCaptcha
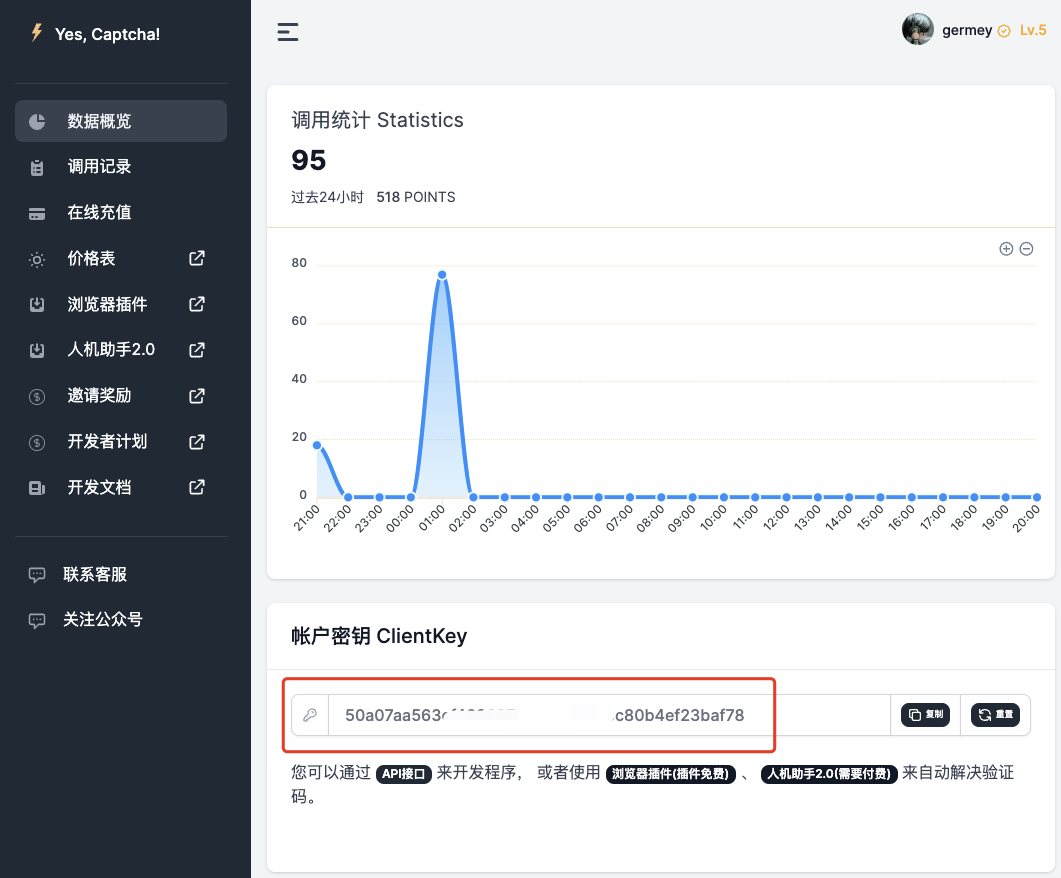
Before using the site we need to register first, the website address is https://yescaptcha.com/auth/register, after registering an account you can get an account key in the background, that is, ClientKey, save the backup.
OK, then we can check out the official documentation here: https://yescaptcha.atlassian.net/wiki/spaces/YESCAPTCHA/pages/18055169/ReCaptchaV2Classification+reCaptcha+V2.
Here is a description of the API, the general content is this.
First there is an API for creating tasks, the API address is https://api.yescaptcha.com/createTask, and then look at the request parameters.
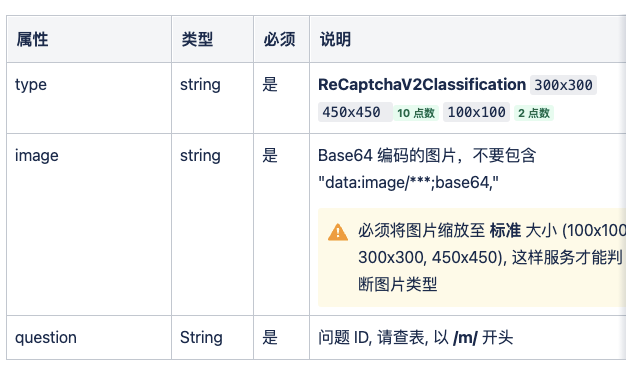
Here we need to pass in these parameters:
- type: the content is ReCaptchaV2Classification
- image: is the corresponding Base64 encoding of the verification code
- question: the corresponding question ID, that is, the identification of the target code.
For example, here we can POST such a content to the server, the structure is as follows.
where the image can be a 3x3 or 4x4 string encoded in Base64 corresponding to the captcha screenshot.
The server will then return a response like this.
OK, we can see that the objects field in the solution field of the returned result contains some code names, for example, here is 1, 5, 8, what does it mean? This is the corresponding target click code.
For a 3x3 image, the corresponding code would look like this.
For a 4x4 image, the corresponding code would be something like

OK, after knowing the code name, it is much better to simulate the click, we can do it with some simulated click operations.
Code base implementation
Okay, so with the basic idea in mind, let’s start implementing the whole process in Python. Here we’ll take the https://www.google.com/recaptcha/api2/demo website as a sample to explain the whole process of identifying and simulating clicks.
Wrapping
First we implement a wrapper around the above task API, and write a class to start with.
|
|
OK, here we define a class CaptchaResolver, and then mainly receive two parameters, one is api_url, which corresponds to the https://api.yescaptcha.com/createTask API address, and then there is another parameter is api_key, which is the ClientKey introduced in the previous article.
Then we define a create_task method that receives two parameters, the first parameter image_base64_string is the corresponding Base64 encoding of the captcha image, the second parameter question_id is to identify what the target is, here is the entire request with requests simulation is achieved. Finally return the corresponding JSON content of the response results on the good.
Basic framework
OK, so let’s use Selenium to simulate opening this example site, then simulate tapping to trigger the CAPTCHA, and then recognize the CAPTCHA.
First write a general framework.
|
|
Here we first initialize a Chrome operation object in the constructor, then call the corresponding get method to open the example website, and then declare a WebDriverWait object and a CaptchaResolver object to handle node lookup and captcha recognition operations, respectively, as a backup.
iframe toggle support
Next, we’ll simulate clicking on the CAPTCHA portal to trigger the CAPTCHA, right?
By observation, we find that the captcha entry is actually loaded in an iframe, and the corresponding iframe looks like this.
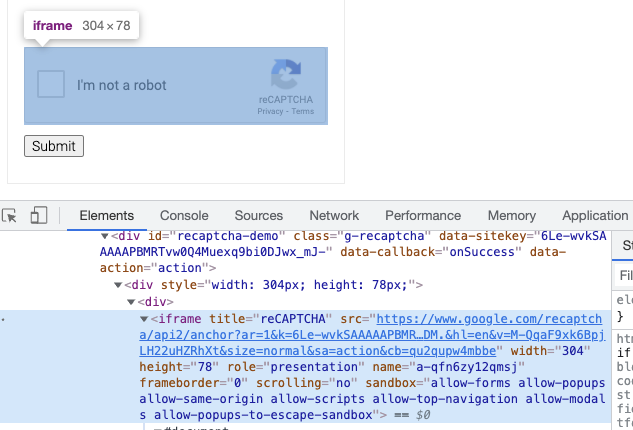
In addition, the pop-up captcha image is inside another iframe, as shown in the figure.

Selenium needs to switch to the corresponding iframe to find the node, otherwise it will not be able to find the corresponding node and simulate a click or something.
So here we define several tool methods to support switching to the corresponding iframe of the portal and the corresponding iframe of the CAPTCHA itself, with the following code.
|
|
In this case, we only need to call switch_to_captcha_content_iframe to find the content inside the captcha image and switch_to_captcha_entry_iframe to find the content inside the captcha entry.
Trigger CAPTCHA
OK, so the next step is to simulate a click on the captcha entry and then trigger the captcha, right, by simulating a click here.
The implementation is simple and the code is as follows.
|
|
Here we first call switch_to_captcha_entry_iframe to switch the iframe, then find the node corresponding to the entry box and click on it.
After clicking on it, we call switch_to_captcha_content_iframe to switch to the iframe corresponding to the captcha itself and find out if the node corresponding to the captcha itself has been loaded, and if it has, then it proves that the trigger is successful.
Find the recognition target
OK, so now the captcha might look like this.
The next thing we need to do is two things, one is to find the matching target, which is the bolded font in the image above, and the second thing is to save the captcha and convert it to Base64 encoding and submit it to CaptchaResolver for recognition.
Okay, so how do we find the matching target? That is, the traffice lights in the figure above, using Selenium’s regular node search.
By calling this method, we can get something like traffic lights in the above image.
Captcha recognition
Next, let’s download the captcha image and convert it to Base64 for recognition, the overall code is as follows.
|
|
Here we first get some basic information about the captcha:
- entire_captcha_natural_width: the real size of the image corresponding to the captcha image, here if it is a 3x3 captcha image, then the real size of the image is 300, if it is a 4x4 captcha image, then the real size of the image is 450
- captcha_target_name: the name of the recognition target, that is, the content just obtained
- entire_captcha_element: the node object corresponding to the captcha image.
Here we first get the img node inside the entire_captcha_element, and then get the src content of the img and assign it to the entire_captcha_url, so we actually get a large image of the complete captcha, and then we write it to the file.
The result is something like this.
Then we just send this image to YesCaptcha for recognition.
Base64 encoding
Next, we convert this image to Base64 encoding. Define the following method.
|
|
Here it is worth noting that since the API has a limit on the image size, if it is a 3x3 image, then we need to resize the image to 300x300, and if it is a 4x4 image, then we need to resize the image to 450x450, so here we first call the Image’s resize method to resize it, and then convert it to Base64 encoding.
Question ID handling
How is the question ID handled? Through the API documentation https://yescaptcha.atlassian.net/wiki/spaces/YESCAPTCHA/pages/18055169 we can see the following mapping table.
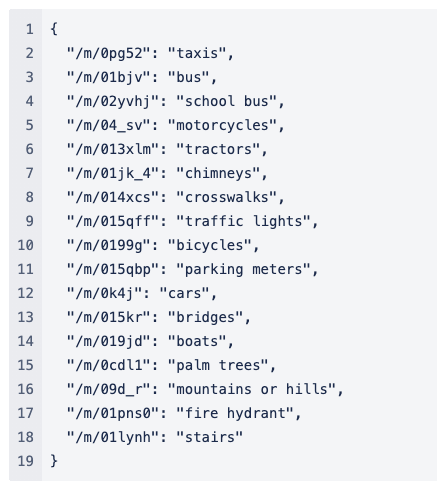
So, for example, if we get traffic lights in the captcha, then the question ID is /m/015qff, okay, so let’s just reverse the lookup. Define the following method.
|
|
By passing in the name, we can get the issue ID.
Finally, we can call the create_task method of the CaptchaResovler object directly with the above parameters to get the result.
Simulating a click
After we get the results, we know that the objects that return the results are the list of CAPTCHA cells that need to be clicked, so we can simulate the click by doing the following.
|
|
Here we first get the recognized_indices, which are the markers corresponding to the recognition results, and then iterate through them one by one to simulate the click.
For each click, we can directly get all the nodes corresponding to the CAPTCHA grid, and then call its click method to complete the click, where the correspondence between the grid’s label and the returned result is shown in the figure.
Of course, we can also simulate a click on each node by executing JavaScript, and the effect is similar.
This way we can achieve the recognition of CAPTCHA small images one by one.
Small picture recognition
Wait, one more problem we found during the recognition process is that sometimes after we click on a small grid, the small grid disappears! Then a new small image appears in the place of the original small grid, and we need to recognize the newly appeared image again to do so.
How can this be handled?
In fact, we can check whether the current grid has a picture refresh after each click, if there is a picture refresh, then the class of the corresponding HTML will change, otherwise it will contain the word selected, and then we can continue to identify the corresponding picture of the grid for the second time.
Here we define one more method.
|
|
OK, here we define a verify_single_captcha method and pass in the serial number of the lattice. Then we first try to find the node corresponding to the grid, and then find the class attribute of the corresponding HTML. If no new vignette appears, then this is the selected state, and the corresponding class contains the word selected, as shown in the figure.
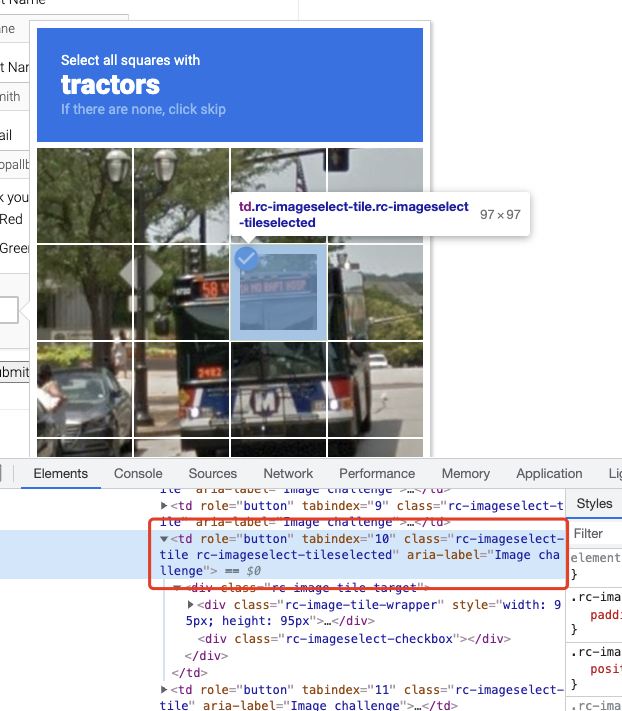
For such images, we do not need to do secondary validation, otherwise we need to take a screenshot of the grid and do secondary recognition.
The steps of secondary recognition are the same, we need to get the url of the image corresponding to the small grid separately, then download it, then resize it and convert it to Base64 encoding, then send it to the API, which will tell us whether the small image contains the target content we want to recognize by a hasObject field, if yes, then click on it, then recursively Next check, if not, then skip.
Click to verify
Okay, so with the above logic, we can complete the entire ReCAPTCHA recognition and point-and-click.
Finally, we simulate clicking the validation button and we’re done.
|
|
Verify the result
After clicking on it, we can try to check the page changes to see if the validation was successful.
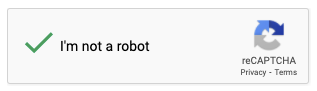
For example, the sign of successful validation is the appearance of a small green check mark.
The inspection method is as follows.
Here we switch the iframe first, and then check if the corresponding class is what we expect.
Finally, if the result of get_is_successful is True, then it means the recognition is successful, and the whole process is finished.
If the result is False, we can recursively call the above logic for a second time until the recognition is successful.
Code
The above code may be complicated, so I’ve organized the code here and put it on GitHub, so you can pick it up if you need it: https://github.com/Python3WebSpider/RecaptchaResolver
Finally, I need to explain that the above verification code service is charged, and each verification may cost a certain number of points, for example, it costs 10 points to recognize a 3x3 figure, while you can get 1000 points for a dollar. So it’s a penny for one verification, which is still relatively cheap.